Instructions on how to reset Windows 11 sound settings.
When encountering problems with computer sound settings, such as being unable to customize them or losing sound and changes not being applied, users can perform a sound reset.
Table of Contents
When encountering problems with your computer's audio settings, such as being unable to customize them or losing sound and changes not being applied, you can reset the audio settings. This will revert all audio settings on your computer to their original state. Below are instructions on how to reset Audio Settings on Windows 11.
Restore volume for all Windows 11 devices
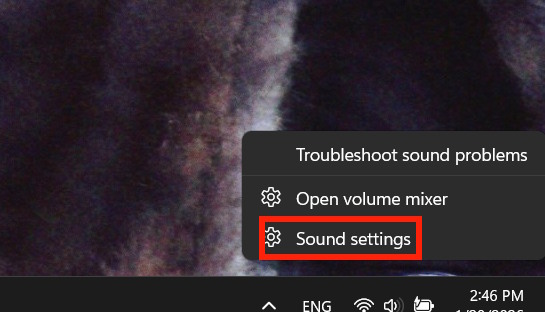
Step 1:
Right- click on the sound icon and select Sound Settings to adjust the settings.
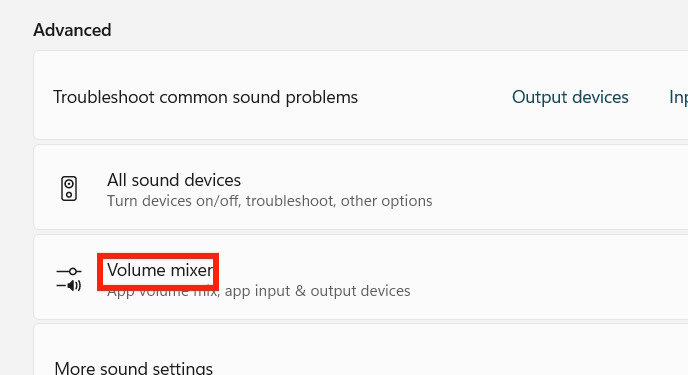
Upon switching to the new interface, users select the Volume Mixer option to adjust the volume.
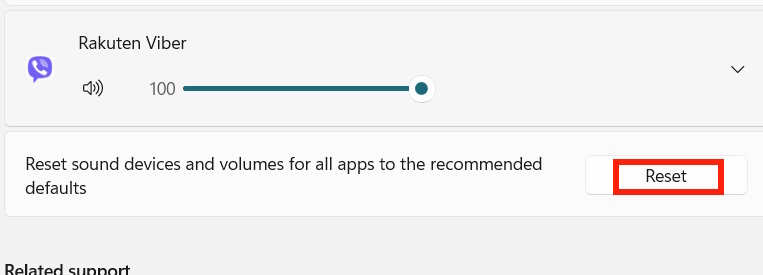
Step 2:
Next, the user scrolls down to the bottom and clicks the Reset button to reset the sound settings on Windows.
Instructions on how to reset audio drivers on Windows
You can uninstall and reinstall the audio driver from your computer to reset the audio driver.
Step 1:
Type "Device Manager" into the search bar and then access it. Next, expand the "Sound, Video and game controllers" section .

Step 2:
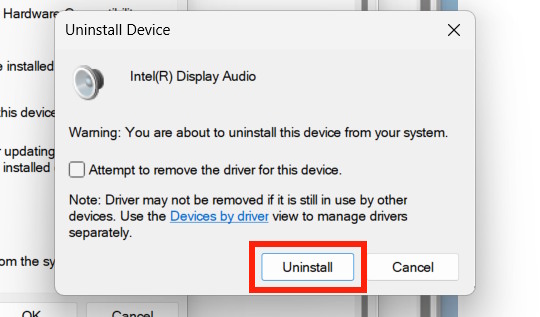
We double-click on the malfunctioning audio device, then click on the Driver tab and select Uninstall device .
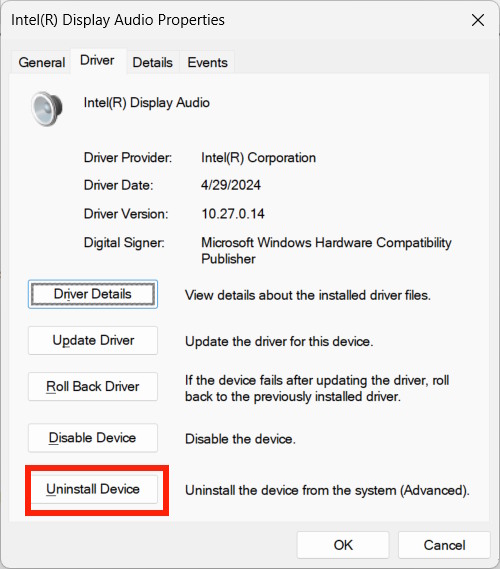
Finally, click Uninstall to reset Audio Settings on Windows 11.
Restart your computer to reinstall the device. This will fix any audio issues related to the device you are experiencing.
Restore Audio Services settings in Windows 11
Step 1:
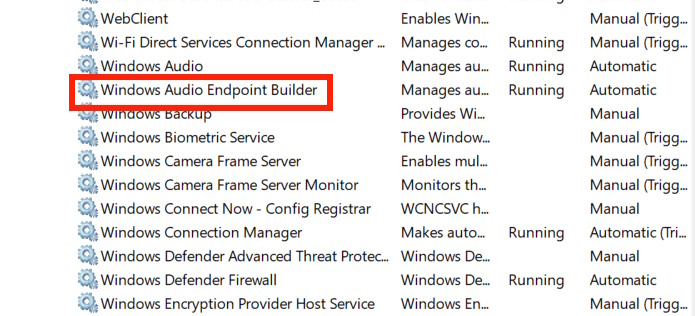
Type "Services" into the search bar to access the Windows services management interface. Find the Windows Audio Endpoint Builder service in the list.
Step 2:
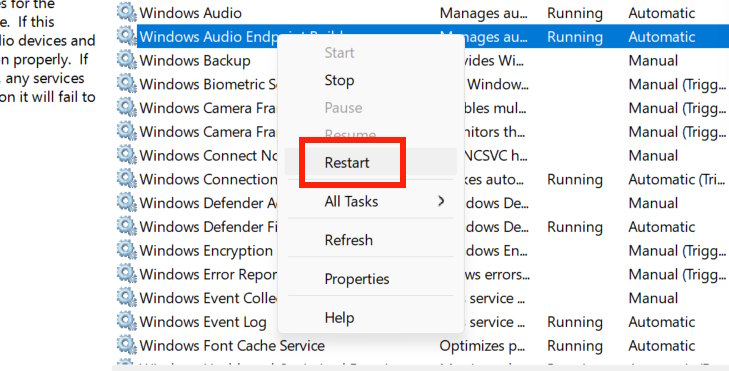
Right- click on Windows Audio Endpoint Builder and select Restart to restart the audio service on your computer. Finally, click Yes to proceed.
Was this article helpful?
Your feedback helps us improve.
Related Articles
 Instructions for reinstalling Windows Settings2 minutes read
 Instructions 2 simple ways Reset Windows 10 (The last part)8 minutes read
 3 How to reset Win 7, Factory reset Windows 77 minutes read
 5 ways to open sound settings on a Windows PC3 minutes read
 Steps to open sound settings on Windows PC7 minutes read
 How to reset Windows Security settings on Windows2 minutes read
Reader Comments 0
Sign in with email or Google to join the discussion.