Batch Watermark Creator Installation Guide
If you want people to know that you took the photo, you need a software to watermark the photo. First, check out the Batch Watermark Creator installation guide to learn how to use this software..
If you want to watermark your photos with your personal brand "Made by me", you need an effective photo watermarking tool. Batch Watermark Creator is one of the software that helps you do that easily.
Batch Watermark Creator Installation Guide
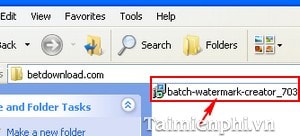
Step 1: Open the folder containing the software
If you don't have it, download Batch Watermark Creator . Double click the setup file to start the installation process.
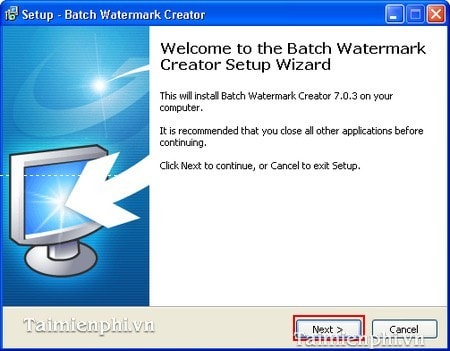
Step 2: Select Next to continue the installation process
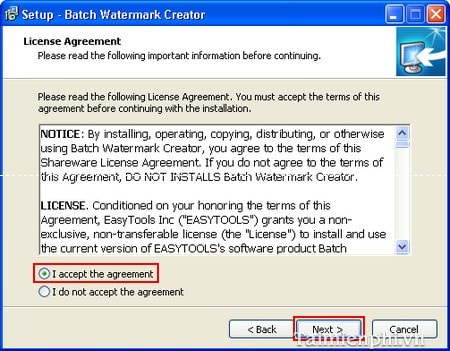
Step 3: Select I accept the agreement to agree to the terms of installation. Click Next
Step 4: Select the path to save to the installation folder. Then click Next

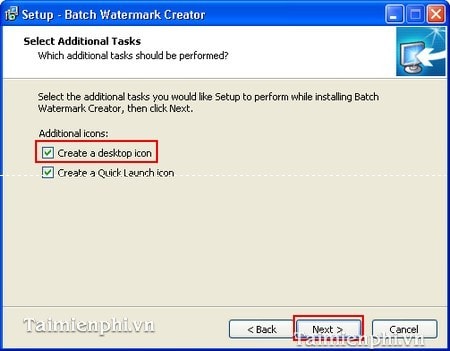
Step 5: Click Next to continue.
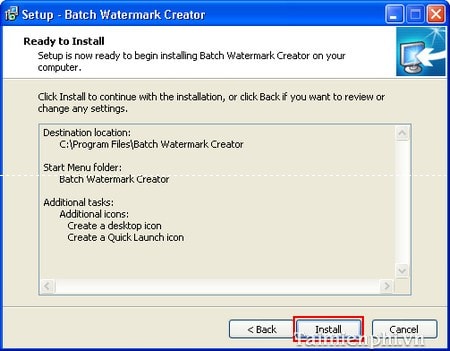
If you want the software to display on the desktop, select Create a desktop icon .
Step 6: Click Install
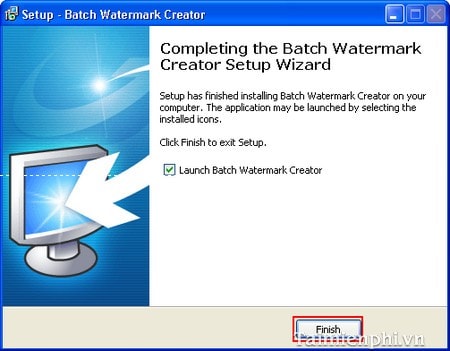
Step 7: Select Finish to complete the installation process
In the above article, TipsMake has guided you in detail through the process of installing the Batch Watermark Creator software. After installation, to know how to use it, please refer to the article on how to use the Batch Watermark Creator photo stamping software.