8 useful utilities in Control Center on iPhone
In addition to the application shortcuts embedded in the Control Center, iOS also provides access to special functions through this menu itself. Although shortcuts like Notes, Calculator and Voice Memos simply launch the linked application, they are still very useful. Not every utility in Control Center works the same way. Here are the most popular iPhone shortcuts that you can use today.
The utility of the Control Center can be added and deleted in Settings> Control Center> Customize Controls . You can change the order of these utilities by dragging and reordering the items in the list.
8 hidden "secret" features in Control Center on iPhone
- 1. Magnifier
- 2. Hearing aids
- 3. Low Power Mode
- 4. Screen Recording
- 5. Apple TV remote control
- 6. Flashlight
- 7. Scan the QR code
- 8. Additional tips
1. Magnifier

Shortcut Magnifier (magnifying glass tool) instantly opens the camera and magnifies the subject you need. This gadget gives you a handy hand-held magnifying glass, thanks to the iPhone camera lens. Magnifier includes zoom level slider, white shutter button which captures the image in the current view and 'locks' it into the position in the viewfinder, but does not save the image to the camera roll.
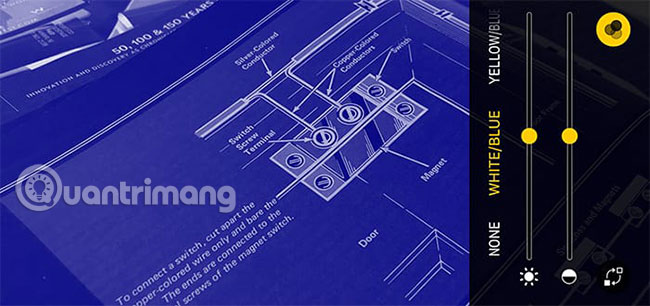
The lock icon helps to fix the current focus point. The lightning icon plays the role of turning on the flash, illuminating the scene and helping to brighten the corners. Filter buttons provide some visibility support filters, including red - black, blue - black and blue - yellow. This feature is most useful for people with low vision or colorblind people.
2. Hearing aids
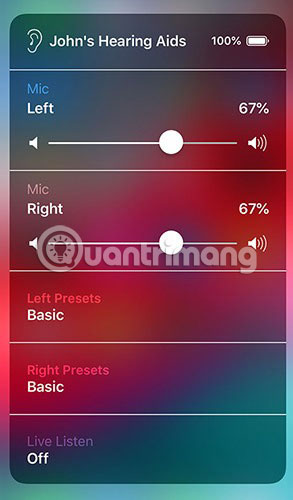
If you have AirPods or hearing aids Made For iPhone, you can use the Live Listen function to transfer the audio recorded from the iPhone microphones to your hearing aid or AirPod. In addition, this function also allows people with hearing difficulties to select and tune the sound in their environment, by positioning the microphone for optimal recording.
3. Low Power Mode
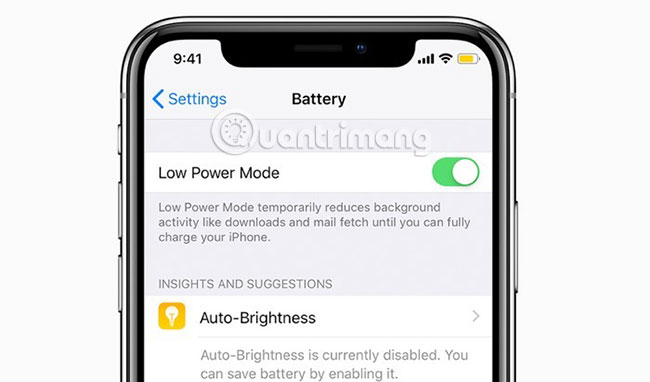
When the iPhone battery drops below 20%, a warning will appear, providing the option to activate Low Power Mode . This mode selectively disables various running functions in the background to reduce wastage and extend battery life. If you want to have access to this setting at any time, add the Low Power Mode utility to the Control Center.
4. Screen Recording
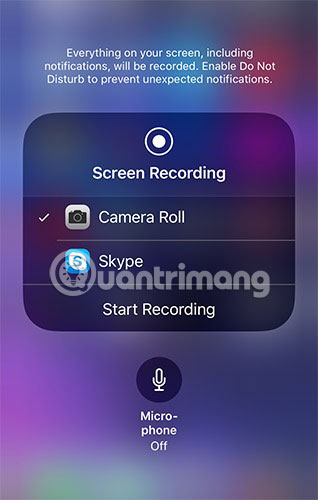
Screen Recording utility will start to count down when you click to create a screen record. While the iPhone screen is being recorded, a red banner will display at the top of the screen. To end the recording, touch the screen recorder utility (currently red) again or click the red banner at the top of the screen, then select 'Stop' in the warning that appears. If you press and hold the Screen Recording icon, you can select the screen recording source, as well as switch the microphone's availability.
5. Apple TV remote control
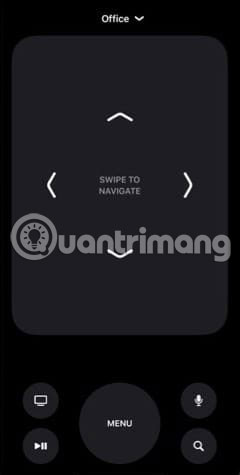
Control Apple TV with your iPhone. This utility searches and connects to Apple TV on the same WiFi network. This remote control feature can be even more useful than Siri Remote. It offers the same features but with a better touch interface for users. There is a complete slider keyboard available for text input, and you can use the voice search feature like in any other application.
6. Flashlight
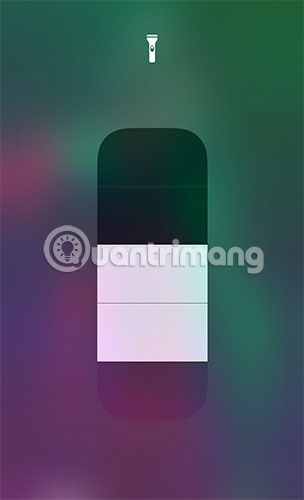
This utility will turn on the flash connected to the iPhone camera. If you click and hold the Control Center utility, you will have an option to use one of the 4 brightness levels of the flashlight. The flashlight will continue to light until you turn it off. Click on the widget again to turn off the flashlight.
7. Scan the QR code
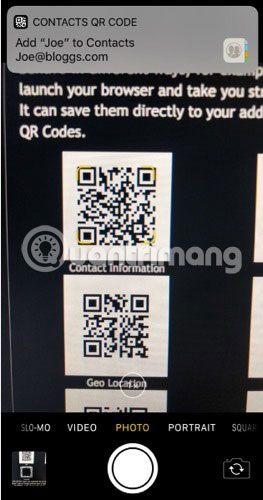
QR codes can be forgotten by most users (except marketers), but that does not mean that QR codes are not worth considering. QR code utility opens Camera QR Code and scans every visible code. After being scanned, the message containing the QR code content will appear at the top of the screen. If the QR code contains a text string, the message will provide a shortcut to Safari to search for the term. If the QR code contains contact information, the message will provide the option to create a new contact from that information. The QR Code URL will provide a message containing a link to the referenced website and a message-type QR code that can create an appropriate email or text message. If you don't touch the notification, nothing will happen.
8. Additional tips
- Timer: Usually, this utility provides a shortcut to the Timer panel in the Clock application . But if you click and hold on this utility, you will have an option to set the timer directly from the Control Center.
- Calculator: Click and hold to copy the final calculation result.
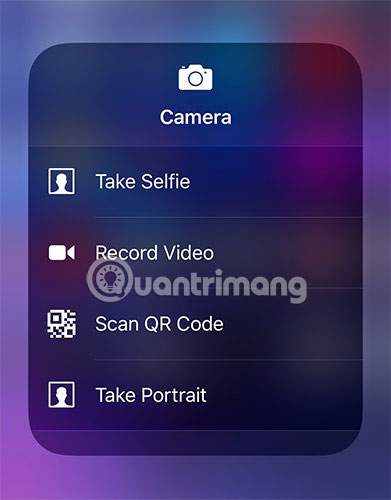
- Camera: Press and hold to have 4 front camera access options, video recording, portrait mode or camera mode scanning QR codes.
The most useful utilities in the Control Center contain many 'secret' functions. Hopefully the above article has helped readers discover more exciting new features on iPhone!
Wish you take advantage of these tips successfully!