Table of Contents
This guide provides a practical overview of Virus Removal Shortcut in USB, including its main features, benefits, limitations, and important considerations.
To destroy the virus creating the shortcut we will use a software called USBFix, this is a famous antivirus software in USB that is quite famous and very safe so you can safely use it.
You can download the application at the following link:
Homepage link: https://www. usb-antivirus. com/download/usbfix/
Or the latest FileHippo link: https://filehippo. com/download_usbfix/
After downloading, you can double click the file to run the application without installation.
Note : Please turn off the network before running to avoid the application to start updating the new version because otherwise the application will not run. And the update is not necessary.
After starting the application, the interface will look like the image below:
You connect the USB to the computer and then select RUN AN ANALYSIS

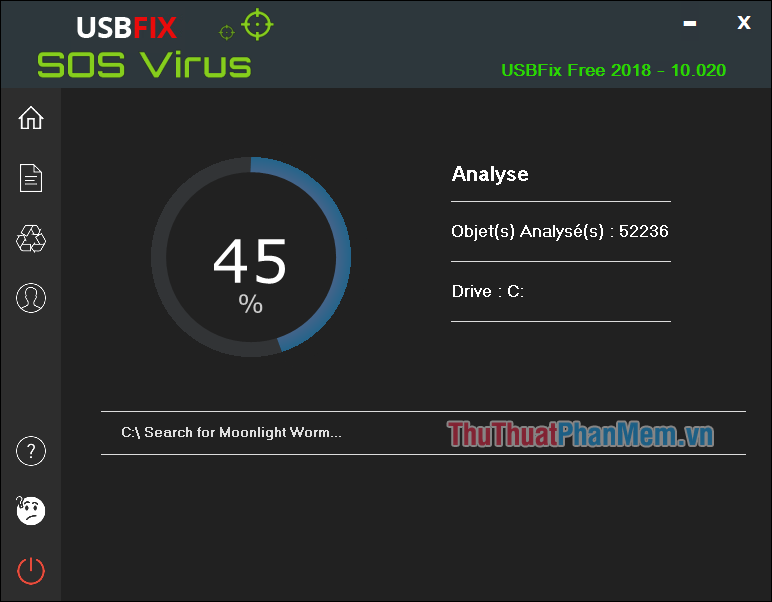
Next you select SCAN USB DISKS and the program will begin scanning your USB.

Wait a moment for the virus scan to complete:
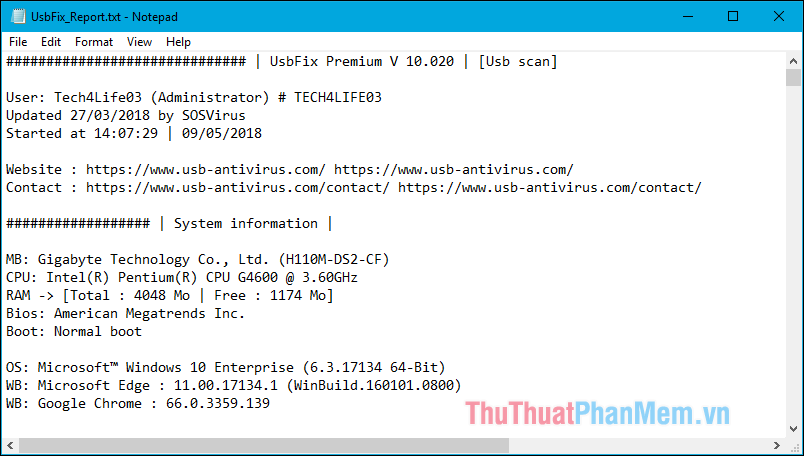
After the scan is completed, a virus scan report will appear, you do not need to care about this report:
Now check your USB to see if the shortcut is over. Good luck!
FAQ
What should I know about Virus Removal Shortcut in USB?
Focus on the key features, requirements, limitations, and practical use cases explained in this guide.
How do I get the best results with Virus Removal Shortcut in USB?
Follow the recommended steps, use current software or information, confirm compatibility, and review settings before major changes.
Are there any risks or limitations?
Potential limitations depend on compatibility, data quality, cost, privacy, support, and how the product or method is used.
Related Articles
 The Shortcut Virus Removal Has Never Been This Simple11 minutes read
 How to Effectively Remove Shortcut Virus on Computer and USB6 minutes read
 Win32 Virus Expiro: Steps to Root Win32 Virus: Expiro9 minutes read
 How to Delete Malicious Programs Using Kaspersky Virus Removal5 minutes read
 Update the Avp Tool Kaspersky Virus Removal Tool Database7 minutes read
 3 Signs That Your Android Device Is Attacked by a Virus7 minutes read
Reader Comments 0
Sign in with email or Google to join the discussion.