How to write text on images in Google Docs
To write text on images in Google Docs, you will use additional support tools, different from the available options when inserting text into images in Word.
Table of Contents
To write text on images in Google Docs, you will use additional support tools, different from the available options when inserting text into images in Word . You can write text on images, or insert another image onto an image in Google Docs. Below are the steps to write text on images in Google Docs and insert images onto other images in Google Docs.
How to write text on images in Google Docs
Step 1:
At the interface in Google Docs, click Insert , select Drawing and select New to open the Google Drawings interface on Google Docs.

Step 2:
Click the image icon to insert the image you want to insert into your Google Docs document.

Step 3:
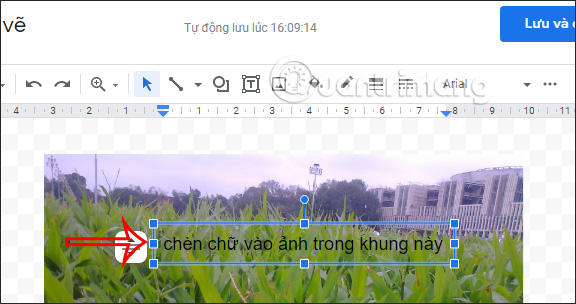
Next, the user clicks on the text icon to write text on the existing photo.

Then you just need to circle the image and write text on the image . Users can adjust the length of the text, to be on the same line or to a new line by adjusting the blue frame.
Step 4:
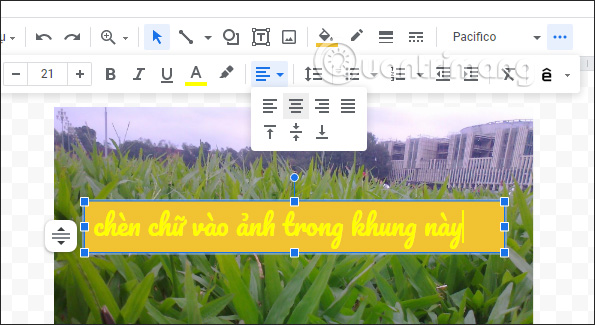
After writing on the photo, you can adjust the size, font, color, and even add a background to the writing. Next, you adjust the position of the text frame.
Step 5:
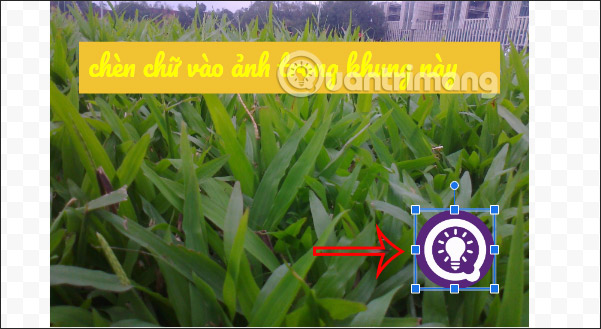
To insert another image over this image , click on the image icon and insert the image as usual.
Then you just need to move this image over the existing image at the position you want.
Add the text and images you need, then click Save and close in the top right corner to save.
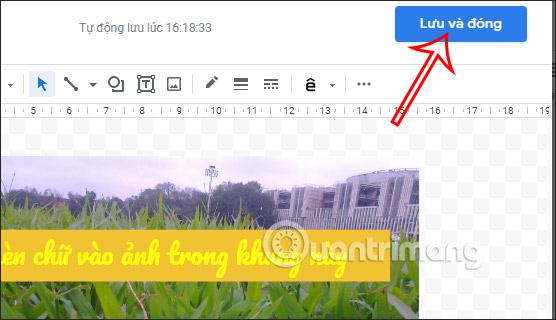
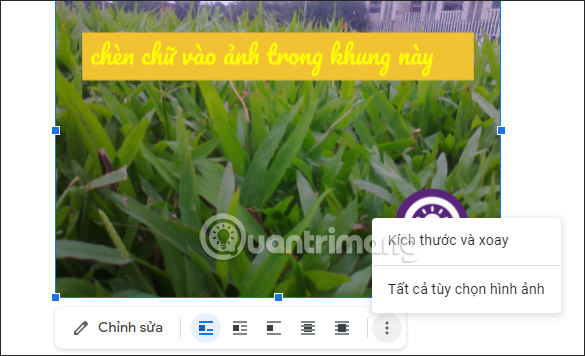
As a result, we have the text image inserted on Google Docs as shown below.
How to insert pictures on pictures in Google Docs
Step 1:
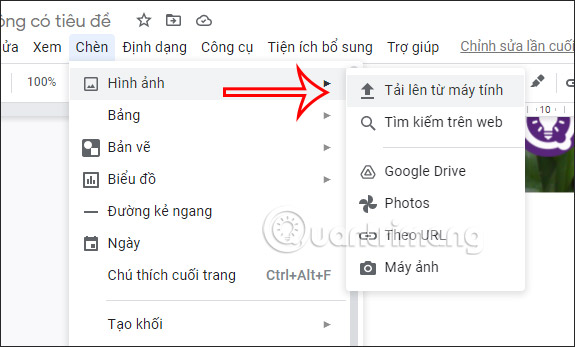
We insert images into Google Docs as usual. You continue to add the second image you want to insert into the first image.
Step 2:
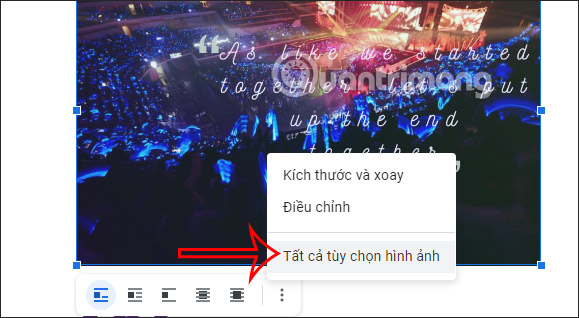
Tap on the first image then tap on the 3 dots option then select All image options .
Step 3:
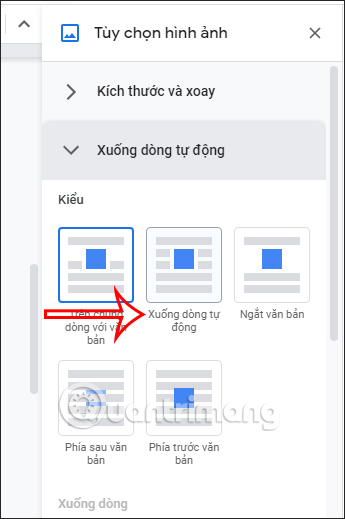
On the right side of the photo editing options screen, tap the Auto Wrap group and select Auto Wrap .
Step 4:
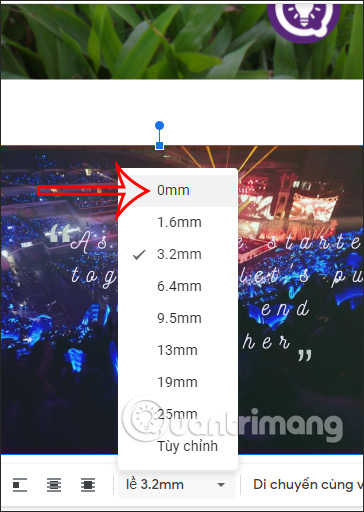
Go back to the first image , click on the margin item and select 0mm . Do the same with the second image .
Step 5:
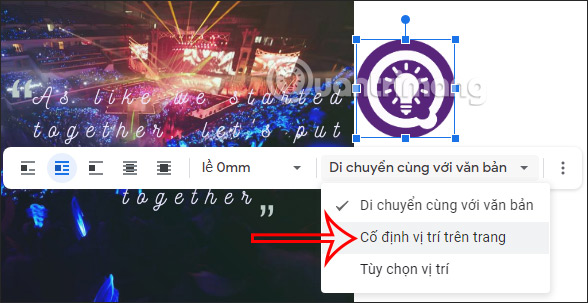
In case there is a document close to the position of the image that you want to fix the image position , then click on the option as shown in the image and select Fix position on page .
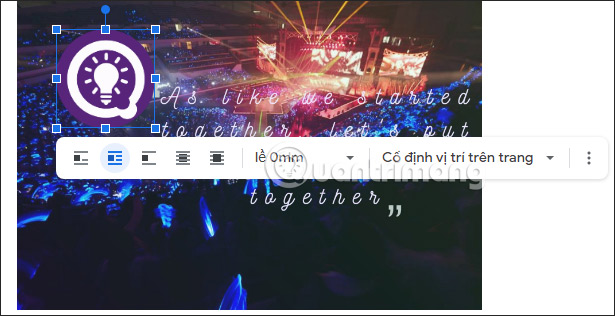
Now you just need to move the second image over the first image and you're done.
Video tutorial on writing text on Google Docs images
Was this article helpful?
Your feedback helps us improve.
Related Articles
 Add a text box or border around text on a Google Docs document10 minutes read
 How to strike through text in Google Sheets and Google Docs4 minutes read
 How to improve writing skills with Duet AI in Google Docs6 minutes read
 How to Add Frames Around Text on Google Docs10 minutes read
 How to stretch line spacing in Google Docs3 minutes read
 Instructions for translating text on Google Docs2 minutes read
Reader Comments 0
Sign in with email or Google to join the discussion.