Detailed guide on creating images in Google Docs using Gemini
Google Docs has integrated one of the most useful features supported by Gemin: the ability to create images with built-in capabilities..
Google Docs has integrated one of the most useful features supported by Gemin: built-in image creation. This allows you to create images directly within your document without switching between applications or navigating to external AI image creation tools . Here's how to create images in Google Docs.
Guide to creating AI images in Google Docs
Step 1:
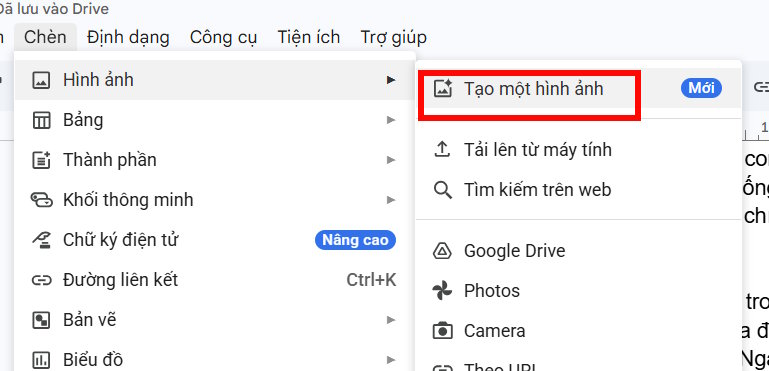
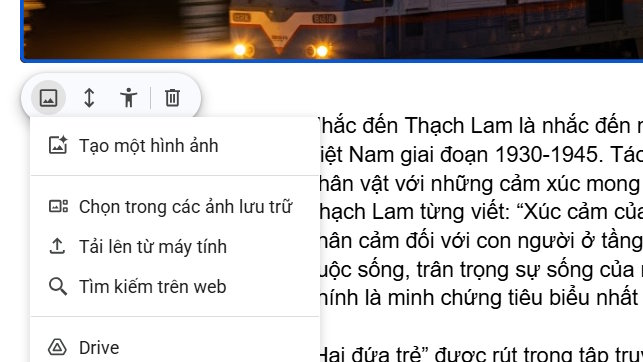
In the Docs interface, click Insert > Image , then click Create an image from the menu that appears.
Step 2:
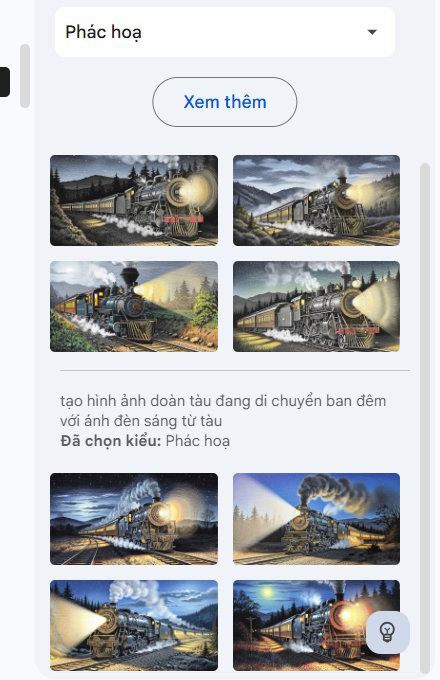
On the left side, you'll find the image creation customization interface. You can select the desired size and image category .
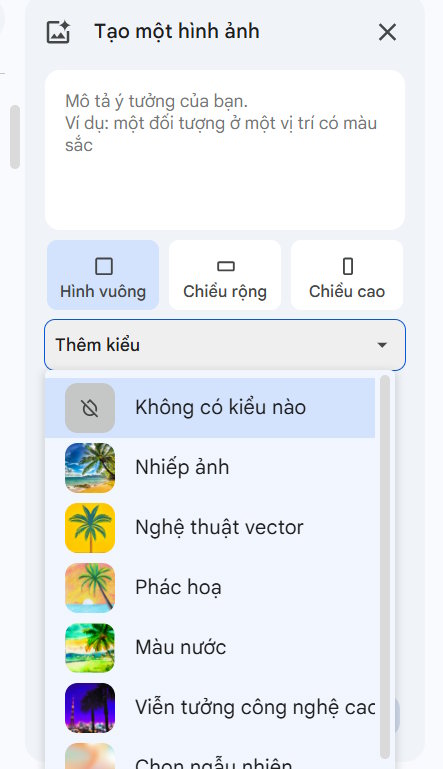
Now you need to enter a description of the image the AI wants to create. Be sure to include the subject, background, distance to the subject, and surrounding scenery in your commands. Avoid using figurative language in your commands.
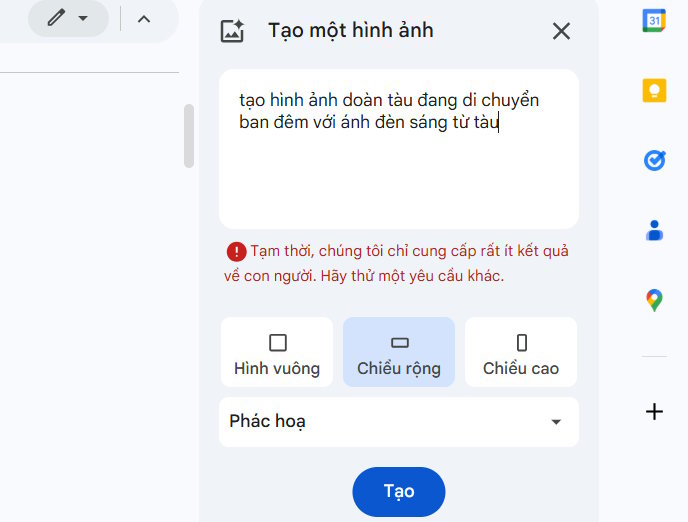
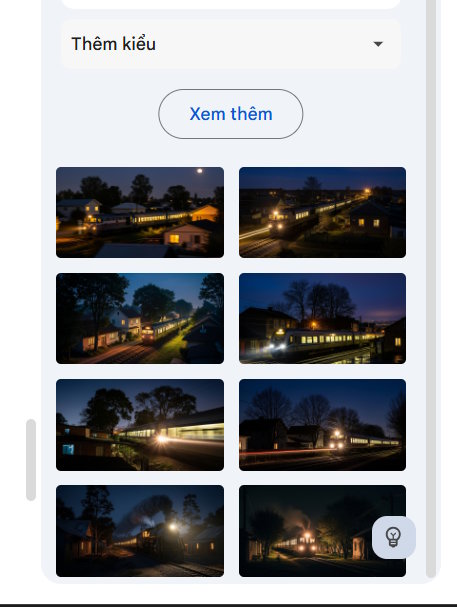
Then, four images from the command will be displayed ; click "View More" to expand. Choose the image you like and insert it into your document.
Use Gemini to create a Google Docs cover image.
Step 1:
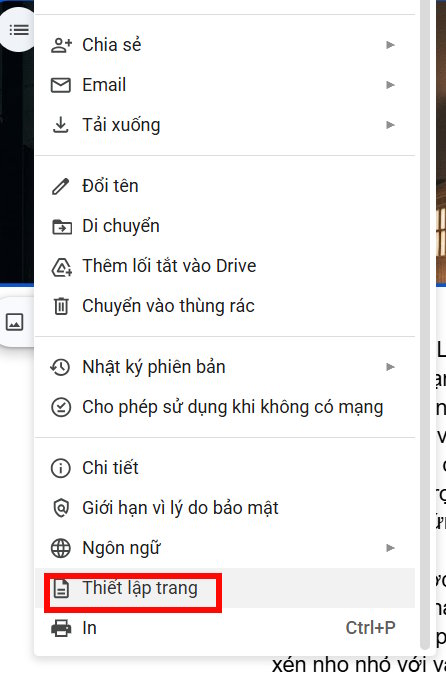
First, you need to enable Pageless Mode in Docs by clicking on File , then selecting Page Setup from the list.
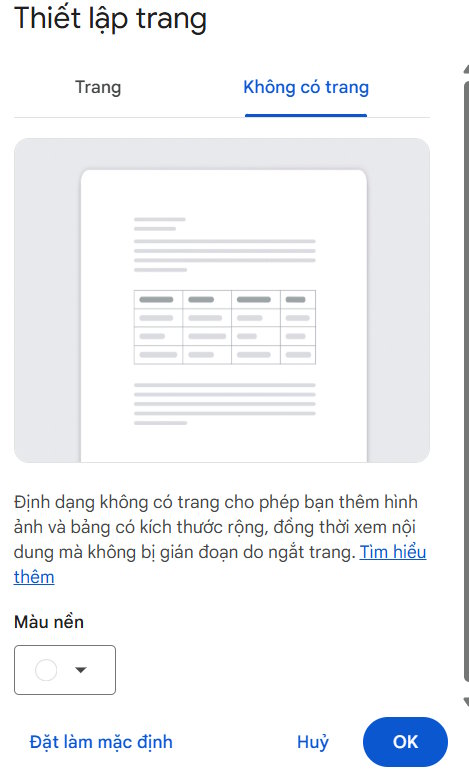
Now, click on "No page" and then click OK to create the cover image in Docs.
Step 2:
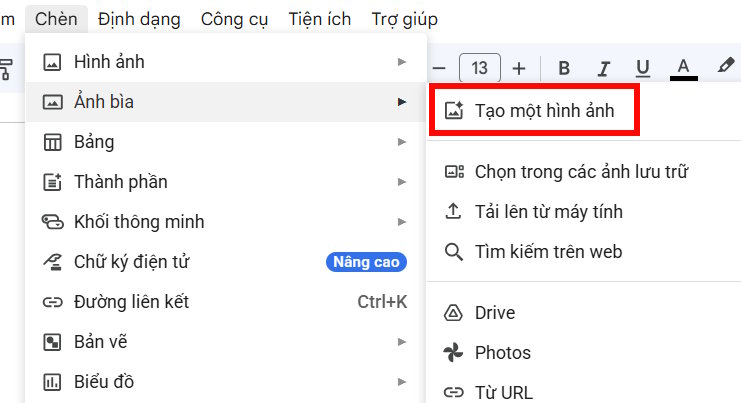
Next, the user clicks on the Insert tab , then selects Cover Image . Here, we choose Create an image .
Step 3:
Then you also need to select the size and type of image you want to use, enter the command, and then click Create below.

Step 4
Display cover images so you can choose an AI cover image for your document.
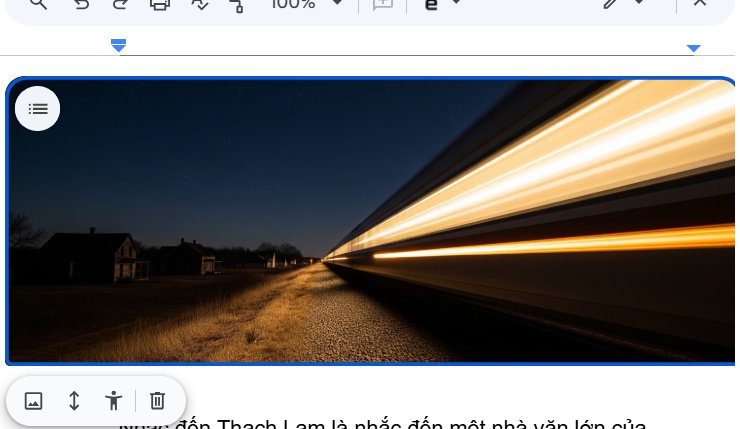
Clicking on the image will reveal options for the cover photo, including:
- Replace image: Click on Replace image.
- To move it back to its original position: Click on Move it back to its original position.
- To find alternative text: Click on Alternative text.
- Erase
The result is an AI-generated cover image created on Google Docs using Gemini, as shown below.