How to use Git to sync notes easily
Another use many people find in Git is the ability to sync notes after being frustrated by traditional note-taking applications.
Table of Contents
If you see someone using Git for non-programming tasks, don't assume they're just trying to show off their programming skills. Git can be used to track changes to any text file, and many people use it for a number of non-programming tasks on a daily basis.
Another use many people find in Git is the ability to sync notes after being frustrated by traditional note-taking apps. It's simpler than you think, more flexible, and can be one of the smartest workflow decisions you ever make.
Why is Git superior to traditional cloud sync?
Git works great, no weird sync issues
Traditional cloud sync is great for sharing media and files, but it's not really designed for serious note-taking. The first problem you'll run into is version control.
If you accidentally delete a paragraph or mess up your notes, the best way to do it is to restore an older save of the same document. Git, on the other hand, tracks every change you make. You can see exactly what your notes looked like at any point in time with just a few clicks, and revert back to the present if needed.
Using Git for note-taking isn't about learning all its advanced features. It's about understanding that commits create a snapshot of your notes, freezing them in time and making your thought process and progress clearly accessible in the future. That's something cloud sync services can't do.
Another benefit is the way Git handles conflicting changes. If you change a file on your PC and then change it again on your phone, cloud sync may not accurately reflect all of your changes. Git handles conflicts in a much more efficient and systematic way, allowing you to see exactly what changed and decide how to merge those changes.
Using Git to sync notes is simpler than you think
With just a few clicks or commands, your notes will be perfectly synchronized.
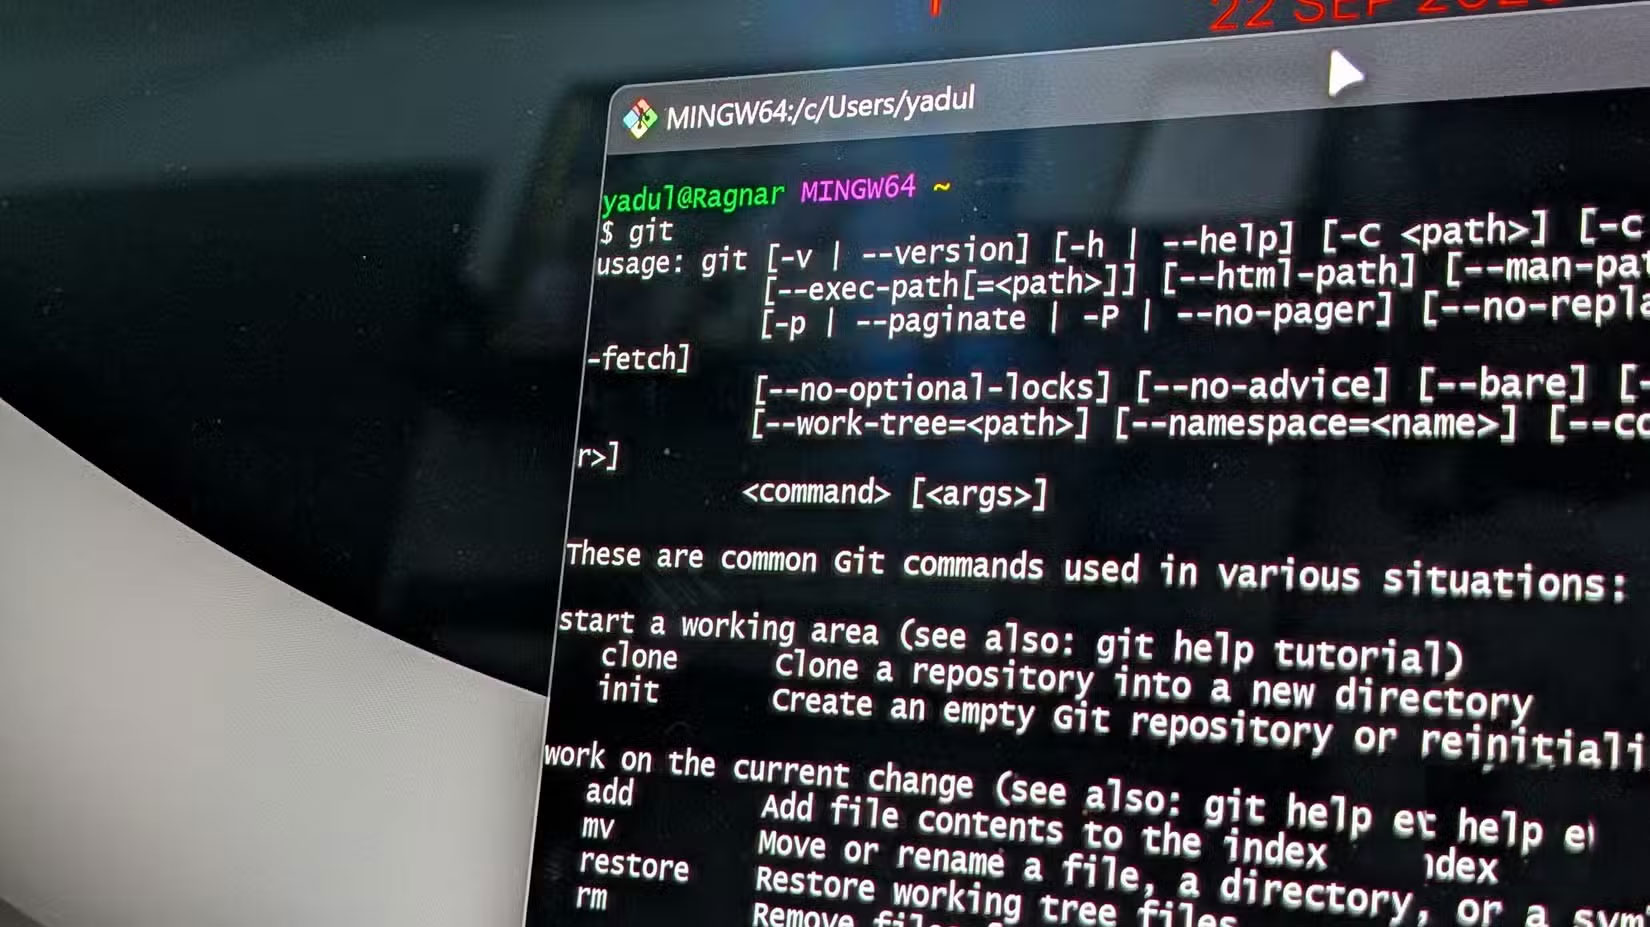
If you've never used Git before, this can seem daunting, especially since the default way to use it is through the terminal. Luckily, you only need to know a few basic commands to use Git for note-taking.
Start by downloading Git for your Windows, macOS, or Linux computer and running the installer to set it up. Then, create a directory for your notes and initialize it by running the command
git initOnce complete, run the following commands to create your first backup.
git add . git commit -m "initial Note commit"You can freely change the commit message to something else if you like. These messages mark changes in your repository, so it's important to learn how to write effective and useful Git commit messages. If you want to sync to the cloud, create your first repository on GitHub and run the following command to connect it to your notes folder.
git remote add origin [URL kho lưu trữ]And that's it! Git is now ready to sync your notes and track all the changes you make. Day-to-day usage is handled with three simple commands:
- git add . : Stage changes before committing
- git commit -m [commit message] : Create a snapshot of all changes and commit them to the repository with the provided message
- git push : Send your changes to the cloud, such as syncing them with your GitHub repository.
Getting started can be a bit daunting, especially if you've never used Git before or aren't particularly familiar with the terminal. However, there are interactive resources for learning Git that can make the process a lot easier. You'll also find plenty of free tutorials on YouTube that cover the basics, and honestly, that's all you need.
Was this article helpful?
Your feedback helps us improve.
Related Articles
 How to share Sticky Notes between computers6 minutes read
 How to Keep Your Notes in Perfect Sync Everywhere Without Spending a Dime7 minutes read
 How to create a sync note on Google Drive4 minutes read
 How to use the Firefox Notes note utility5 minutes read
 Instructions to automatically synchronize any folder between your computer and Android3 minutes read
 How to set Notes password on iPhone2 minutes read
Reader Comments 0
Sign in with email or Google to join the discussion.