How to Update DirectX Settings
Microsoft DirectX is a set of Application Programming Interfaces (API) required for running the multimedia features on Windows. It is most commonly used with gaming and video applications. There is no way to access or make changes to...
Table of Contents
Method 1 of 2:
Checking Your Version of DirectX
-
 Click the Windows Start menu. It's the button that has a Windows icon in the taskbar. By default, it's in the lower-left corner of your desktop.
-
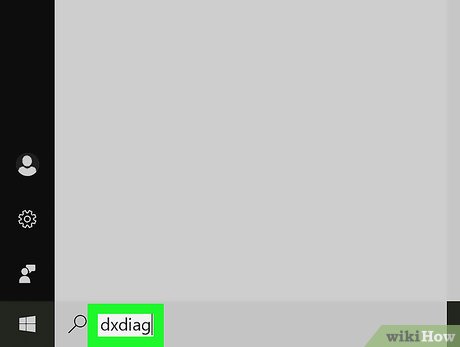 Type dxdiag. This displays a list of matching applications in the Windows Start menu.
 -
 Click dxdiag. It's next to a purple icon with a yellow "X". It's at the top of the Windows Start menu. This displays the DirectX Diagnostic Tool.
 -
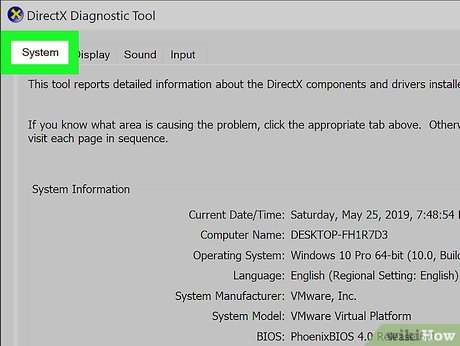 Click the System tab. It's the first tab at the top of the DirectX Diagnostic Tool window. This displays the "System Information" list.
 -
 Check your version of DirectX. It's next to "DirectX Version" at the bottom of the "System Information" list. The latest version of DirectX is DirectX 12.
- Click the other tabs at the top of the DirectX Diagnostic Tool, and then look at the box at the bottom of the window to see if there are any detected problems with DirectX.
Method 2 of 2:
Update DirectX
-
 Click the Windows Start menu. It's the button that has a Windows icon in the taskbar. By default, it's in the lower-left corner of your desktop.
-
 Click Settingsicon. It's the icon that resembles a gear on the left side the Windows Start menu. This displays the Windows Settings.
-
 Click the Windows & Securityoption. It's the last option on the Windows Settings page. It's next to an icon that resembles two arching arrows that form a circle.
-
 Click Check for updates. It's the grey button at the top of the "Windows Update" page. This checks for updates and downloads and installs any needed updates on your Windows computer.
Was this article helpful?
Your feedback helps us improve.
Related Articles
 What is DirectX 12? How important?6 minutes read
 DirectX 11 - Download DirectX 11 here2 minutes read
 What is DirectX and why is it so important?7 minutes read
 What is Microsoft DirectX?8 minutes read
 How to download Direct X and install DirectX on your computer4 minutes read
 How to Update DirectX4 minutes read
Reader Comments 0
Sign in with email or Google to join the discussion.