How to Install macOS on a Windows Computer
Prepare for installation
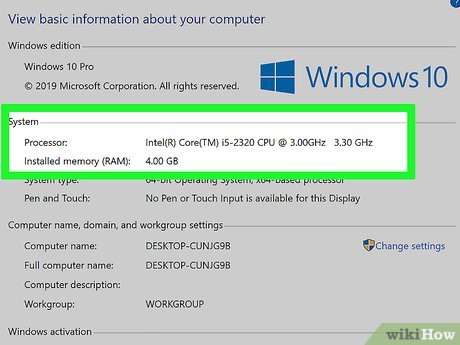
Check computer specifications. To run macOS High Sierra, a computer using the Windows operating system must be equipped with an Intel i5 or i7 processor and have at least 2GB of RAM. To check these parameters, you can do the following:
Open Start .
Type system information(system information).
Click System Information at the top of the menu.
Look at the name of the processor to the right of the "Processor" heading.
Scroll down and check the parameter to the right of the "Installed Physical Memory" heading.
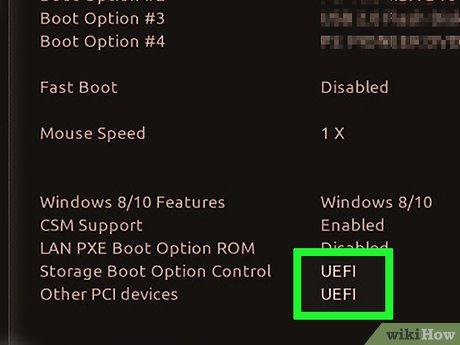
Check your computer's BIOS type. That's the information next to the "BIOS Mode" heading in the System Information menu. Please check whether it is "UEFI" or "BIOS" and remember this information for later operations.
At this point, you can close the System Information menu.

Determine the version of the computer . There are two types of computers: 32-bit and 64-bit. To install macOS, your computer must support a 64-bit operating system.
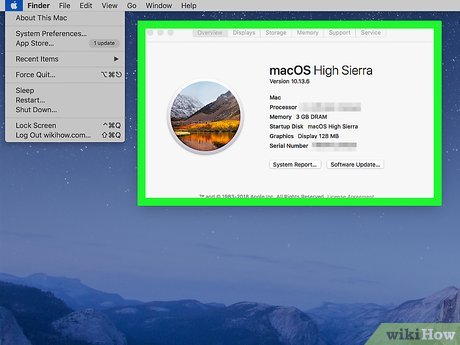
Make sure you have access to a newer Mac: it must be able to load macOS High Sierra.
If that Mac can't run macOS High Sierra, you'll have to use another one that can.
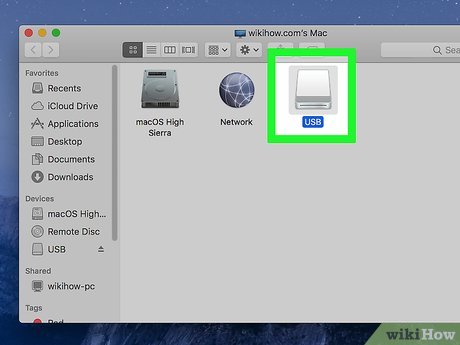
Collect necessary equipment. To install macOS High Sierra on a Windows computer, you need the following hardware:
USB drive – This USB needs to have a capacity of at least 16 GB.
Empty hard drive - This spare hard drive needs to have at least 100 GB capacity (you will install mac OS here, so the larger its capacity the better).
USB-C adapter – If your Mac doesn't have a traditional USB port, you'll need a USB-C to USB-3.0 adapter.
Download Unibeast
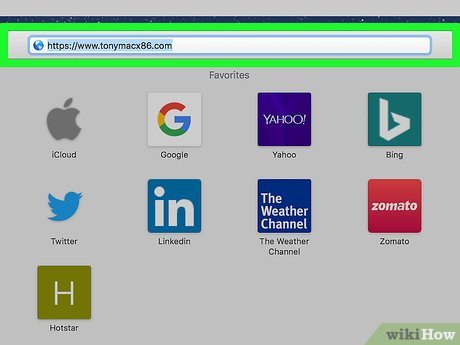
Go to Unibeast's download page on your Mac. That is https://www.tonymacx86.com/. Make sure you're accessing it from a Mac because the folder will download the wrong app if you do so on a Windows computer and then switch to a Mac.
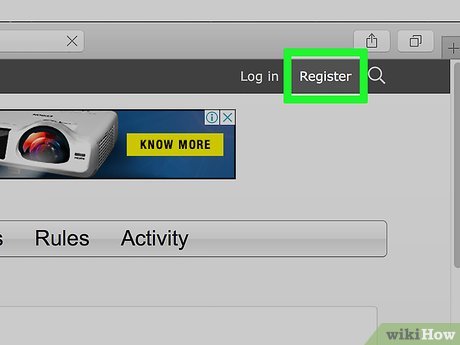
Tap Log in or Register. It's at the top right of the page. A new menu will appear at the top of the page.
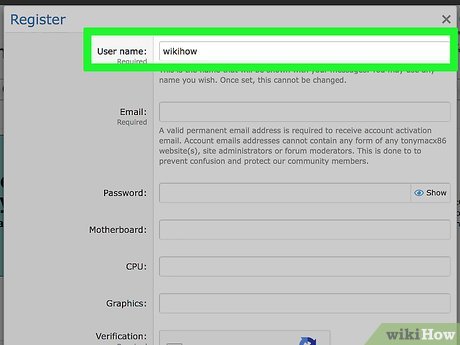
Enter your email address in the "Email address" field. Make sure you can access this email easily – you'll have to log in and verify your email address later.
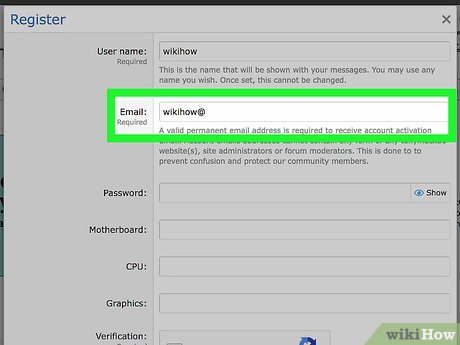
Check the "No, create an account now" box near the bottom of the menu.
Click Sign up . At this point, you will be redirected to the account creation page.
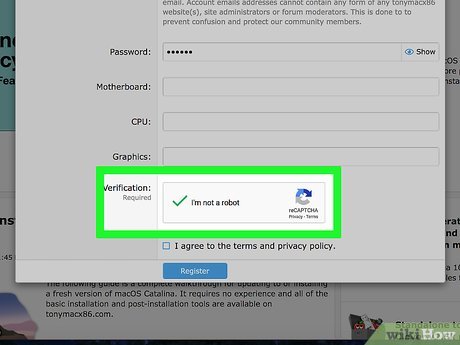
Enter the required information, including the following fields:
Name — Enter the name you want to use for your account.
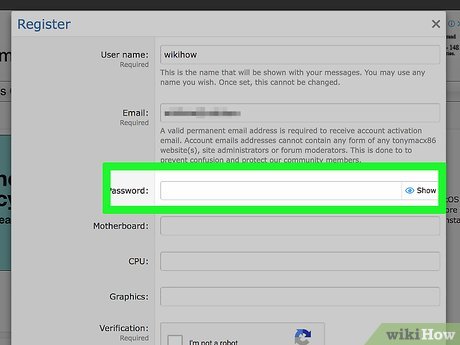
Password — Enter the password you want to use to sign in.
Confirm Password — Re-enter the password you just entered above.
Date of Birth — Select your date of birth.
Location (Country) — Enter the name of your country.
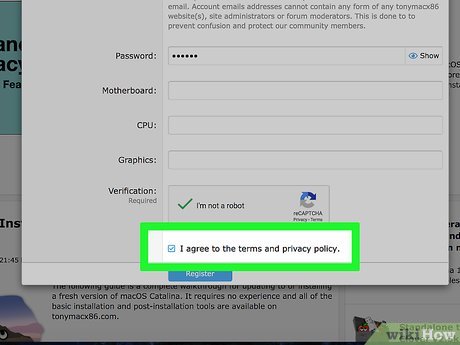
Check the "I agree to the terms and rules" box near the bottom of the page.
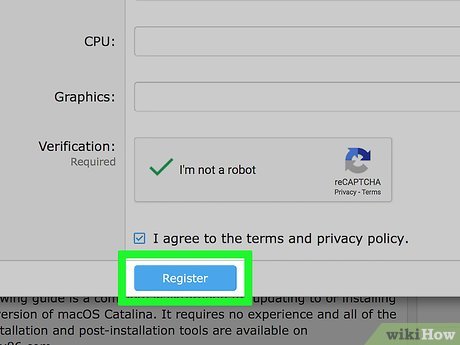
Click the Sign up button at the bottom of the page to create an account and send a confirmation email to the email address you provided above.
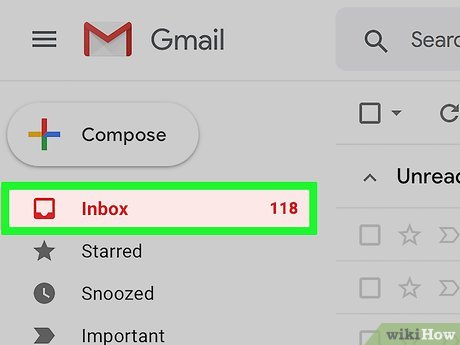
Go to your email inbox. Please log in to the email address you used to register your account. To open this mailbox, you may have to log in with your email address and password.
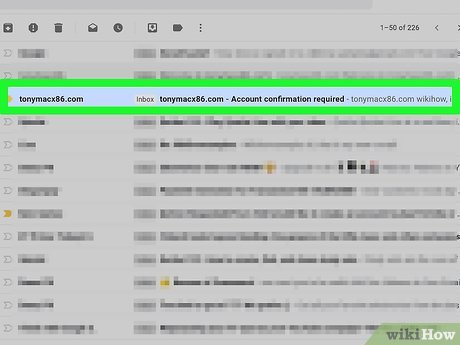
Open the confirmation email by clicking the email from "tonymacx86.com".
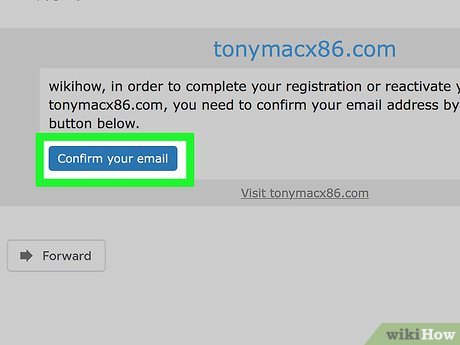
Click the confirmation link. Click the link below the "Confirm Account" text in the middle of the email. At this point, you will be redirected back to the Unibeast download page.
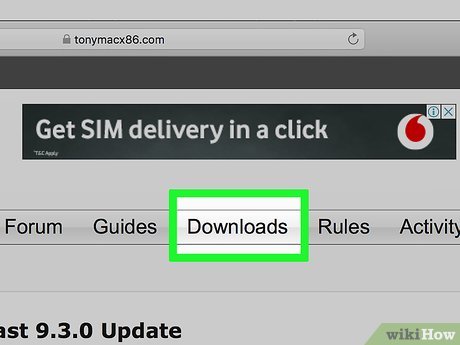
Double-click the Downloads tab . It's on the right side of the row of tabs near the top of the page. At this point, the Downloads page will appear.
If only a drop-down menu appears, click the Downloads tab again.
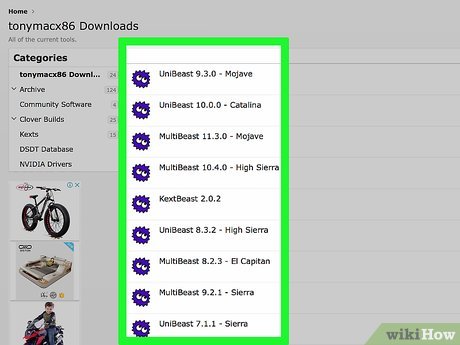
Scroll down and click Unibeast . Make sure you click on the Unibeast version next to the largest number.
For example, the latest version of Unibeast at the time of this article, May 2018, is 8.3.2.
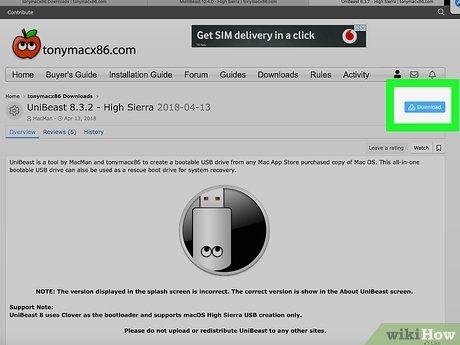
Click the Download Now button in the upper right corner of the page to download Unibeast to your Mac.
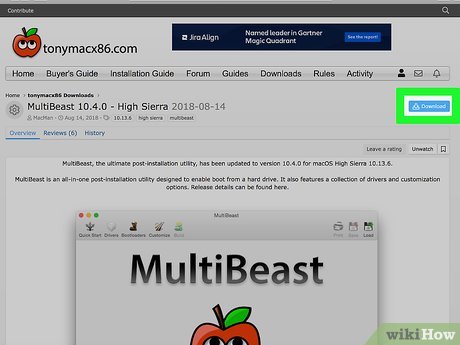
Download Multibeast. Provided on the same page as Unibeast, Multibeast allows you to install drivers to use devices/utilities such as computer speakers, internet,.
Double-click the Downloads tab again .
Click Multibeast - High Sierra 10.2.0
Click the Download Now button in the top right corner of the page.
Download the macOS High Sierra installation program
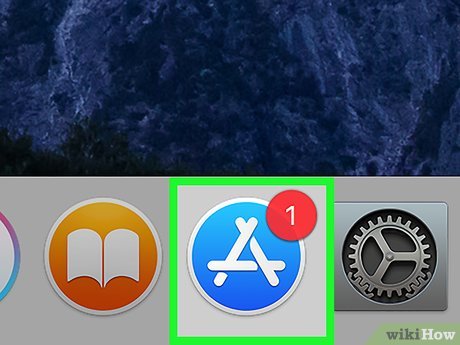
Open the App Store on your Mac. From the Dock toolbar, click the App Store app icon, which resembles a white "A" on a blue background.
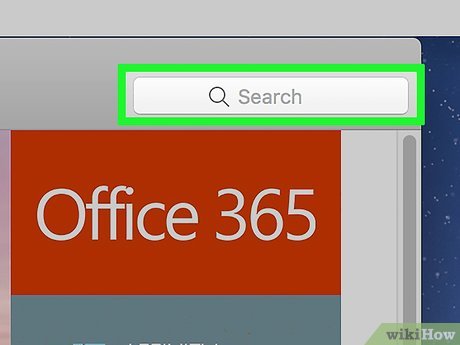
Click the search bar in the upper right of the App Store window.

Find High Sierra. Type high sierrain the search bar and press ⏎ Return.
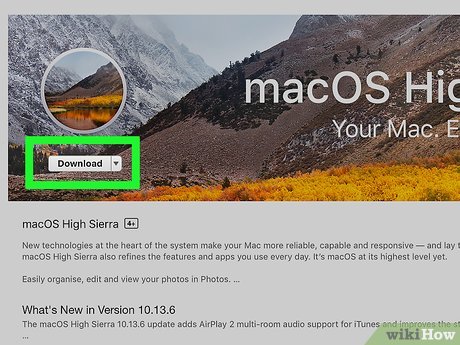
Click the Download button to the right of the High Sierra icon to begin downloading the installer to your Mac.
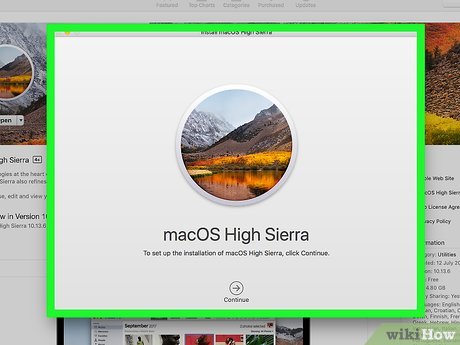
Wait for the installation program window to appear and then close it immediately.
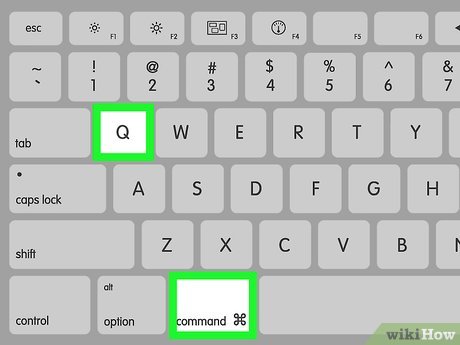
Press ⌘ Command+Q when the settings window is opened to close it.
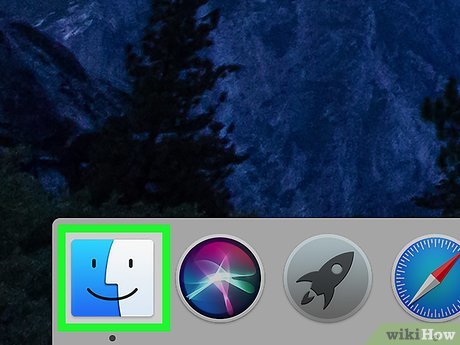
Open the Finder search program by clicking the blue face icon on the Dock toolbar.
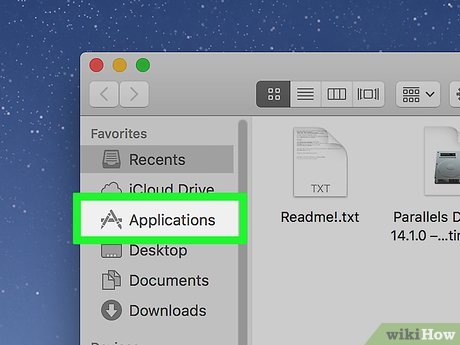
Click the Applications folder on the left side of the Finder window.
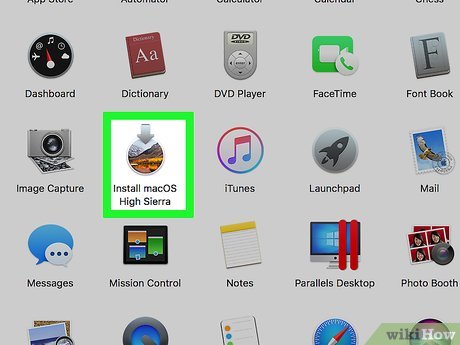
Make sure your installer is there. This program will be called "Install macOS High Sierra" or something similar and will have a picture of a mountain range. To continue, the installation program must be present in the Applications folder .
If not, try downloading High Sierra again.
Format your USB
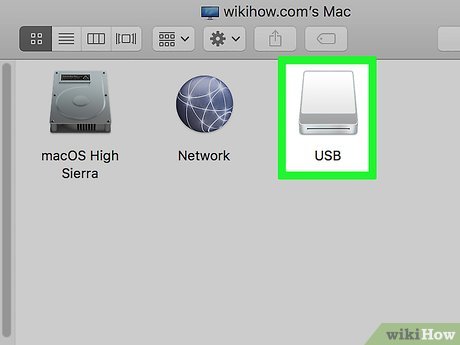
Plug the USB into your Mac. This is a USB with a minimum capacity of 16GB that you will use to install macOS High Sierra on your computer.
If your Mac doesn't have a traditional USB port, you'll first have to connect a USB-C to USB-3.0 adapter.
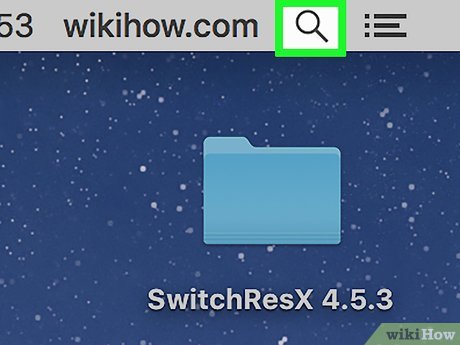
Open Spotlight by clicking the magnifying glass icon in the upper right corner of the screen. A search bar will appear.
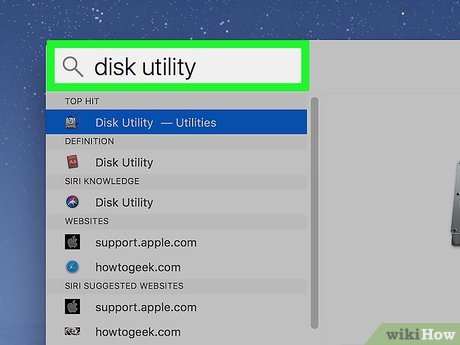
Type disk utility(Disk Utility) into Spotlight to find the Disk Utility app on your Mac.
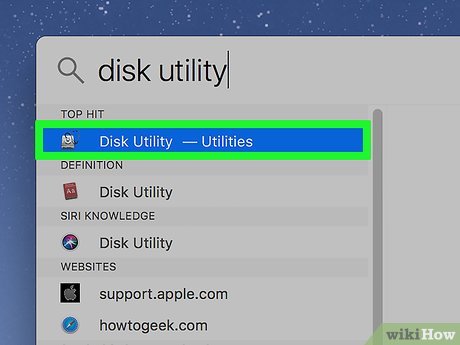
Click Disk Utility below the Spotlight search bar to open it.
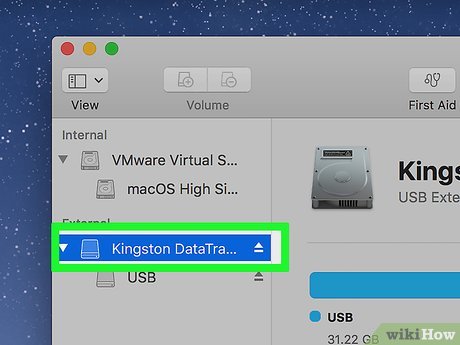
Click the name on the left side of the window to select your USB.
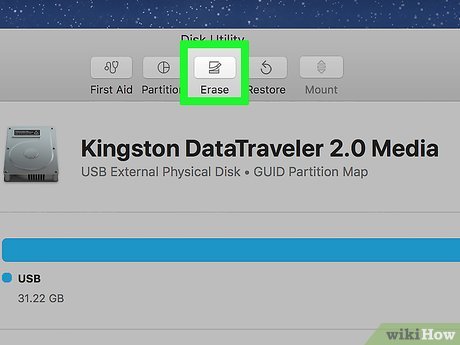
Click the Erase tab . It's near the top of the window. A new box will appear.
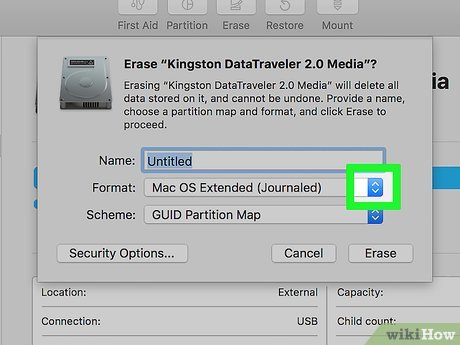
Click the "Format" drop-down box. This box is located in the middle of the box just opened above. The Format menu will drop down.
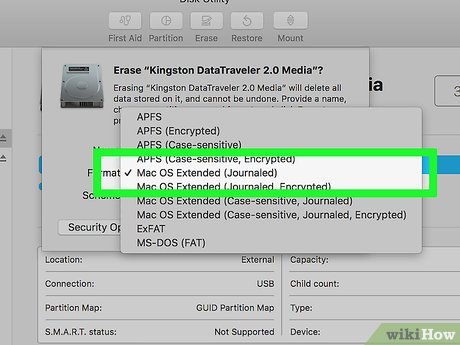
Click OS X Extended (Journaled) to format the USB file system according to this standard.
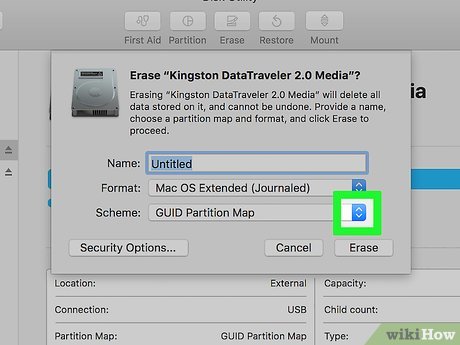
Click the "Scheme" drop-down box. This box is located directly below the "Format" box.
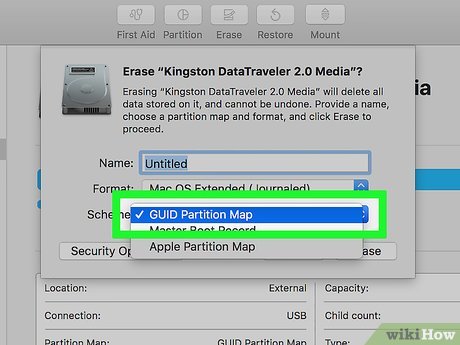
Click the GUID Partition Map option in the "Format" drop-down menu.
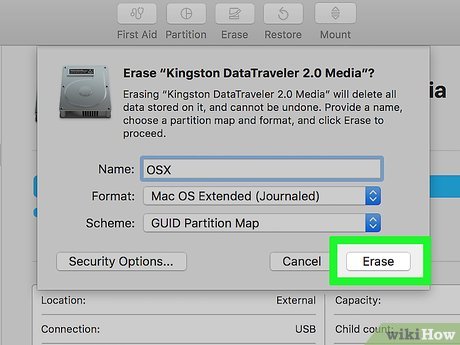
Click Erase to reformat the USB according to your Mac's file system.
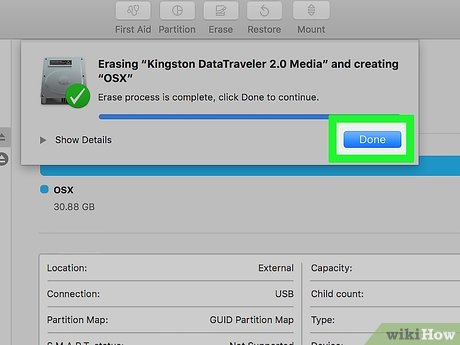
Click Done when prompted. Now you can continue with creating the installation drive.
Create Unibeast installation tool
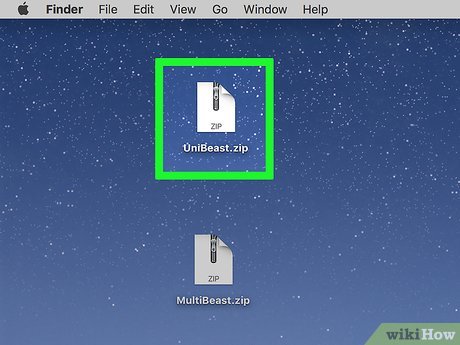
Open the Unibeast folder. Double click the Unibeast folder to unzip and open it.
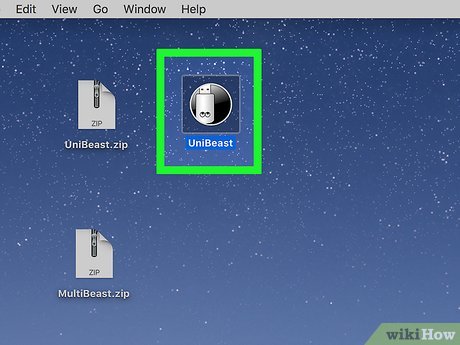
Open Unibeast by double-clicking the Unibeast PKG file.
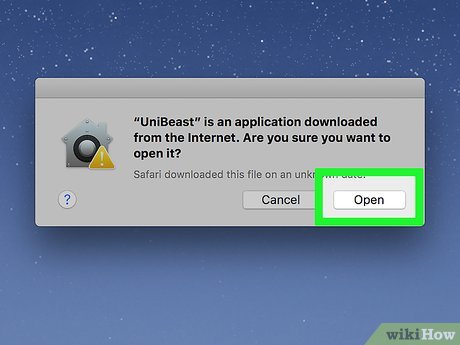
Double-click the Open button when prompted to open the Unibeast setup window.
If your Mac is running macOS Sierra or later, to proceed you will have to authenticate the Unibeast installation.
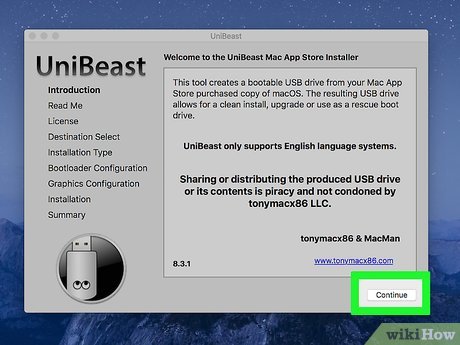
Click Continue four times. This button is located in the lower right corner of the first four pages of Unibeast's setup window.
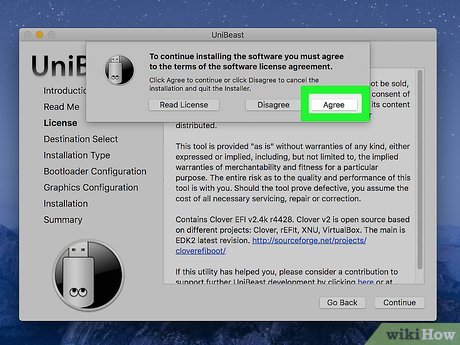
Click the Agree button at the top of the window when prompted.
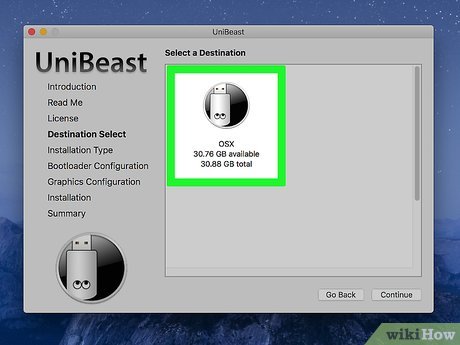
Select your USB then click Continue . To select USB, click on its name.
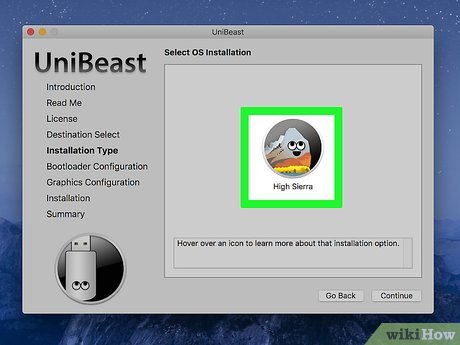
Select High Sierra then click Continue . The High Sierra section will be in the middle of the page.
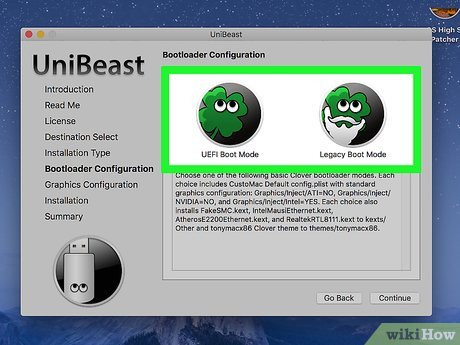
Select motherboard type. Your choice will depend on whether your Windows computer uses a UEFI- or BIOS- motherboard:
UEFI — Click UEFI Boot Mode and then click Continue .
BIOS — Click Legacy Boot Mode , then click Continue .
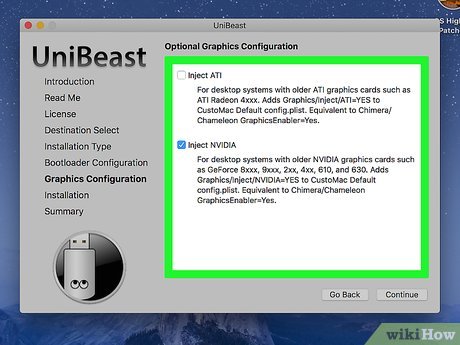
Select graphics card options if necessary then click Continue . Check the box next to Inject [card name] to select your desired graphics card setup.
If your graphics card supports Mac OS High Sierra by default, skip this step.
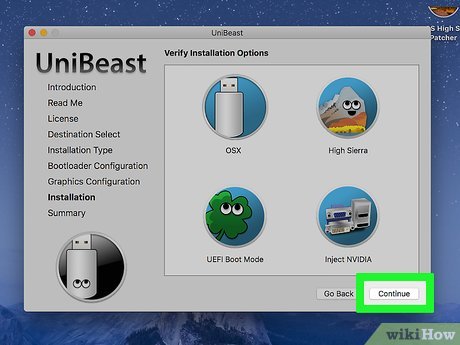
Click the Continue button in the lower right corner of the page. At this point, you will be asked to enter your Mac password.
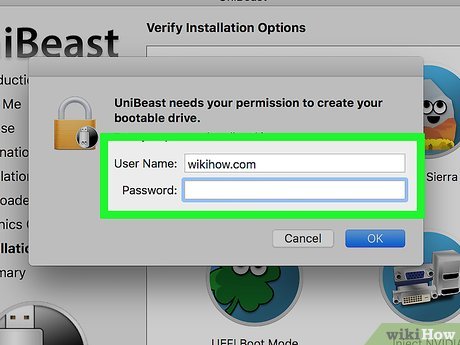
Enter your Mac password. That's the password you use to log into your Mac.
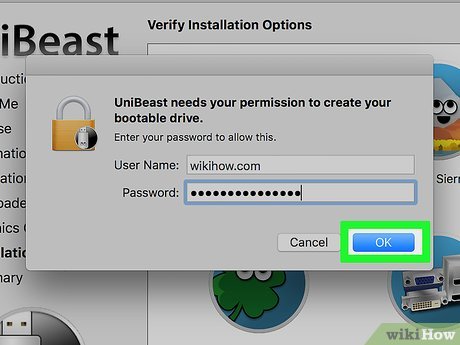
Click OK for Unibeast to start installing on USB. Once the installation is complete, the USB will be ready for installing macOS High Sierra on your PC. In the meantime, you should change the boot order of your Windows computer.
Change Windows boot order
Unplug any USB devices from your Windows computer, especially USB drives.
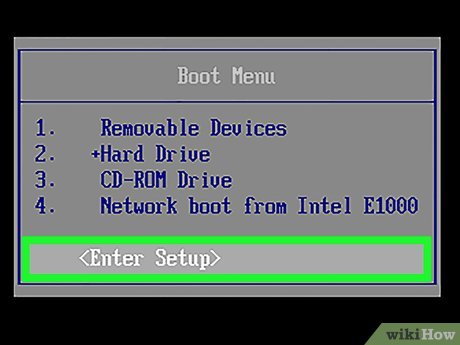
Go to your computer's BIOS or UEFI setup page . Although it is not consistent across different computers, in general, you will usually have to restart the computer and then repeatedly press a certain key (such as Del) as soon as the computer starts up.
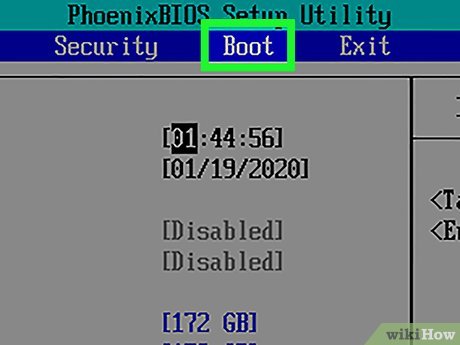
Go to the "Boot Order" section. Usually this section is located on the main BIOS page. However, you may have to use the arrow keys to navigate through the "Boot" or "Advanced" tab.
The "Boot Order" section is not the same between BIOSes. If you can't find this page, consult your motherboard's documentation or look up your computer model online to find direct instructions for your BIOS page.
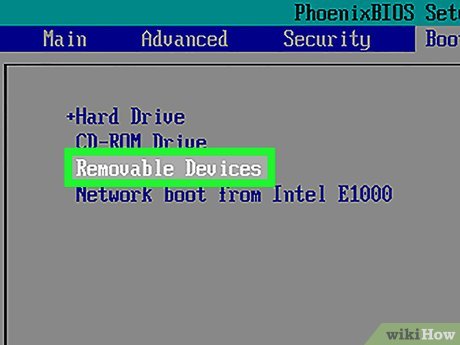
Select Removable Devices . Use the arrow keys to move the flashing bar down to the Removable Devices section .
On some sites, this section may be named USB Devices or something similar (such as Peripherals ).
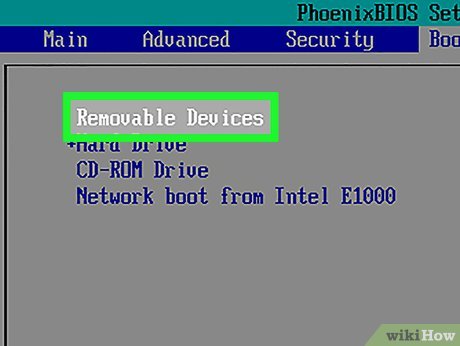
Move the selection to the beginning of the list. Usually here you will have to press the + key while the boot location you want to use is selected until it is moved to the top of the "Boot Order" list.
You can check which key to use in the legend usually located on the right side or at the bottom of the BIOS page.
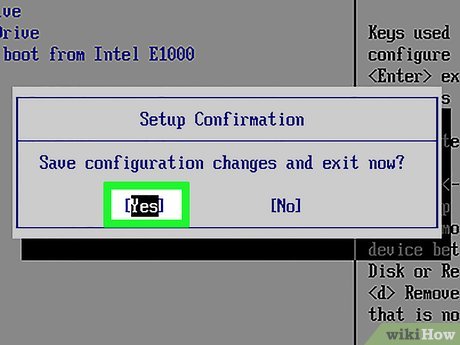
Save settings and exit BIOS. Find the key you will have to press to save changes and exit the BIOS in the legend on the right side of the page and press it to toggle the boot priority of your Windows computer so that when Plugged into the machine, the installation USB will be selected as the boot point.
You may have to press another key to confirm this selection.
Install macOS on PC
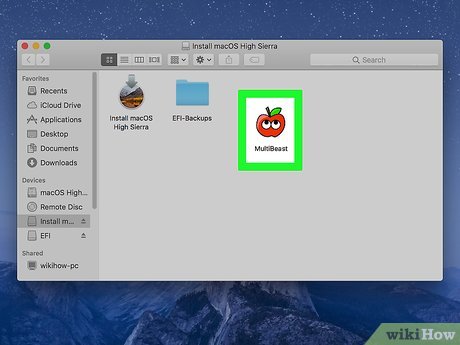
Transfer Multibeast to USB by opening the USB folder and dragging the Multibeast file in. Later you will have to use Multibeast. Therefore, storing it on USB will make everything much more convenient.
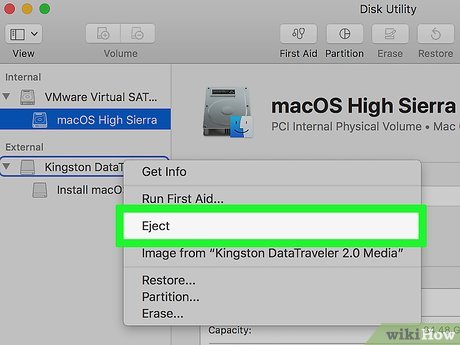
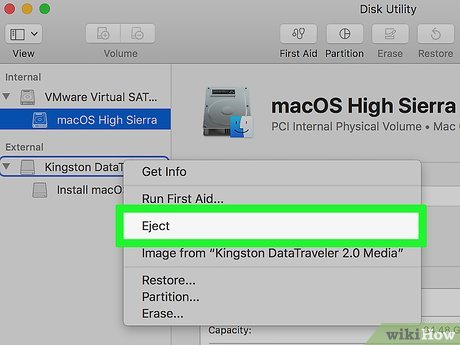
Disconnect the Unibeast USB and Mac. Go to Finder, click the ⏏ Eject(Exit) icon to the right of the USB's name in the upper left corner of the Finder window. At this point, you can remove the USB from the device.
Make sure Unibeast has been installed before proceeding.
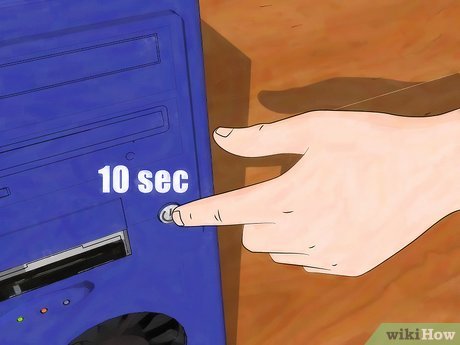
Turn off your Windows computer by pressing and holding the Power button until the computer turns off completely. Usually the computer will turn off after one to two seconds of screen display.
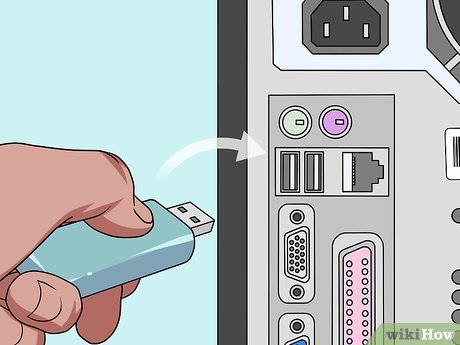
Plug both the Unibeast USB and the empty hard drive into the computer. They will usually fit into the USB port on your computer.
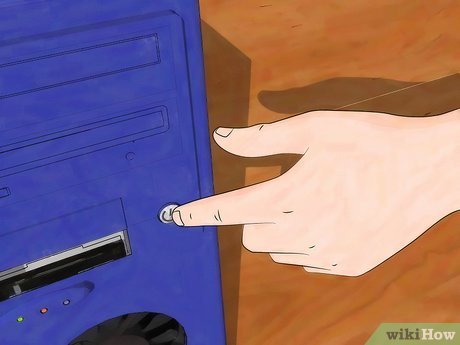
Start your computer running Windows. Press the Power button. When given the opportunity, the computer will choose the USB you just plugged in as the boot location.
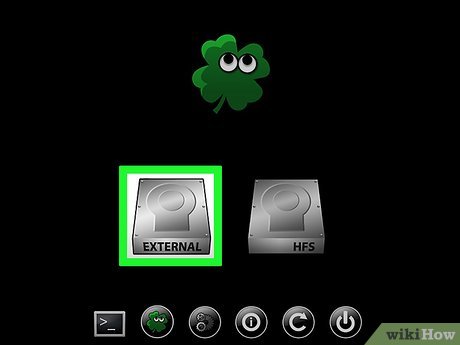
Select USB when prompted, then tap ↵ Enterto begin the macOS installation process.
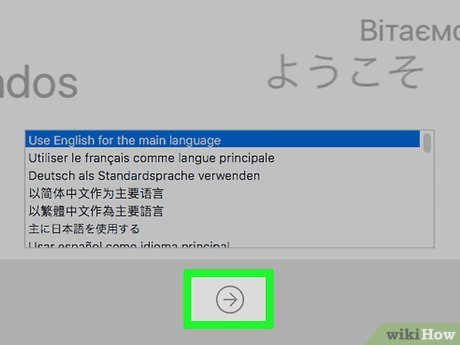
Select a language then press → . You will be redirected to the next installation page.
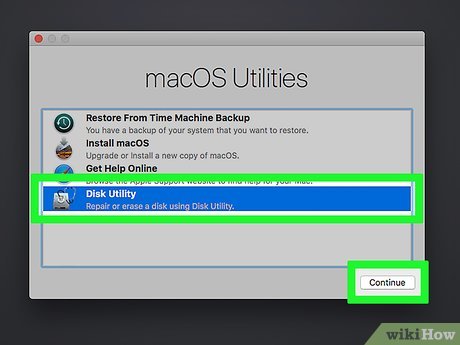
Click Continue twice. This button is located in the lower right corner of the page.
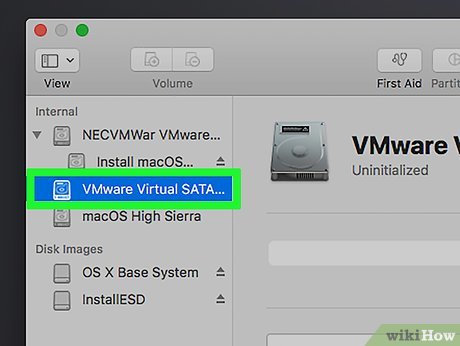
Click Agree when prompted. This button will appear at the top of the screen.
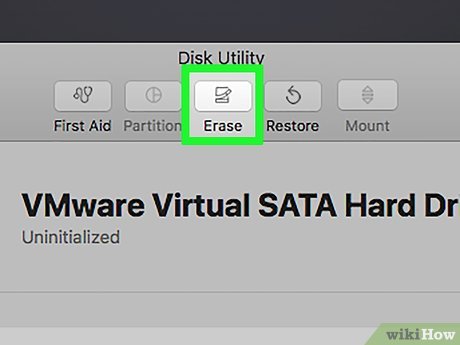
Click the Utilities menu . It's at the top left of the screen. A menu will drop down.
Click Disk Utility in the drop-down menu.
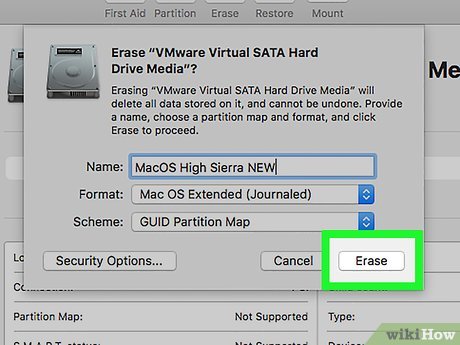
Select an empty hard drive by clicking its name on the left side of the page.
Click the Erase tab . It's near the top of the page.
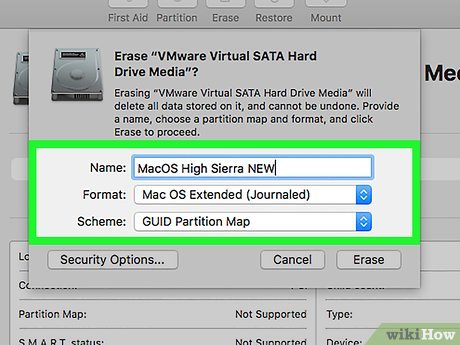
Format an empty hard drive. Please change the following fields:
Format — Click the drop-down box and select Mac OS X Extended (Journaled)
Scheme — Click the drop-down box and select GUID Partition Map
Click Erase to reformat the empty hard drive according to macOS file system standards.
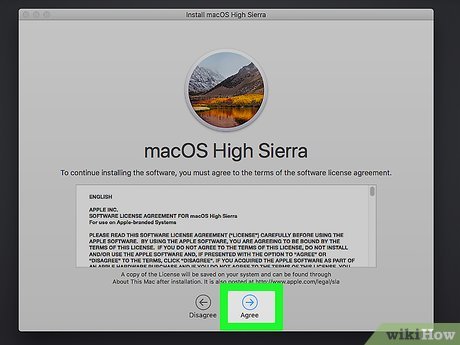
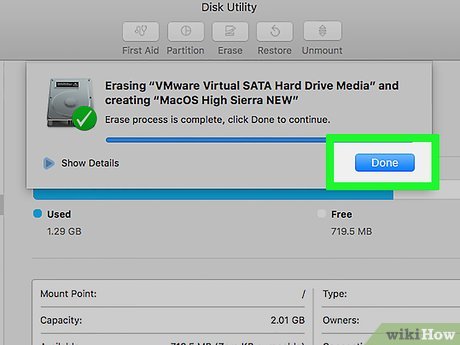
Click Done when prompted and then close the Disk Utility window. Now you can install macOS High Sierra on your hard drive.
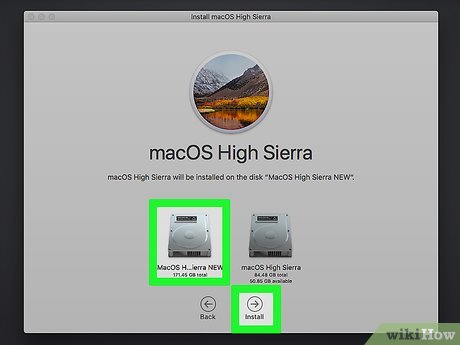
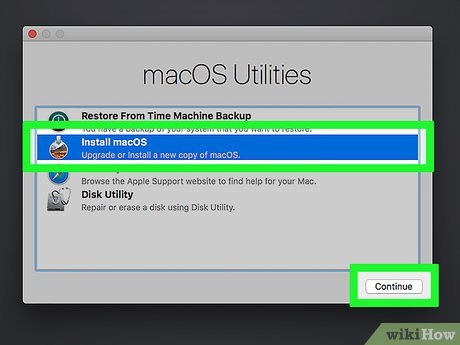
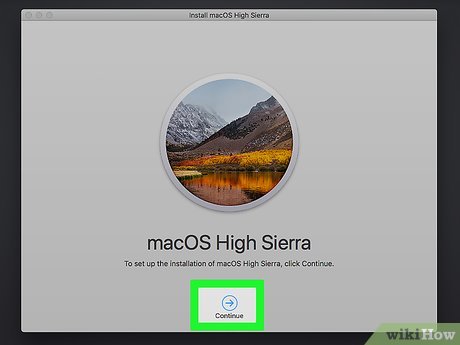
Click on the hard drive name and then click Continue . The hard drive will be selected as the installation location and the installation of macOS High Sierra will also begin.
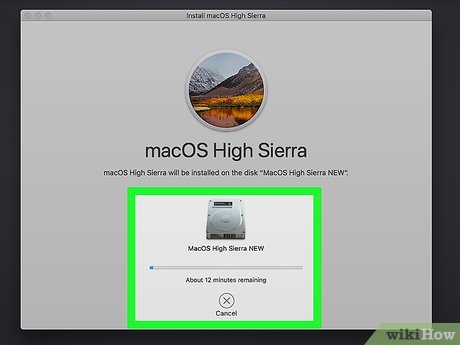
Wait for the installation to complete. It usually takes about 15 minutes.
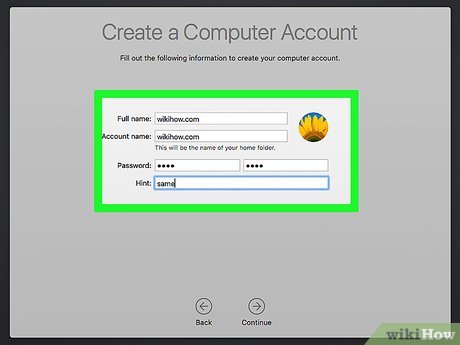
Follow the instructions on the screen. You will be asked to enter some specific information, such as your name, password, the language you want to use, your location, etc. Once this setup process is completed, the macOS software will be installed. Complete setup in your Windows computer.
Install drivers with Multibeast
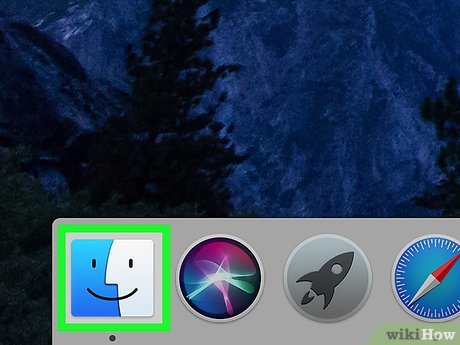
Open the USB. Open Finder, click the USB name on which you installed macOS High Sierra. The USB's window will open in Finder.
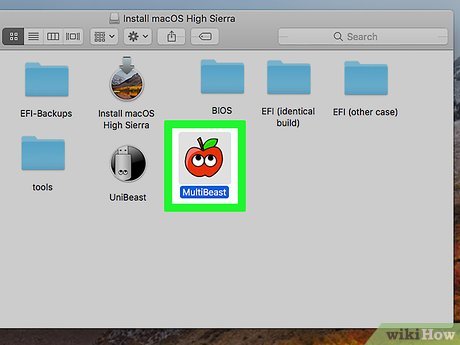
Double-click the Mulltibeast file to open this window.
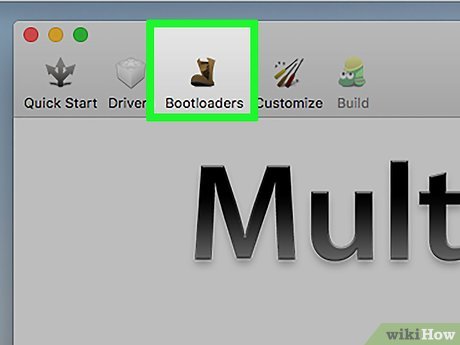
Click the Bootloaders tab. It's at the top of the window.
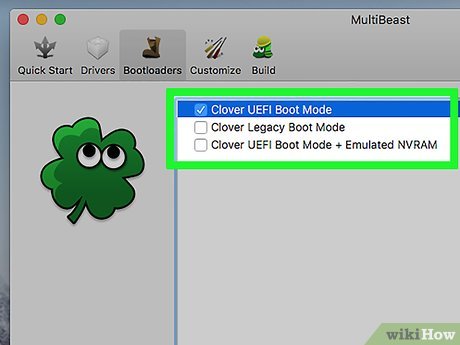
Choose the appropriate bootloader. Check the "Clover UEFI Boot Mode" box if you selected UEFI boot mode for the motherboard during Unibeast tool creation, or check the "Clover Legacy Boot Mode" box if you used legacy boot mode.
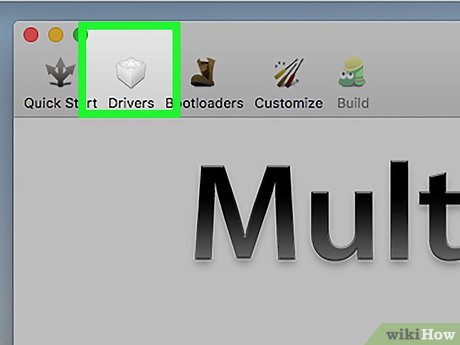
Click the Drivers tab . It's at the top of the window.
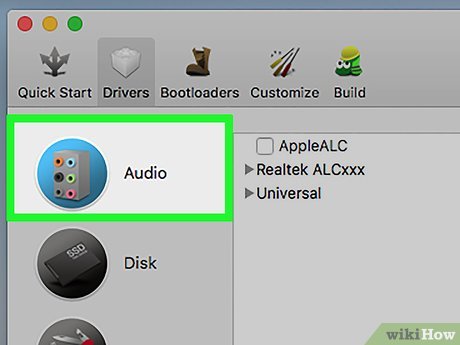
Click Audio on the left side of the window.
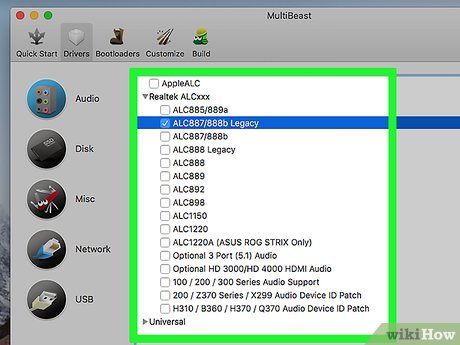
Select audio driver. Click the current audio item title in the middle of the window to expand it and check the box next to the name of your computer audio system vendor.
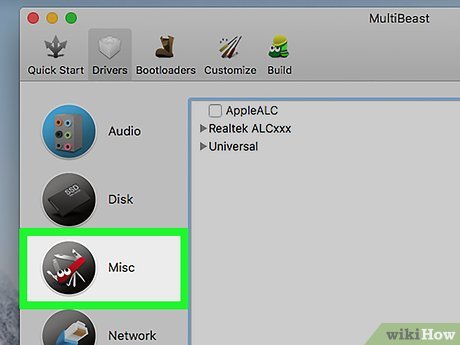
Click the Misc option on the left side of the window.
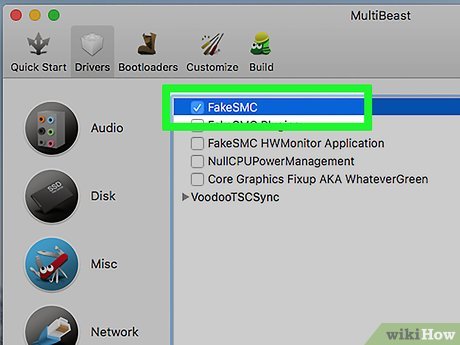
Check the "FakeSMC" box near the top of the window.
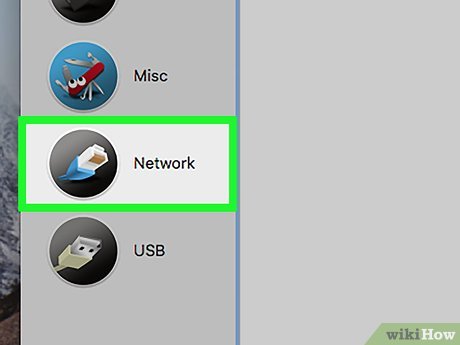
Click Network on the left side of the window.
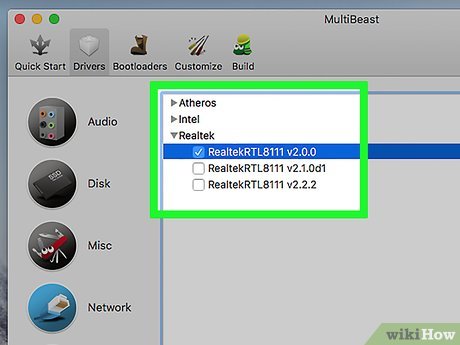
Select internet driver. Click the name of your internet card and then check the box next to the driver name.
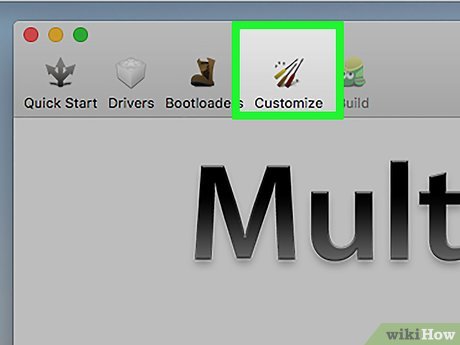
Click the Customize tab. It 's at the top of the window.
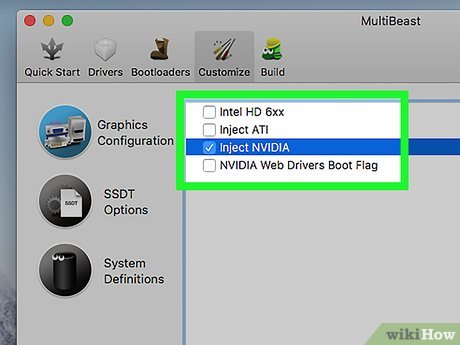
Choose the right graphics option. Check the box next to the name of your computer's graphics card. Next, check the "Fixup" box for your graphics card manufacturer.
For example, to install drivers for NVIDIA cards, you would check both the "NVIDIA Web Drivers Boot Flag" box and the "NVIDIA Graphics Fixup" box.
Leave the "Inject" option blank.
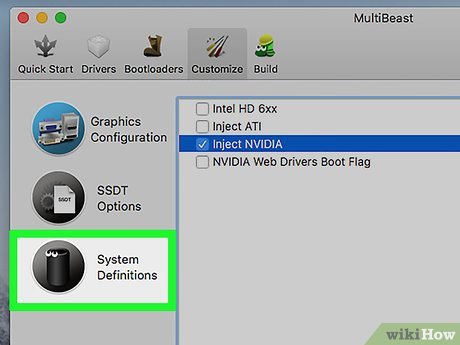
Click System Definitions on the left side of the window.
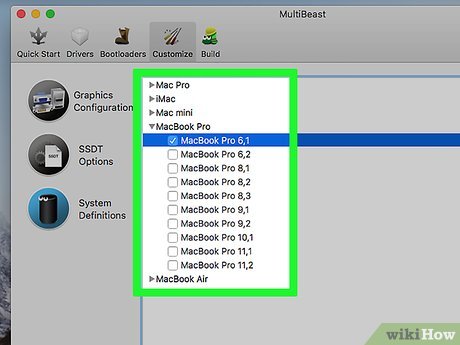
Choose the Mac that is most similar to your computer. Click the title of the type of Mac (for example, iMac ) that closely resembles your computer, then check the box next to the type of Mac that uses your computer's graphics card settings.
You can see the full list of graphics cards corresponding to each Mac line here: https://drive.google.com/file/d/1FPpFR3j9ibwb3zbnPoBbI3Mncsqp-BUU/view
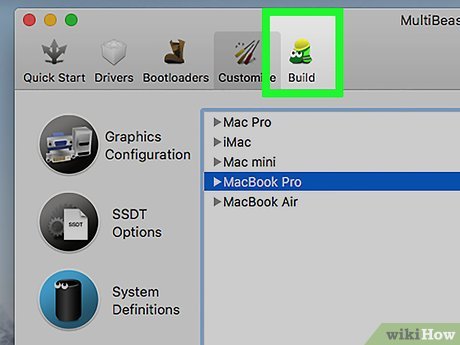
Click the Build tab . It's at the top of the window.
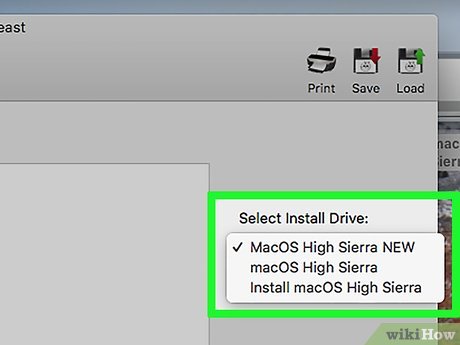
Choose a drive. Click the "Select Install Drive" box on the right side of the window. Next, click the macOS drive letter in the drop-down menu.
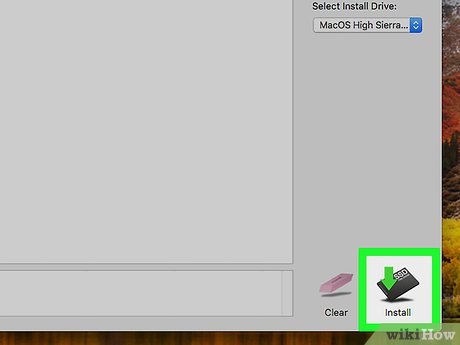
Install the controller. Once completed, you will be able to use macOS on your PC without any significant problems:
Click Install in the lower right corner.
Click Agree when prompted.
Enter your Mac password when prompted.
Click Install Helper .
You should read it
- ★ How to change the default macOS Sierra wallpaper
- ★ How to turn off the Gatekeeper on macOS Sierra install the application outside the App Store
- ★ How to fix common errors when upgrading to macOS Sierra
- ★ Free space on macOS Sierra with Optimize Storage
- ★ How to create a MacOS Sierra installed USB drive 10.12