How to indent the first line in Word - Adjust the first line margin position
Indenting the first line in Word requires using the right tool, not the Space key.
Table of Contents
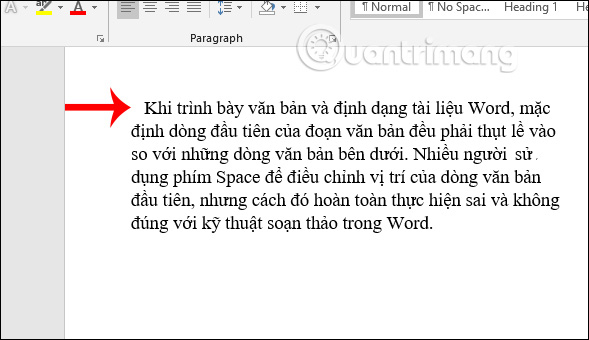
When presenting text and formatting Word documents, the default first line of a paragraph must be indented compared to the lines of text below. Many people use the Space key to adjust the position of the first line of text, indenting compared to the lines below, but that operation is completely wrong and not in accordance with the editing technique in Word.
This can affect the position of the text lines below. So how to align the margin for the first line to indent correctly when editing a Word document? The following article will guide readers on how to indent the first line in Word.
- Word 2016 Complete Guide (Part 6): Using Indents and Tabs
- How to center cells in a table on Word
- 3 Ways to Insert Text Outside the Page Margin in Word
- How to create a cover page border in Word
Method 1: Indent the first line using Paragraph
Step 1:
The user places the mouse cursor at the position where they want to indent, then selects the Home tab and selects the Paragraph Settings icon .

Step 2:
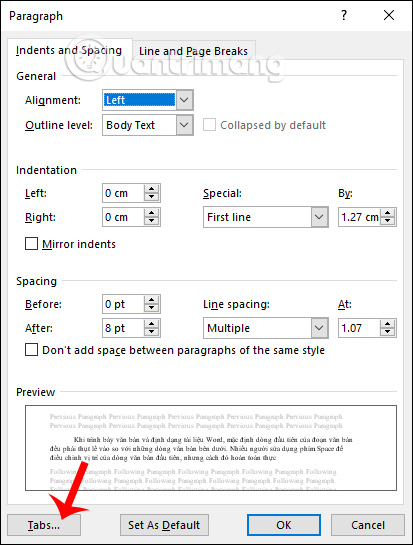
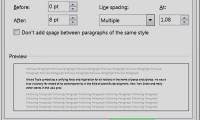
Display the Paragraph interface. In the Indents and Spacing tab, we select First line in Special . In the By section , enter the indentation distance. The Preview section below lets you preview how the first line and the lines below will be spaced. Click OK to apply the new margin to the first line.

The first line result has been indented as shown below.
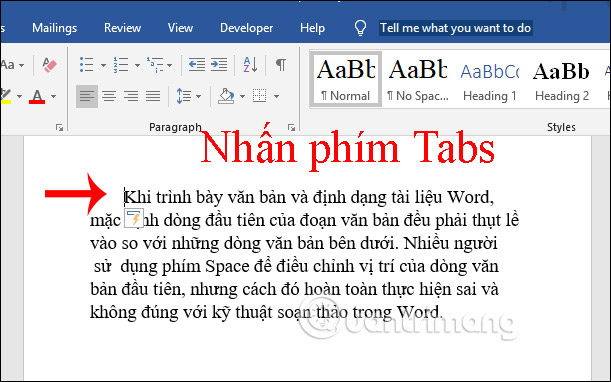
Method 2: Indent the first line using the Tabs key
Step 1:
This method is very simple, we also place the mouse cursor at the first position of the text line we want to indent and then press the Tabs key . The distance for 1 tab press is longer than when you enter the size directly.
Step 2:
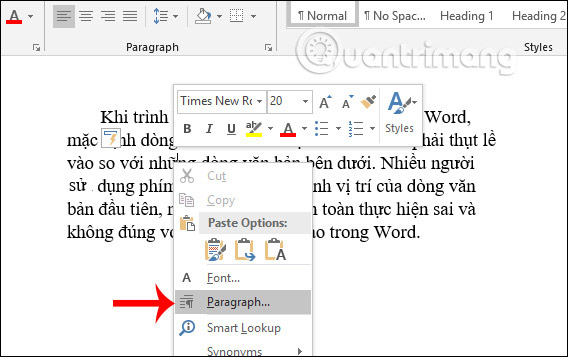
If the indent position is not as you intended, right-click on the Word interface and select Paragraph from the displayed list.
Step 3:
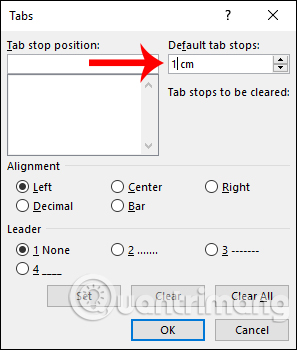
A new interface appears, click on the Tabs button below.
In the tab dialog box, we click on Default tab stops , then select the distance for each Tabs key press and click OK.
Then we do it again and the Tabs key will give the correct spacing we set.
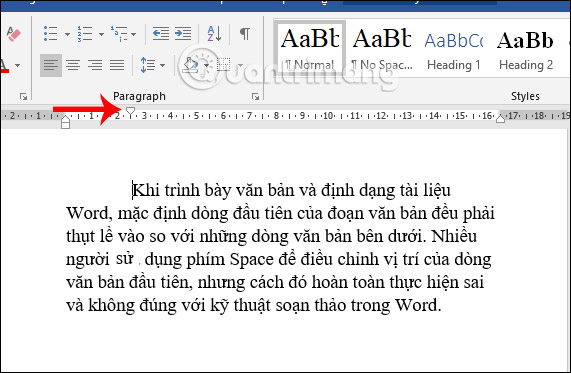
Method 3: Indent using the margin ruler
We place the mouse at the position of the first line we want to indent, then click on the top icon of the ruler bar as shown below, then drag to the position you want.
If your Word document does not show the ruler, follow the article How to display the Ruler in Micorosoft Word . The result is that the first line of text will move according to the position where we adjust the ruler.
So we have 3 ways to adjust the position of the first line, indent the first line for Word documents. All 3 ways are very easy to do and can be adjusted to the indent size you want.
Good luck!
Was this article helpful?
Your feedback helps us improve.
Related Articles
 How to indent the first line in Word4 minutes read
 How to indent words in Word - Indent the first line of paragraphs in Word3 minutes read
 How to Do a Hanging Indent3 minutes read
 How to Indent in Word3 minutes read
 How to adjust line spacing in Word 2016, 2019, 2010, 2007, and 20139 minutes read
 How to indent the line in Excel2 minutes read
Reader Comments 0
Sign in with email or Google to join the discussion.