Guidelines alignment in Word
Show you how to align correctly in Word 2007, 2010, 2013
Table of Contents
Today, the drafting of text as an indispensable skill at work, but people often do not pay attention to the standard regulations in drafting documents. Therefore, most of the documents and documents often have many different formats to solve this problem.I would like to introduce to you how to align correctly in Word.
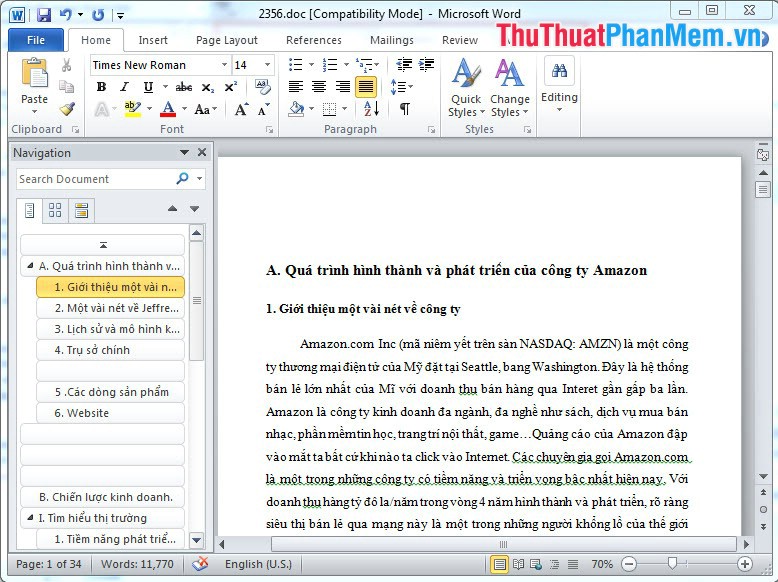
The following is an example of a text that is not aligned correctly:
Article guidelines properly aligned in Word
Note: First you need to know about the standard alignment rules in a document:
Top (Top aligned): 20mm-25mm
Bottom (Bottom alignment): 20mm-25mm
Left: 30mm-35mm
Right: 15mm-20mm
Step 1: Select the unit of measurement to align the margins for the text
-On the File tab, select Options

- The Word Options window appears, select Advanced, go to the Dislay section, switch Show measurements in units of from inches to Centimeters (because this is a standard measurement unit) -> OK

Step 2: Proceed to align text
- Select the Page Layout tab, select Margins and select Custom Margins .
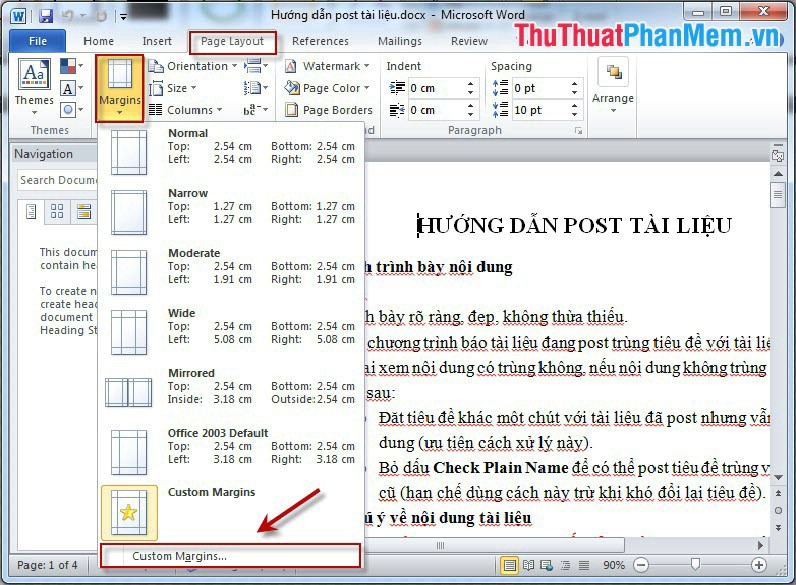
- Page Setup window appears, we enter the parameters to align the text as shown:

And the result we get is:

In the tutorial above, I use Microsoft Word 2010 software you will do the same for Microsoft Word 2013. For Microsoft 2007, you do the same thing only in the first step instead of going to File and selecting Options then Click the Microsoft Office icon in the top left corner and select Word Options.
Was this article helpful?
Your feedback helps us improve.
Related Articles
 How to show the alignment frame in Word4 minutes read
 How to display alignment frame in Word 2010?5 minutes read
 How to align 2-sided printing in Word is symmetrical2 minutes read
 How to align in Word extremely accurately5 minutes read
 Alignment in Word 2010, beautiful alignment of Word 2010 documents4 minutes read
 How to fix the line spacing when aligning in Word4 minutes read
Reader Comments 0
Sign in with email or Google to join the discussion.