How to fix the situation where WSAPPX uses high CPU and disk usage
Although the name of this service doesn't tell you many things, wsappx is a legal Windows service and there are many ways to reduce its high resource usage..
If the computer is slow, you can check Task Manager to see if any applications or services are consuming all resources. If you find wsappx to be the culprit, you are not the only user who has this problem.
Wsappx is 'famous' for its high CPU and disk usage. Although the name of this service doesn't tell you many things, wsappx is a legal Windows service and there are many ways to reduce its high resource usage.
What is Wsappx?
Wsappx is a service that appears in both Windows 8 and Windows 10. It is part of the Universal Windows Platform and Microsoft Store. Although it usually runs at all times, it uses only minimal resources.
Here are some ways to overcome the situation where WSAPPX uses high CPU and disk usage.
Quick fix
Run virus scanning tool
It sounds simple, but a virus can cause mutations in the resource usage of various Windows processes. If the Microsoft Store or any downloaded applications are infected with the virus, you may experience high levels of resource usage.
Update Windows
If there is a problem with the Microsoft Store, updating Windows can also install any new updates for the Microsoft Store. This is especially true with major feature updates.
Uninstall the latest application
If the problem begins right after installing a new application, delete that application and restart the computer. If this fixes the problem, try reinstalling the application, because at first it may not be installed correctly.
Increase virtual memory
This can be helpful by allocating more memory to the computer. Open Start and enter performance. Select Adjust the appearance and performance of Windows .
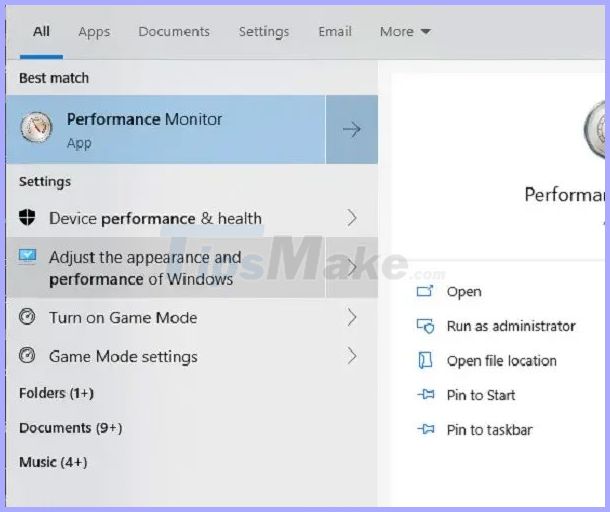 Select Adjust the appearance and performance of Windows
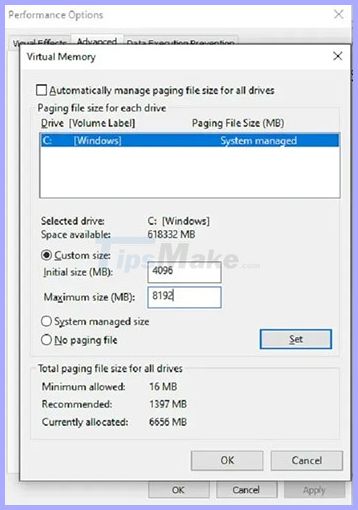
Select the Advanced tab and click Change in Virtual Memory .
 Click Change in Virtual Memory
Uncheck Automatically manage paging file size for all drives . Select your drive and click Custom size . Set the initial capacity in RAM of the device (in megabytes) and the maximum size is 2 times.
 Select your drive and click Custom size
Disable Microsoft Store
This is a drastic solution but more effective if you do not really use Microsoft Store. If using Windows 10 Professional or Enterprise, you have access to the Group Policy Editor. If you use Windows 10 Home, you cannot use this method, but there is a workaround.
First, to use Group Policy, press Win+ Rand enter gpedit.msc. Click OK.
Next, select Local Computer Policy> Computer Configuration> Administrative Templates> Windows Components> Store . Select Turn off the Store application .
Click Edit policy setting . Select Enabled and then click Apply.
If you cannot do this, you must use Registry Editor instead. If you do so, be careful. Wrong changes can damage the system.
Open Start and type regedit. Select Run as administrator .
Select Yes when prompted.
Expand the following options:
HKEY_LOCAL_MACHINESOFTWAREMicrosoftWindowsStoreIf you don't see WindowsStore , right-click on Microsoft and select New> Key . Name it WindowsStore.
Right-click an empty area on the right after you select WindowsStore. Select New> DWORD (32 bit value). Name it RemoveWindowsStore.
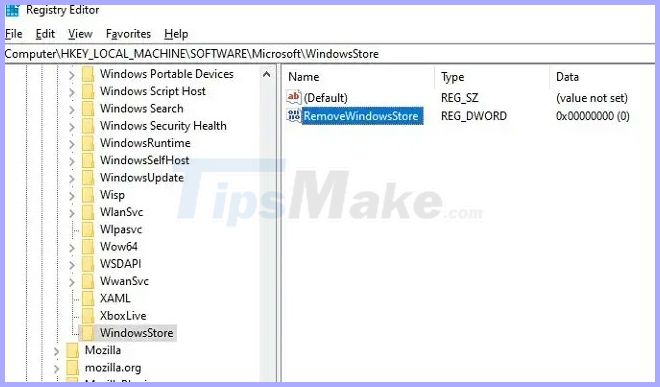 Create a new RemoveWindowsStore value
Right click here and select Modify. Set the value to 1 . Restart the computer when you're done.
 Set the value to 1
Change the value back to 0 to reactivate Microsoft Store, also known as Windows Store in Windows 8.
It may be necessary to combine all of the above methods to fix this problem. Always back up the system before making any major changes to ensure safety.