How to create Spotlight effect in PowerPoint
The spotlight effect in PowerPoint helps increase interaction with viewers, highlighting the content you want to present to viewers.
Table of Contents
The spotlight effect in PowerPoint helps increase interaction with viewers, highlighting the content you want to present to viewers. Especially when combined with Morph Transition, the Spotlight effect in PowerPoint is much more prominent. Below are instructions for creating the Spotlight effect in PowerPoint.
Instructions for creating Spotlight effects in PowerPoint
Step 1:
First you will have to use PowerPoint Shapes to create a frame. Click Insert and then select Shapes to select the frame surrounding the content you want to create a Spotlight effect .
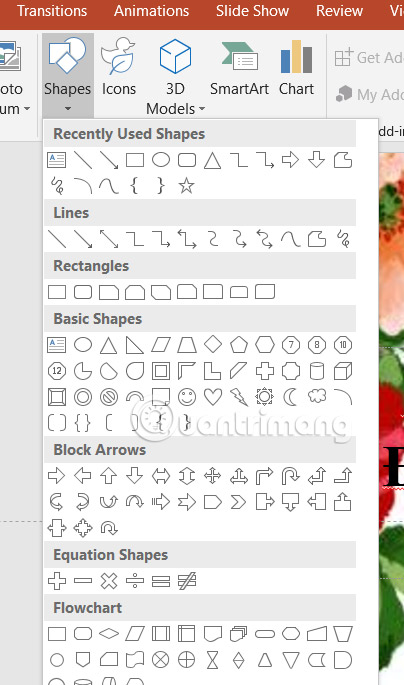
Now you draw a shape to cover the content that needs to be highlighted.

Step 2:
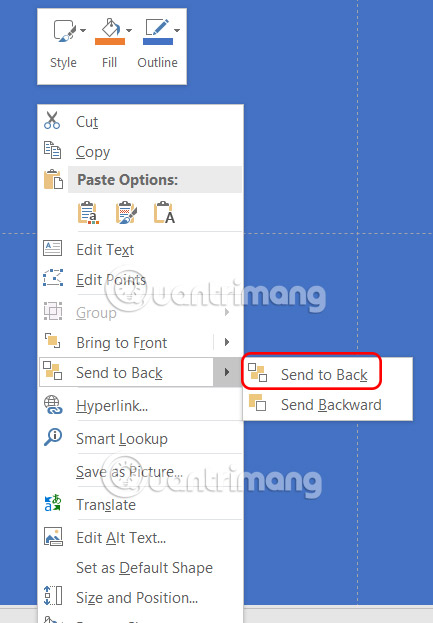
Continue to add a rectangle that covers the entire slide and needs to be drawn outside the slide. Then right-click and select Send to Back .
Step 3:
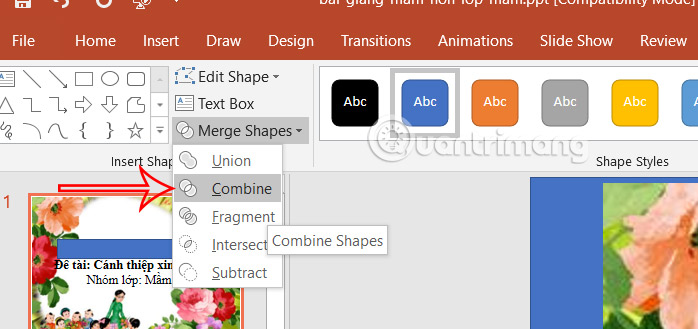
Press Shift and left-click on the rectangle and block overlays that cover the content . Next, select Merge Shapes and select Combine to create the cutout effect.
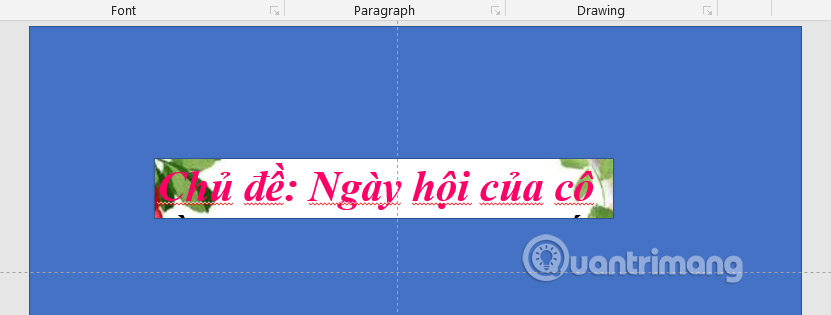
The result will be only the content area you want to highlight displayed in the slide as shown below.
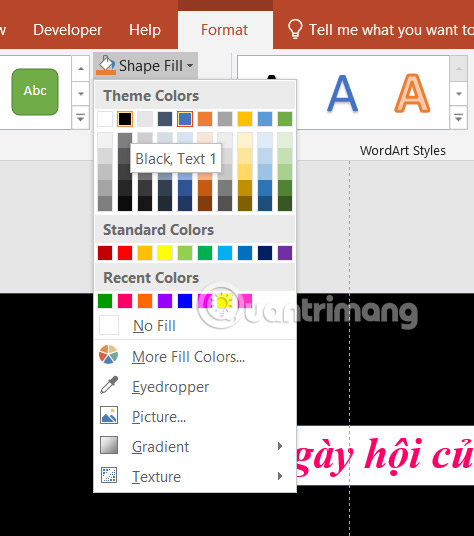
Step 4:
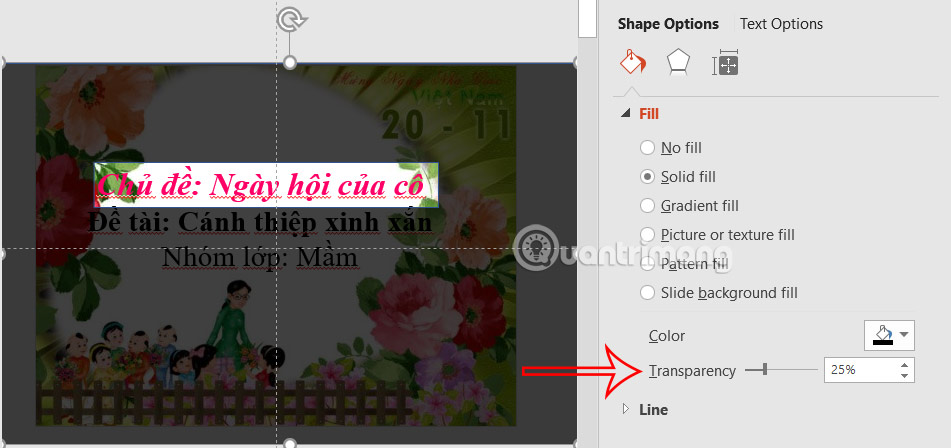
Continue in the Format tab , click on the paint bucket icon and change the overlay color to black or gray. Next, click on the arrow icon at Shape Styles to expand the customization interface.
Then you adjust the transparency level of the overlay down to 25%.
Step 5:
Right-click on the slide and select Duplicate Slide to duplicate the slide.
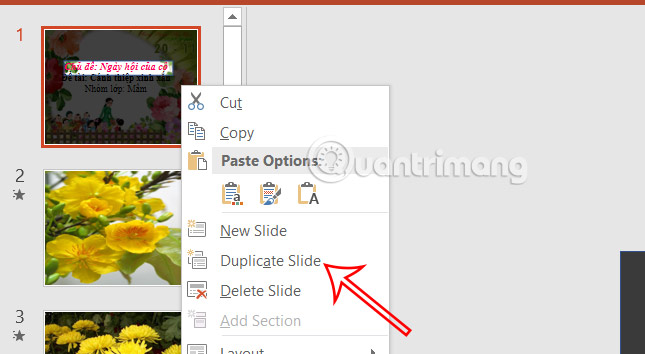
Now in the duplicate slide you move the highlight area to another content .

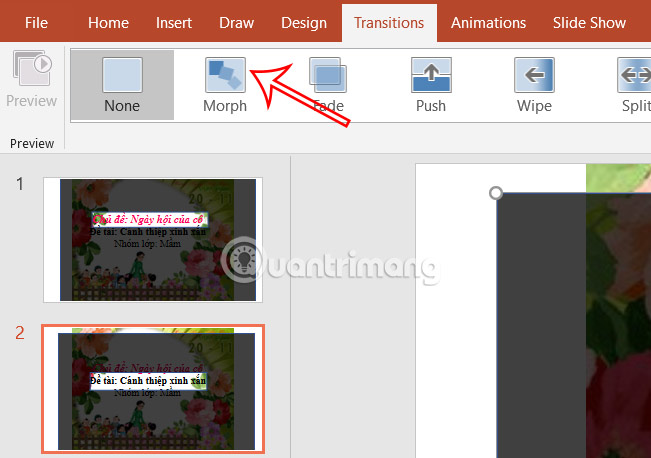
Step 6:
Click on the duplicate slide , select the Transitions tab , and click on Morph . You will then see the Spotlight effect in the slide move from one content to another.
Was this article helpful?
Your feedback helps us improve.
Related Articles
 How to create a loop effect on PowerPoint2 minutes read
 How to add a spotlight effect behind your subject using Adobe Camera Raw10 minutes read
 Macromedia Flash - The spotlight2 minutes read
 How to create an effect for an Excel chart in PowerPoint9 minutes read
 How to use disappearing effects in PowerPoint4 minutes read
 How to create PowerPoint photo album with effects4 minutes read
Reader Comments 0
Sign in with email or Google to join the discussion.