How to Combine 3D Models and Morph in PowerPoint
Combining 3D models and Morph in PowerPoint will bring much more special artistic effects to users..
Combining 3D models and Morph in PowerPoint will bring a much more special artistic effect to users. Then the 3D model in PowerPoint slide has smoother, more unique movement for those who view the presentation slide. Below are instructions for combining 3D models and Morph in PowerPoint.
How to combine 3D models and Morph PowerPoint
Step 1:
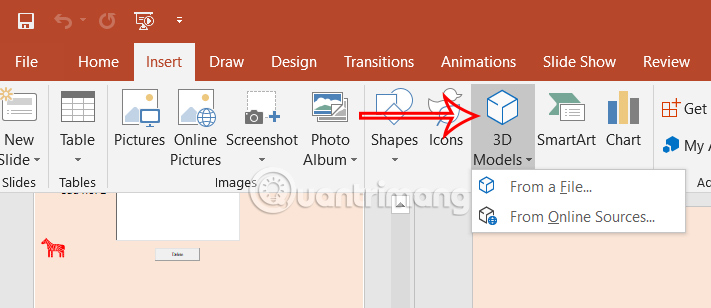
In the PowerPoint interface, users click Insert and then select 3D Models to insert the model into the slide. You choose the 3D model according to your needs and the topic you want to use.
Step 2:
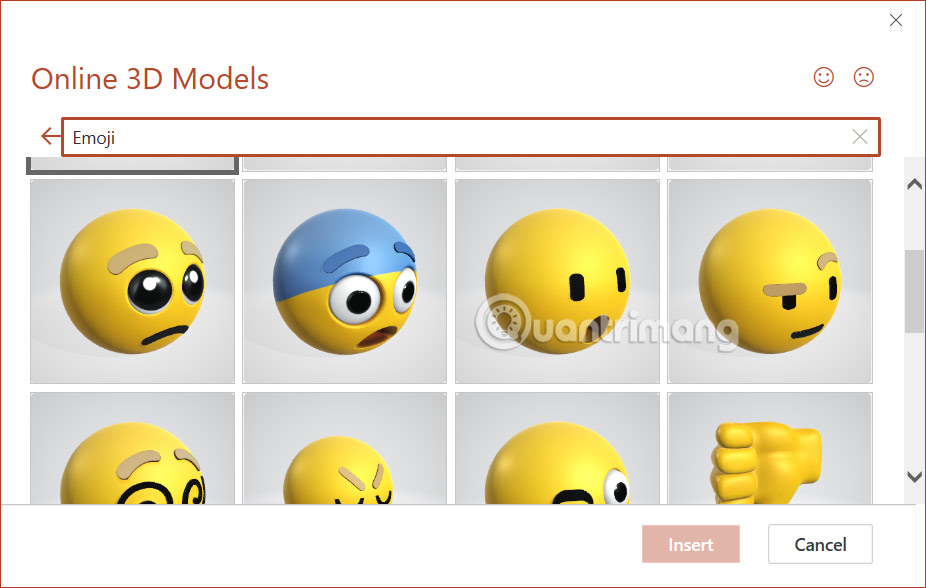
You enter the model keyword in the search bar or you can download it from a file on your computer. If you like it, click on the model and select Insert to insert it into the slide.
Step 3:
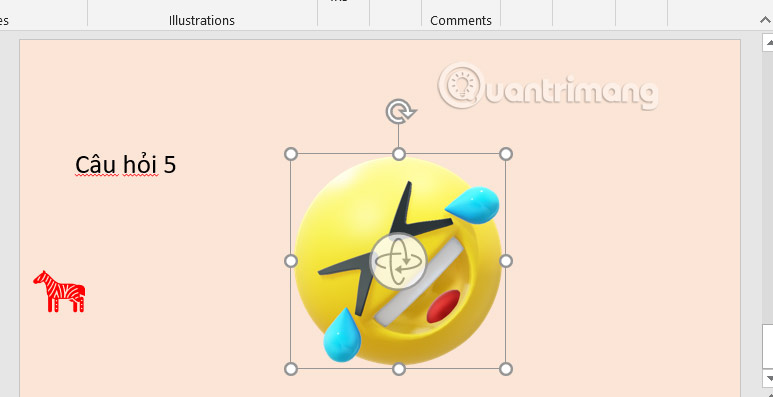
The model in the slide still has the option to change the position and customize the size according to each person's requirements.
Step 4:
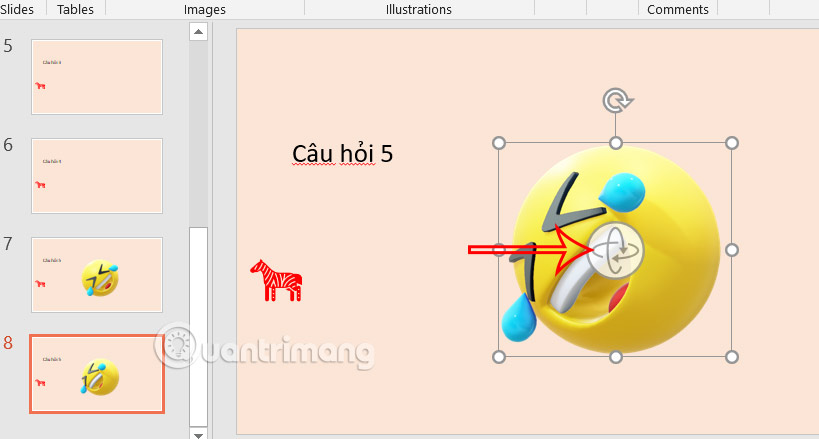
Click on the model slide, then right-click and select Duplicate Slide to duplicate the slide.

We'll rotate the model to another direction to create a transition. Click and hold the rotate icon in the middle of the copied 3D model to reveal the perspective you want to apply to the end of the transition from the previous slide.
Step 5:
Click on the copied second slide and then click on Transitions to add the Morph transition effect to the 3D object.
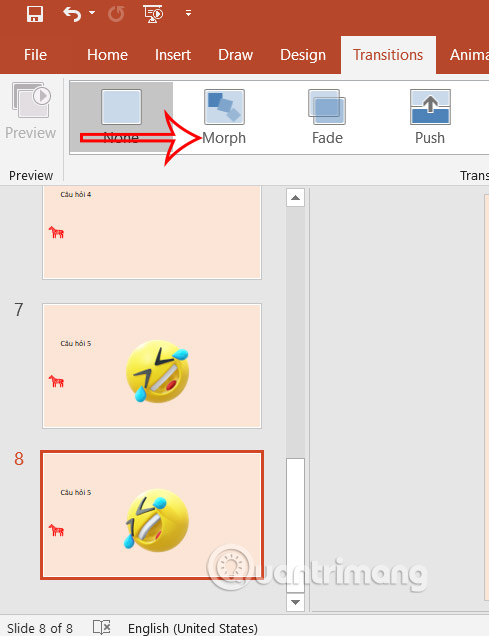
If you duplicate the last slide to create additional 3D model rotations, there is no need to add the Morph transition effect again because it has already been duplicated.