Windows Spotlight does not work on Windows 10, this is a fix
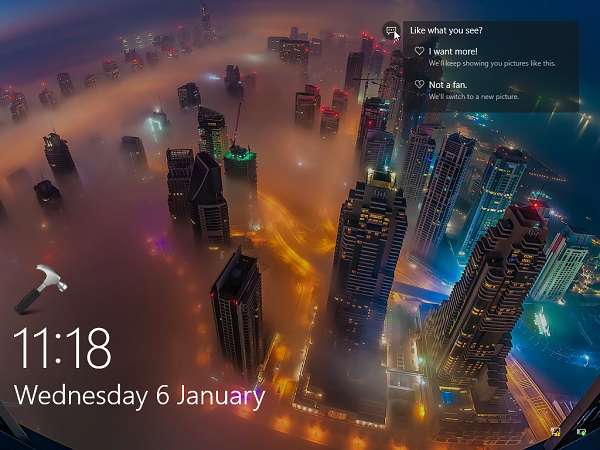
Windows Spotlight is one of the new features on Windows 10, allowing users to download and use day-to-day photos from Bing Images for use as a Lock Screen wallpaper.
This feature is good, so you can change the Lock Screen wallpaper regularly automatically with the best images.
However, sometimes using Spotlight, users often get errors. The most basic error is that Spotlight is not working.
In the article below, Network Administrator will show you how to fix this problem.
1. Enable Spotlight on Windows 10
To enable Spotlight on Windows 10, first open the Settings application and then select Personalization and then select Lock Screen .
Next, select the Windows Spotlight option under Background in the right pane.

So, the Spotlight feature is enabled on your Windows 10 computer.

Note:
Your Windows 10 computer must be connected to the Internet for Spotlight to work.
2. Fix Windows Spotlight error not working on Windows 10
Use File Explorer
1. Disable the Windows Spotlight feature on the Settings app. You can select the Picture or Slideshow option to be the wallpaper for the Lock Screen screen.
2. Press Windows + E key combination to open File Explorer. In the File Explorer window, click the View tab.
Then check the option Hidden items and then navigate to the following link:
C: UsersAppDataLocalPackagesMicrosoft.Windows.ContentDeliveryManager_
Note:
Replace with your user account name.

3. In the Assests folder, you delete everything in the folder to empty the folder.
4. Now re-activate the Windows Spotlight feature on the Settings app.
Then press the Windows + L key combination to open the Lock Screen screen and check if the Windows Spotlight feature is working.
Use the System Maintenance troubleshooter
In case if you fix Spotlight errors that do not work on Windows 10 with File Explorer that are ineffective, you can fix the error by running the System Maintenance troubleshooter.
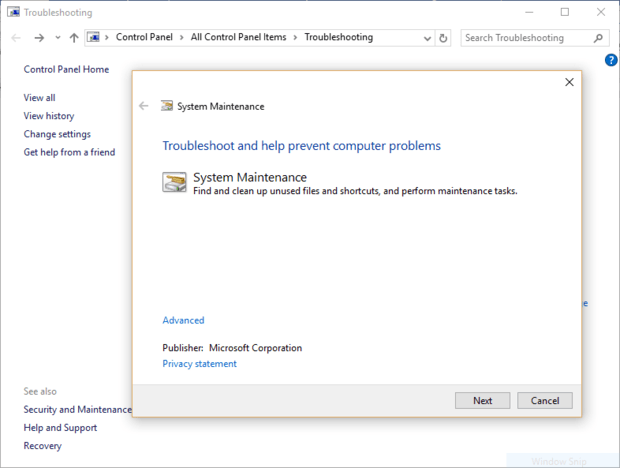
1. Open Control Panel> Troubleshooting> View all . Here you will see the available troubleshooting packages available.
On Windows 10 built-in 22 troubleshooting packages.

Click on the troubleshooting option you are having.
2. On the Troubleshooter window, click Advanced and select the Apply repairs option automatically .
Then select Next.
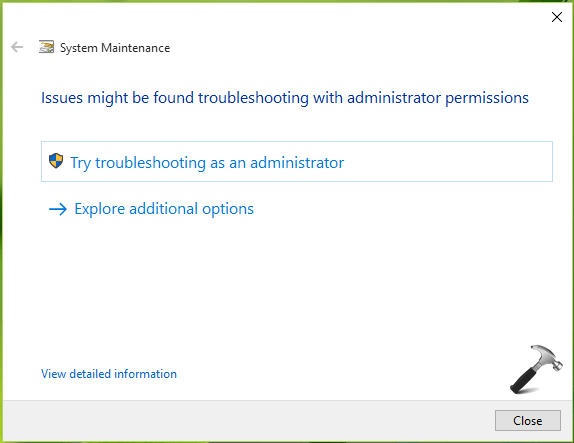
3. When troubleshooting some programs require Admin.
You click on the option Try troubleshooting as an administrator .

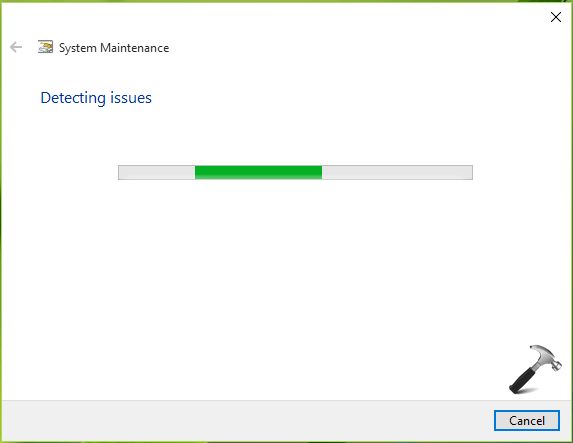
4. Troubleshooter tool on Windows 10 will check and detect installation problems.

When the Troubleshooter detects any problems it will automatically fix.
5. After the process has finished, click View detailed information to see the details of the problem.

Refer to some of the following articles:
-
How to save the wallpaper on Windows 10 Spotlight to your device
-
Activate Windows Spotlight on Windows 10
-
Learn about Google Fi and how to sign up
Good luck!