Table of Contents
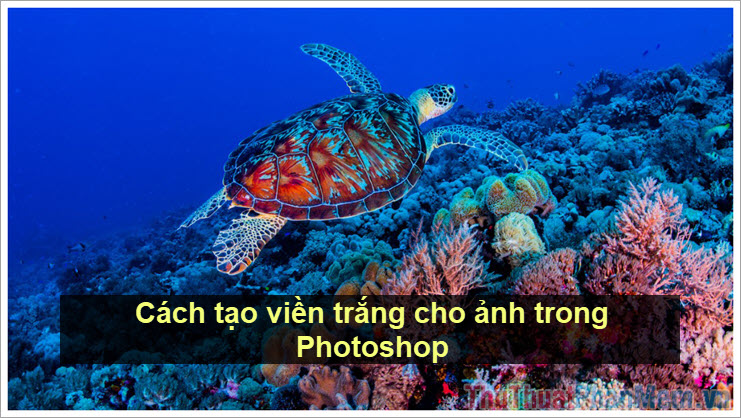
This guide explains how to create a White Border for Photos in Photoshop, with clear steps, practical tips, and important checks before you begin.
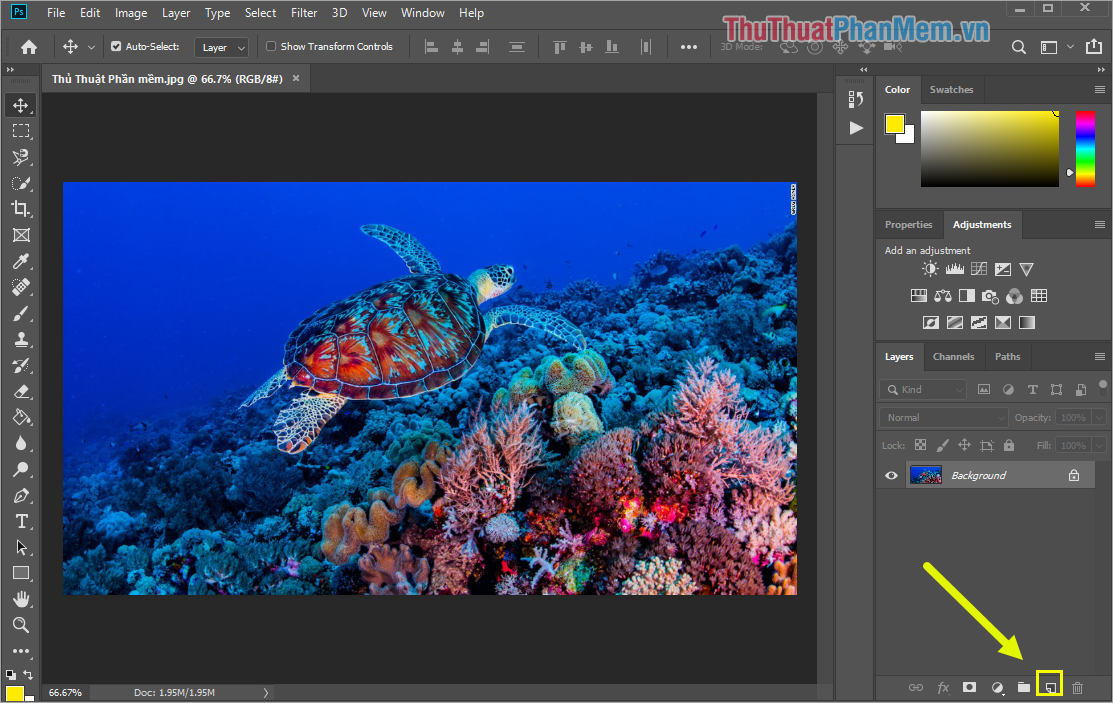
Step 1: You proceed to add the image to edit into Photoshop. Then you press Ctrl + Shift + N or click on the Layer icon to create a new Layer.
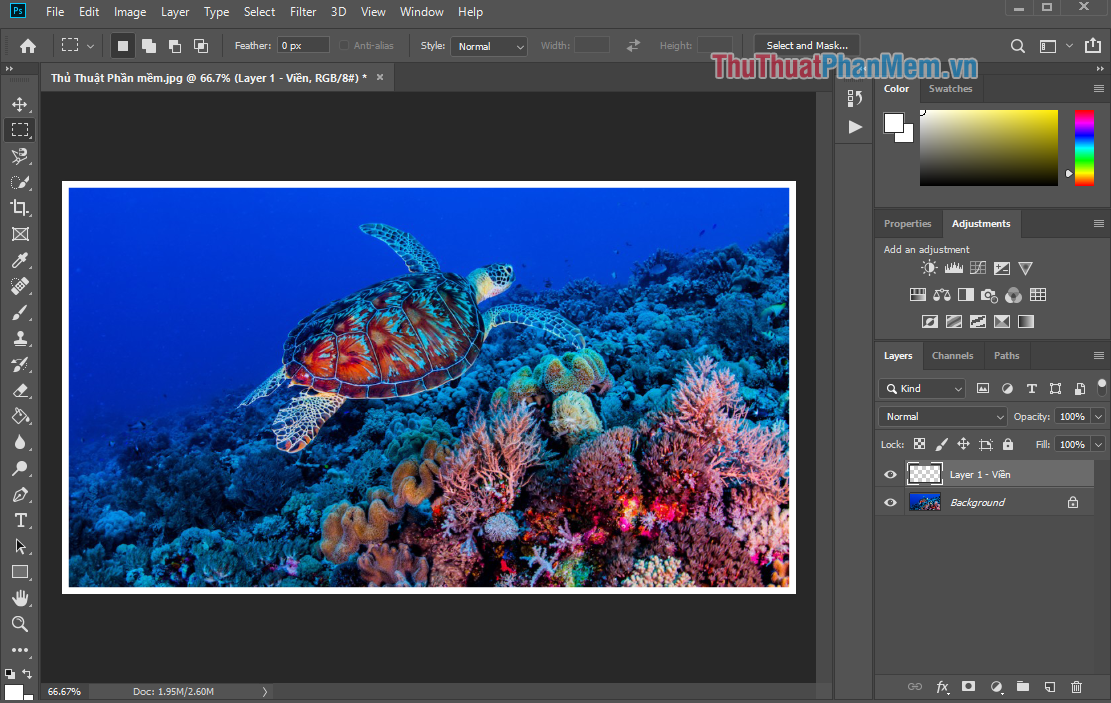
Step 2: After that you will get a new Layer . You proceed to double click on the Layer to rename the Layer . Renaming the layer helps you do scientific work and will be easier to edit later.
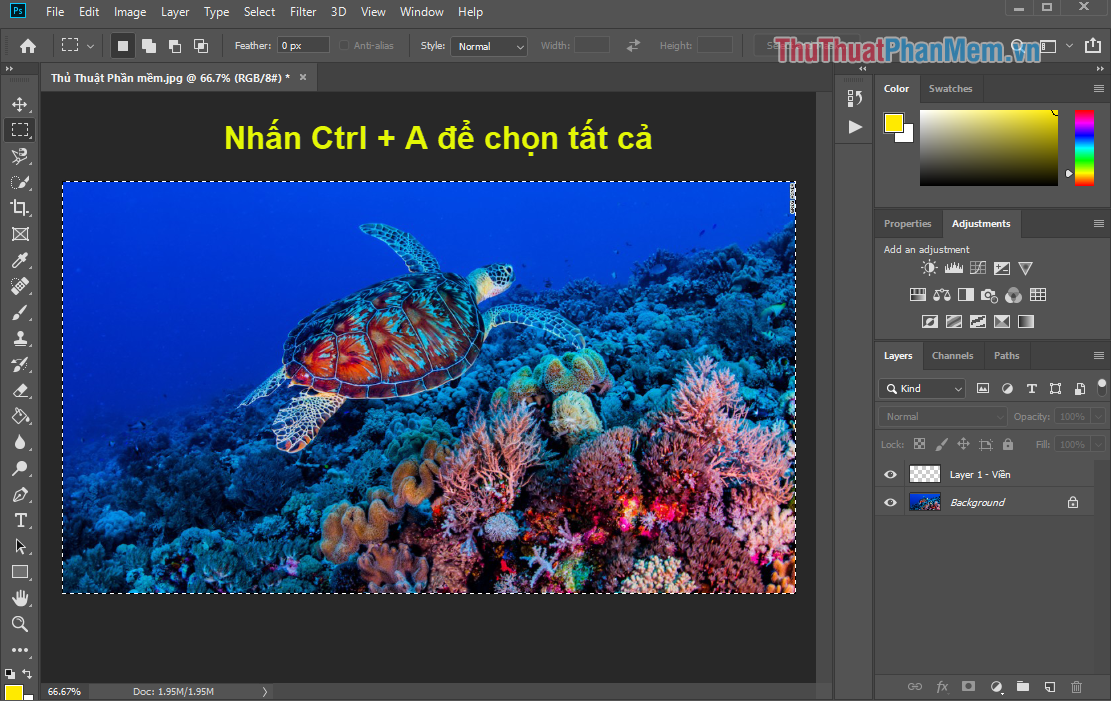
Step 3: Next, press Ctrl + A to select all the content in Photoshop.
Step 4: You continue to choose Edit -> Stroke.
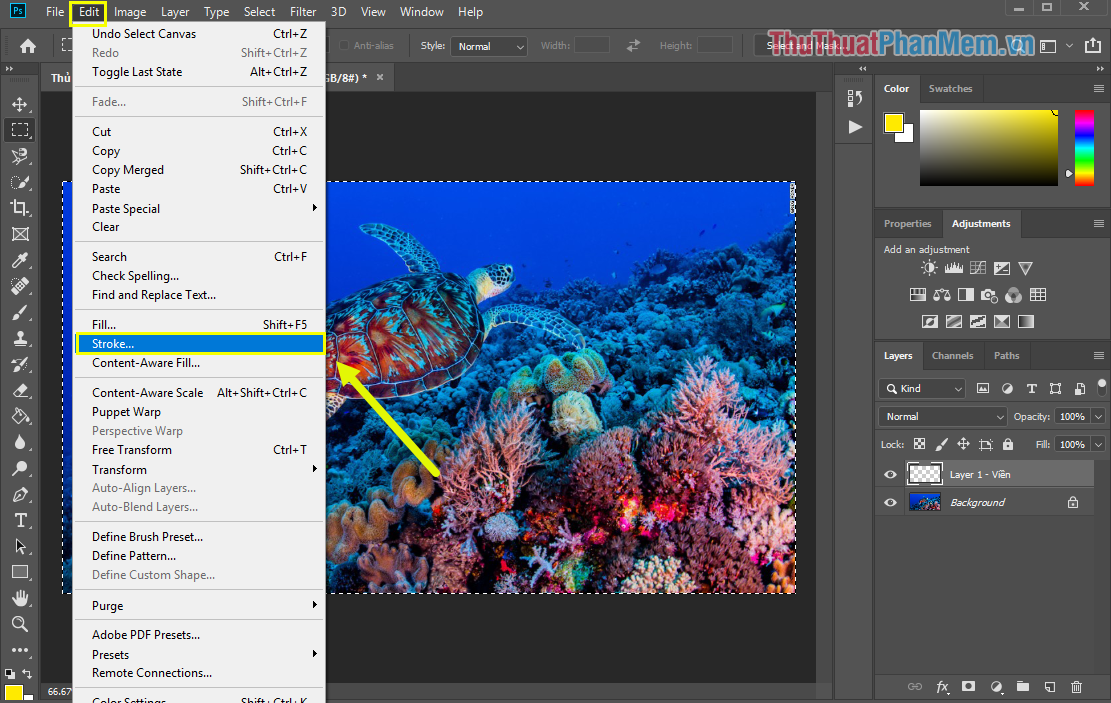
Step 5: Now there will be parameters Stroke panel for you to set up with the following content.
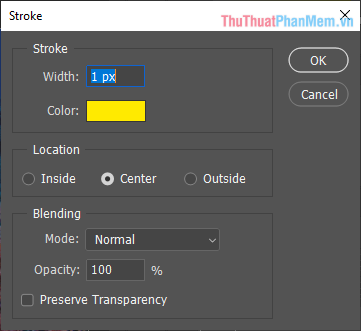
Stroke :
- Width: The thickness of the border
- Color: Color
Location :
- Inside: Inner border
- Center: The border starts with the center
- Outside: Outside border
Blending:
- Mode: Blending mode
- Opacity: Darkness / lightness
In this article we will create a white border, so we will choose Color White and the density, thickness depending on the different images.
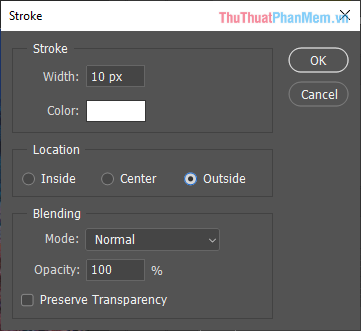
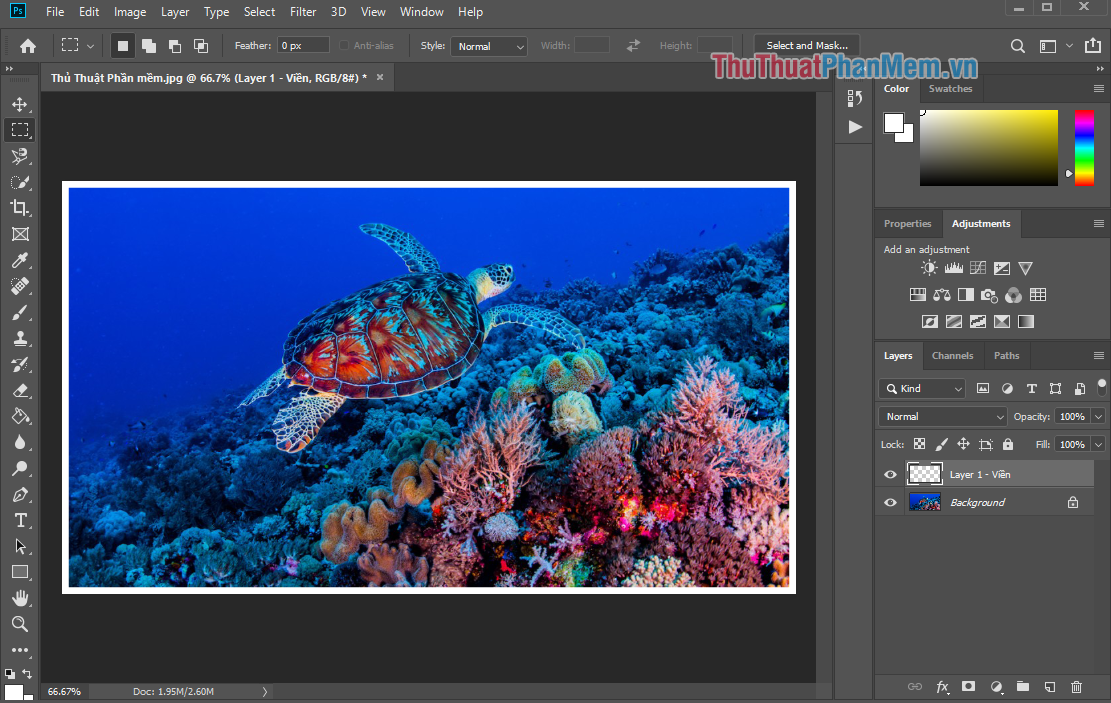
Step 6: Finally, we will get a result as follows.
So in this article, the Software Tips guide you how to create white borders in Photoshop quickly and effectively. Good luck!
FAQ
What should I know about Create a White Border for Photos in Photoshop?
Focus on the key features, requirements, limitations, and practical use cases explained in this guide.
How do I get the best results with Create a White Border for Photos in Photoshop?
Follow the recommended steps, use current software or information, confirm compatibility, and review settings before major changes.
Are there any risks or limitations?
Potential limitations depend on compatibility, data quality, cost, privacy, support, and how the product or method is used.
Related Articles
 How to Create a Border for Photos in Photoshop2 minutes read
 How to Draw a Frame, Create a Border Using Photoshop12 minutes read
 How to Convert Color Photos to Black and White Photoshop4 minutes read
 How to Create a Shadow Border in Photoshop12 minutes read
 Photoshop - the 'White' Tool for Photos1 minutes read
 4 Steps to Create Beautiful Text Borders in Photoshop7 minutes read
Reader Comments 0
Sign in with email or Google to join the discussion.