Table of Contents
This guide explains how to create a Border for Photos in Photoshop, with clear steps, practical tips, and important checks before you begin.
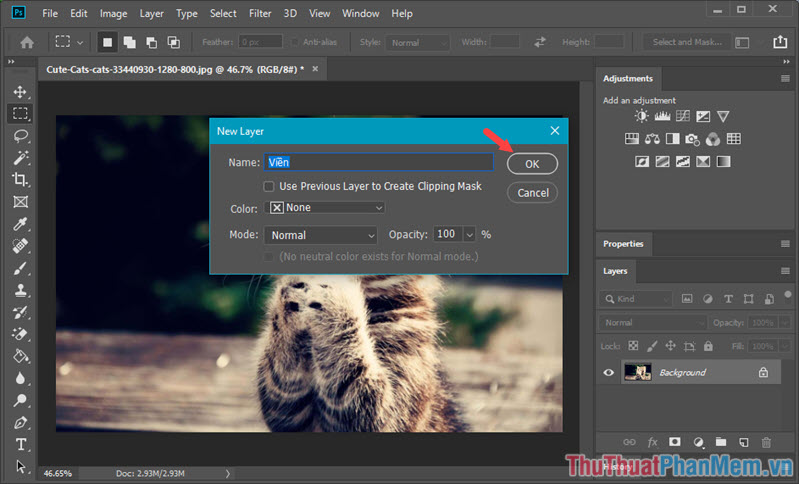
First, open the image and create a new layer by pressing Ctrl + Shift + N.
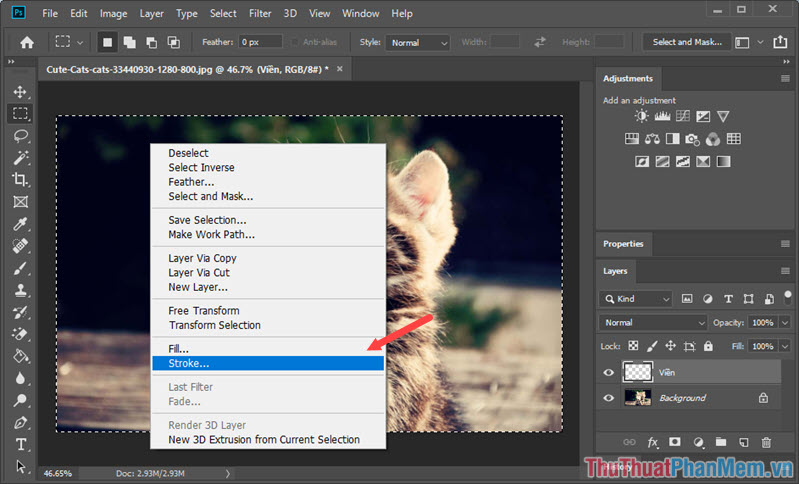
Step 1: At that new layer, press Ctrl + A to highlight the whole image. Then right-click the selection and choose Stroke.
Step 2: Stroke dialog box appears, select the parameters as shown: Choose the thickness of the border ( Width ) and choose the color ( Color ). In the Blending section of the Mode for you to customize the blending mode ( Blending Options ), the Opacity section to adjust the transparency of the border. Finished editing, you click OK to save settings.

Step 3: You press Ctrl + D to remove the selection.
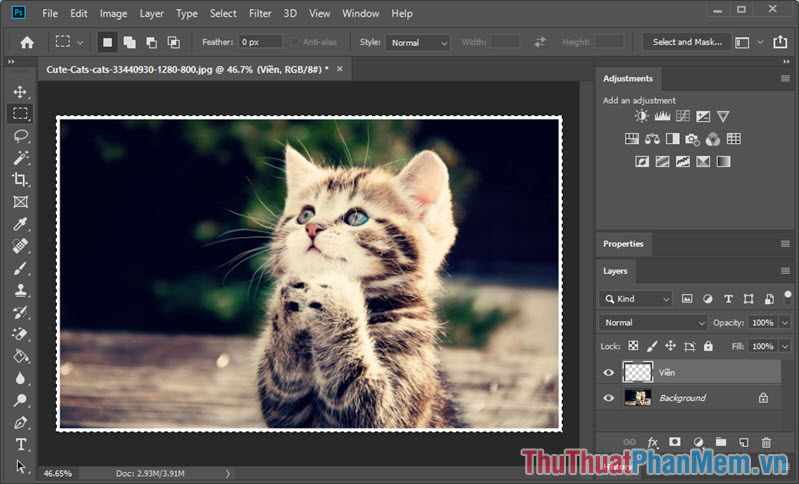
Finally, the picture with the border created as shown below is done.
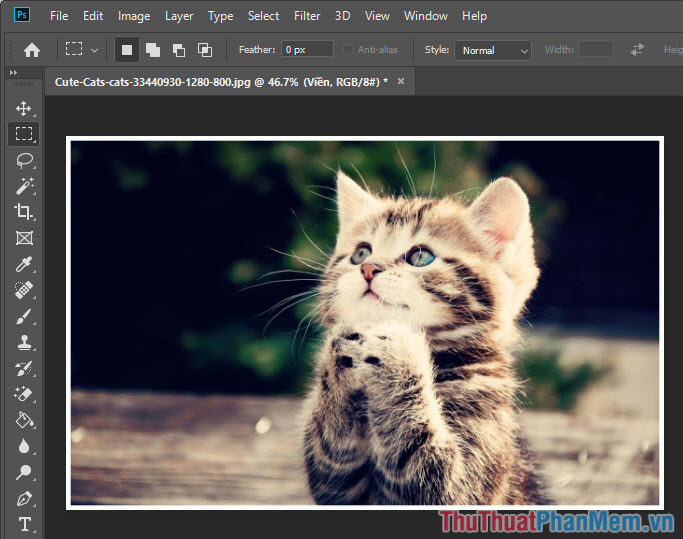
Through this article, hope you know an additional useful knowledge in Photoshop is creating borders for photos. With this way of creating borders, you can create some other ways such as creating borders for objects to make them stand out from the background or create artistic borders for photos. Good luck!
FAQ
What should I know about Create a Border for Photos in Photoshop?
Focus on the key features, requirements, limitations, and practical use cases explained in this guide.
How do I get the best results with Create a Border for Photos in Photoshop?
Follow the recommended steps, use current software or information, confirm compatibility, and review settings before major changes.
Are there any risks or limitations?
Potential limitations depend on compatibility, data quality, cost, privacy, support, and how the product or method is used.
Related Articles
 How to Draw a Frame, Create a Border Using Photoshop12 minutes read
 How to Create a White Border for Photos in Photoshop3 minutes read
 How to Create a Shadow Border in Photoshop12 minutes read
 4 Steps to Create Beautiful Text Borders in Photoshop7 minutes read
 How to Use Photoshop CS6 (Part 2): Create Fashion Collage Images17 minutes read
 How to Cut Circular Images in Photoshop: Cut Photos on Photoshop4 minutes read
Reader Comments 0
Sign in with email or Google to join the discussion.