Table of Contents
This updated guide examines How to Change the Number of Recent Items Shown on a Mac and organizes the essential facts, background, and practical takeaways in clear American English.
Part 1of 2:
Changing Recent Items
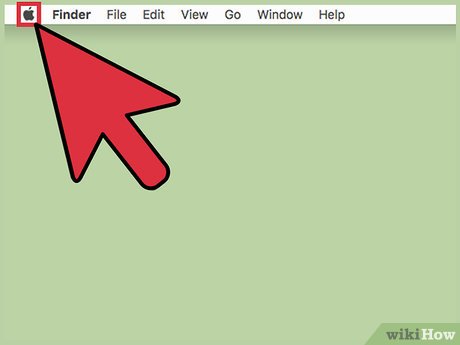 Click the Apple menu. You'll find this in the upper-left corner of the screen, regardless of which program is open.
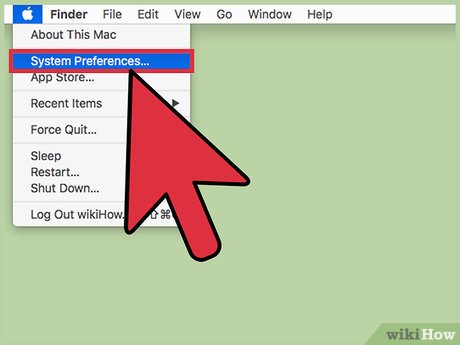 Click"System Preferences."
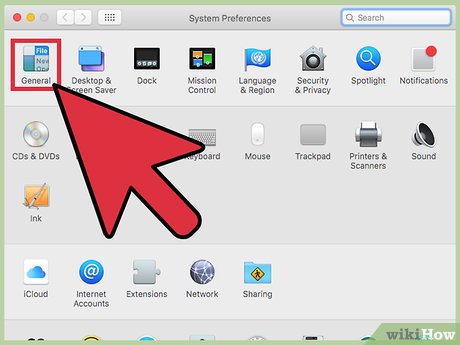 Click the "General" option. You'll find this in the upper-left corner of the System Preferences menu. If you don't see the main System Preferences menu, click the "Show All" button at the top of the window. The "Show All" button has 12 dots arranged in a grid pattern as an icon.
 Click the "Recent Items" menu.
 Click the number of recent items you want to display. [1]
Part 2of 2:
Viewing Recent Items
 Click the Apple menu.
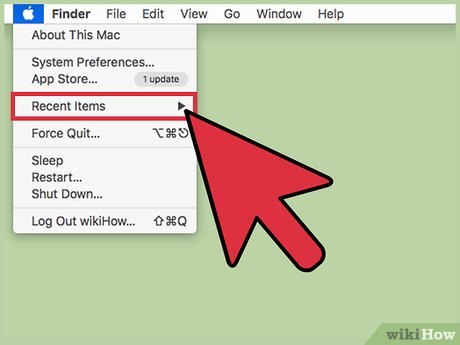 Highlight"Recent Items."
 View the items in the list. Note that the list will still show the previous number of items at first if you increased the size. For example, if you went from 5 items to 15, the list will still show 5 items in each category until you start opening more apps and files.
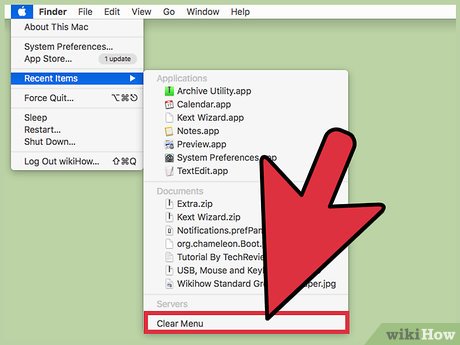 Click "Clear Menu" to empty the list. This will clear the list out, and it will start building up again to the limit you set.
FAQ
What is How to Change the Number of Recent Items Shown on a Mac about?
It provides a structured overview of items, explains the main context, and highlights practical takeaways for readers.
Why does this topic matter?
Understanding the main concepts helps readers evaluate the issue, avoid common mistakes, and make better-informed decisions.
How should readers use this information?
Use the guidance as a practical starting point, confirm details that may have changed, and follow current product, safety, or security recommendations.
Related Articles
 Trick to Increase the Number of Items Displayed in Jump List on5 minutes read
 How to Delete Recent Items in Search on Windows 103 minutes read
 How to Change Phone Number on Facebook Computer, Phone4 minutes read
 Fees and How to Switch Networks Keep the Number of the Network5 minutes read
 How to Change Number Format in Windows 113 minutes read
 How to Change Mobifone Phone Number at Home7 minutes read
Reader Comments 0
Sign in with email or Google to join the discussion.