How to add fonts to Photoshop
Adobe Photoshop is one of the leading image processing software programs in the world, used by both amateurs and professionals. Adding text to images is a common feature of the program and it provides a lot of fonts in addition to those already available on computers.
Adding fonts to Photoshop is an easy task, as just adding them to your computer's hard drive will take care of the rest for you.
Add fonts on Windows (All operating systems)
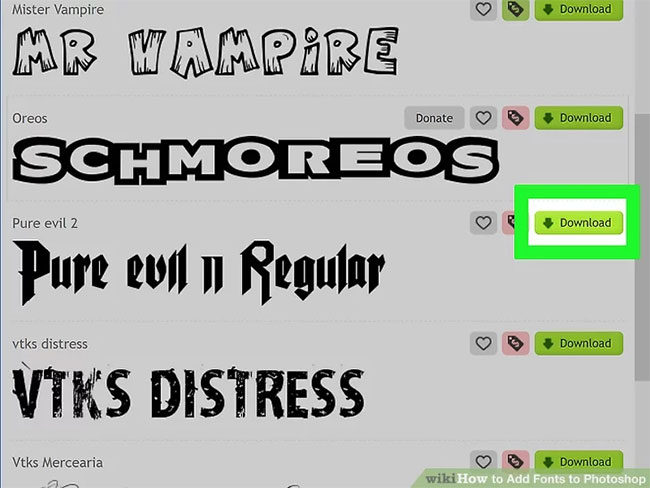
1. Download fonts from the Internet. You can search for "free fonts" online, then just click "Download" to get the fonts you want. There are hundreds of websites offering fonts online, and often the first page in search will have rich, safe options.
 Download fonts from the Internet
 You can also buy font CDs at any computer store.
Usually the easiest way is to save all fonts to a folder on the desktop for easy organization and organization. However, that doesn't matter, as long as you know where you've downloaded the font.
2. Open a window to view the fonts . It doesn't matter which version you are using. Even Windows XP, which is no longer supported or receives updates, can install fonts. If they are in the .ZIP file, right-click and select Extract. Then find fonts by looking at the extension. Photoshop fonts come with the following extensions:
- .otf
- .ttf
- .pbf
- .pfm
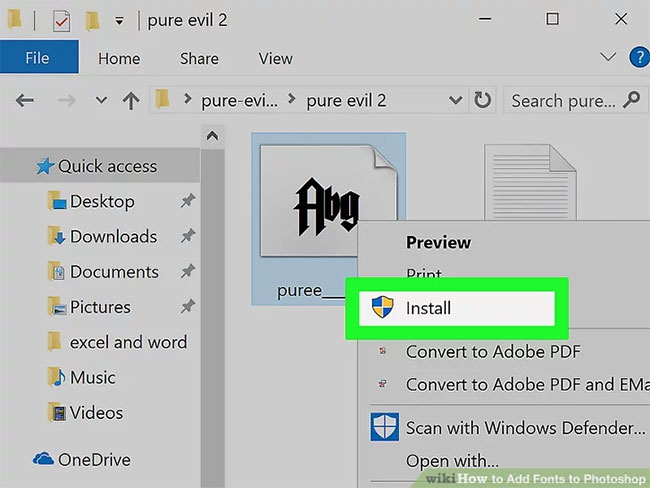
3. Right-click on the font and select Install . If this option is available, you're in luck as everything will be installed! You can even press Ctrl or Shift and click to select and install multiple fonts at once.
 Right-click on the font and select Install
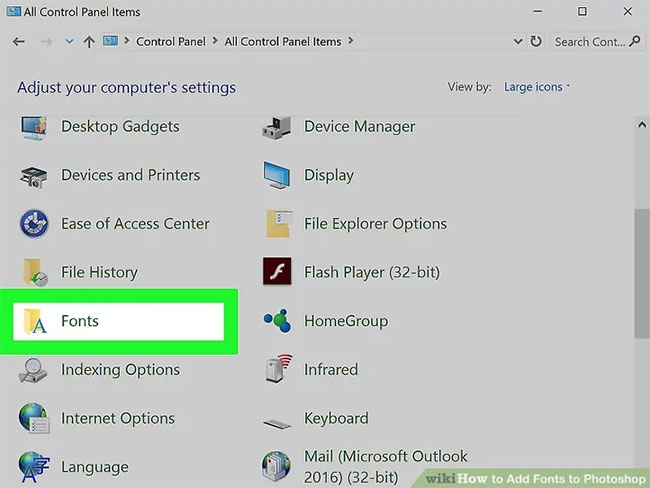
 4. Use the Control Panel to add fonts if you do not have the Install option. Some computers will not allow for easy installation, but adding a new font is still very simple. Click the Start menu, then select Control Panel. From that:
- Click on "Appearance and Personalization"
( Note : You skip this step in Windows XP).
- Click "Fonts".
- Right-click on the font list and select 'Install New Font' .
(Note: In Windows XP, this is "File" ).
- Choose the font you want and click OK when done.
 Use the Control Panel to add fonts if you don't have the Install option
Add fonts on Mac OS X
How to add fonts on Mac OS X is generally the same as on Windows (with a few slight differences).