Instructions to change the Remote Desktop port
Remote Desktop is a useful feature that helps you can access and control a Windows computer remotely. The default remote desktop port is 3389, but to increase security we should change to another port to ensure privacy and avoid compromise..
1. Change the Remote Desktop port in the registry
Step 1: You press Windows + R key combination to open the Run dialog box . Next, enter the command regedit (1) => OK (2) .

Step 2: You access the path HKEY_LOCAL_MACHINESystemCurrentControlSetControlTerminal ServerWinStationsRDP-Tcp .
Next, right-click the PortNumber key (1) => Modify . (2) .

Step 3: Click Decimal (1) to convert to decimal. Next, change the number of ports you want in the Value data (2) => OK (3) section . Once done, restart the computer to change the settings

2. Grant access to the newly changed port in Windows Firewall
In case you cannot access the Remote desktop after changing the port, it is possible that your Remote desktop port is blocked by Windows Firewall.
Step 1: Press the key combination Windows + S (Windows) or Start (Windows 7) and search for the keyword firewall (1) => Windows Defender Firewall (2) .

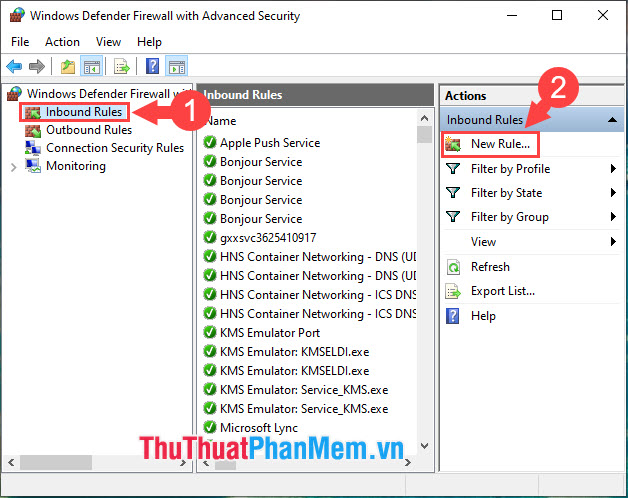
Step 2: Choose Advanced settings .

Next, you select to Inbound Rules (1) => New Rule . (2) .
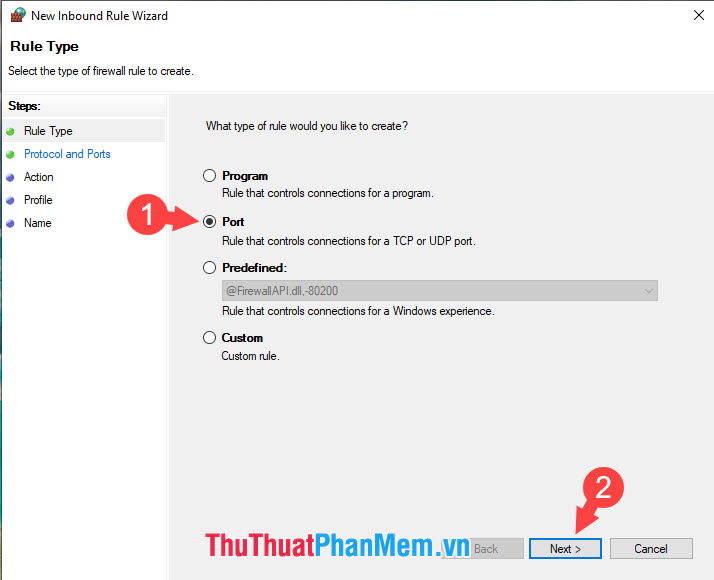
Step 3: Choose Port (1) => Next (2) .
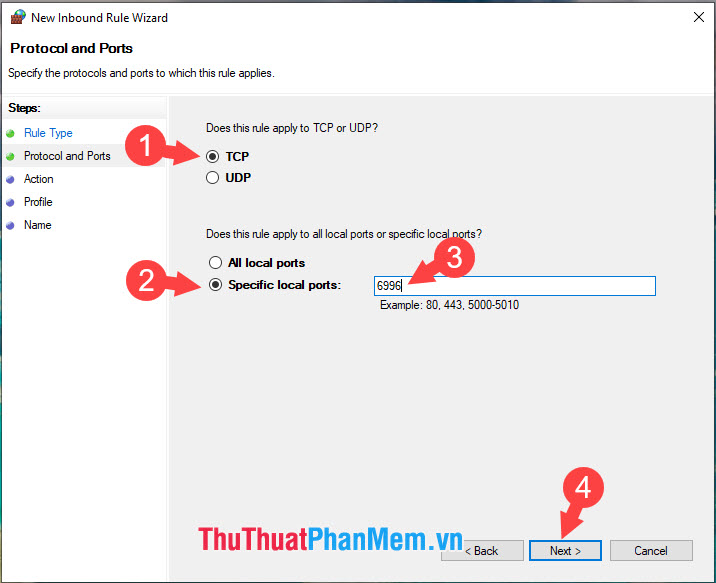
Step 4: Next, select TCP (1) => Specific local ports (2) => enter the port number you just changed (3) => Next (4) .
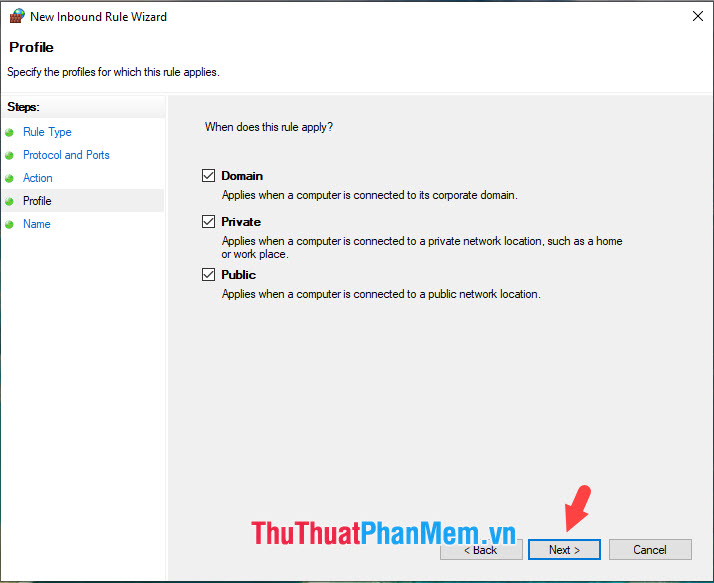
Step 5: Choose Allow the connection (1) => Next (2) .

Next, click Next .
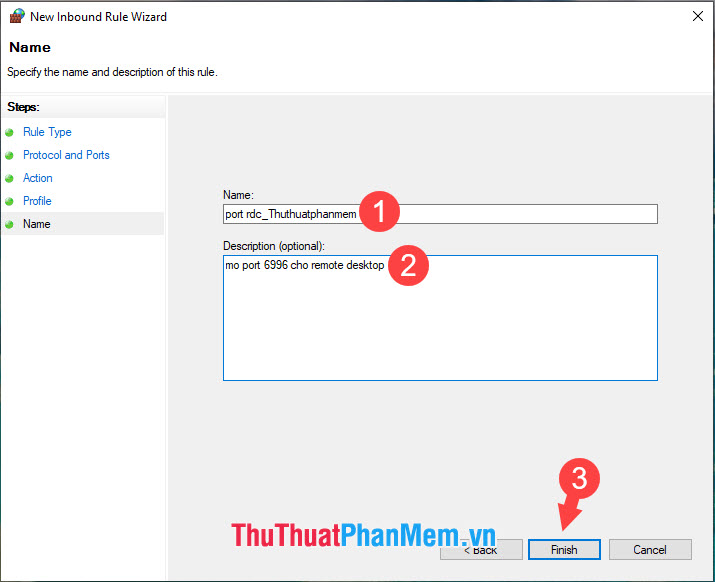
Step 6: You name the access command (1) => write description information about the access command (2) => Finish (3) .
3. Access Remote Desktop with new port
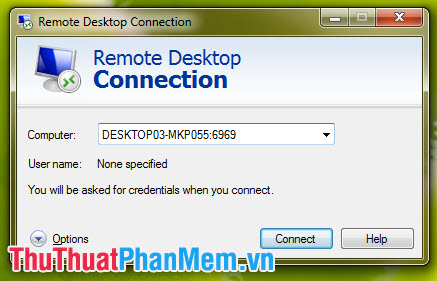
To access the Remote desktop with the new port name, open the remote desktop on Windows and use the syntax in the Computer section
(IP address) :( port number)
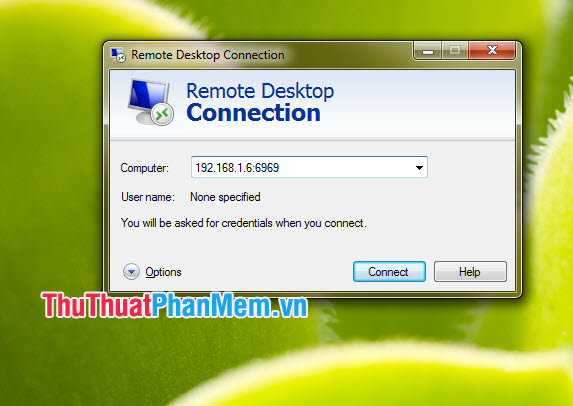
or (Host name / Computer name) :( port number)
By changing the port in the Remote desktop, you can secure the remote desktop connection than leaving the default port. Good luck!