In addition to the familiar functions on the phone such as listening to calls, texting, the alarm feature or timer must have been no stranger to phone users ever. However, there will still be users who rarely pay attention to this feature and do not know how to set the alarm, so please refer to the following article.
1. Alarm setting feature on the phone (iPhone / Android)
In fact, the alarm feature is available on all phones from basic, cheap to high-end phones, so you will not need to install any more.
Although the alarm features of each phone company will have a slightly different interface and setup, but basically, the use and manipulation of alarm settings will remain the same. So, whatever phone you're using, you can follow these steps:
Step 1: On the phone application menu, click the application named Clock . This is a Google application that comes pre-installed on Android phones, so there's no need to install anything else.

Step 2: When you open the application, click on the Alarm tab and on the blue plus sign below the screen to create a new alarm.

Step 3: Now a clock appears for you to adjust the time you want to schedule. Click OK to continue.

Step 4: Then the alarm created by violent will appear in the alarm list. Here, you click on your alarm to set settings like snooze alarms, schedule, change ringtones or insert note labels into your alarms.

If you want to delete the alarm you just created, click the Delete button below is okay.
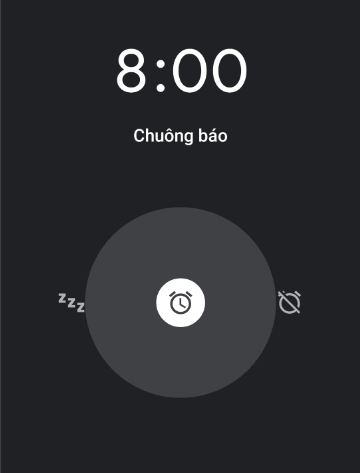
Step 5: When it's time for the scheduled alarm time, the phone will display the alarm as shown below, accompanied by a ringtone and vibration for users to recognize.
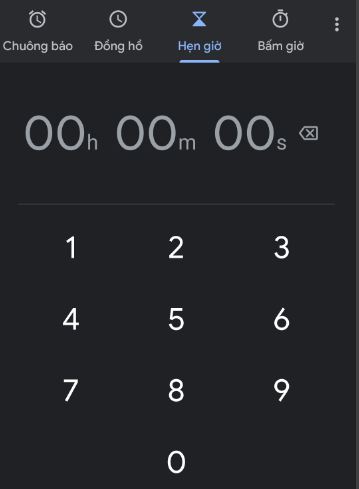
In addition, this clock application has been equipped with additional features such as Countdown timer in the Timer section .
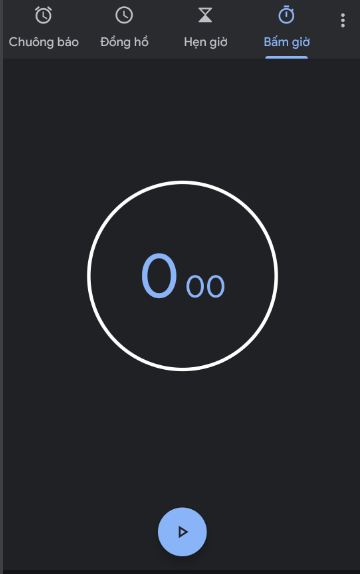
And features Click now for users to measure the time, this feature is suitable for use in contests need timer or use in the fitness exercise.
2. Set the alarm on your phone with the Alarmy application
In case your phone has not installed the alarm application, in this section I will introduce and guide you to install and use the famous alarm application called [ Alarmy ].
This is a popular alarm application, completely free and equipped with many useful and unique features as follows:
Alarmy application will force users to move and move to turn off the alarm.
- Support "Take a picture" to turn off the alarm, that is, you need to get out of bed and take pictures as required for the software to recognize and turn off the alarm
- Support for "Shake your phone" feature, that is, to turn off the alarm, you need to shake your phone, or you will need to solve a problem to turn off the alarm.
The steps to install and use this application are as follows:
Step 1: You access Google Play on your Android phone or App Store on iOS, search for the keyword ' Alarmy ', click on the Settings button next to the application with the pink gold clock icon as shown below.
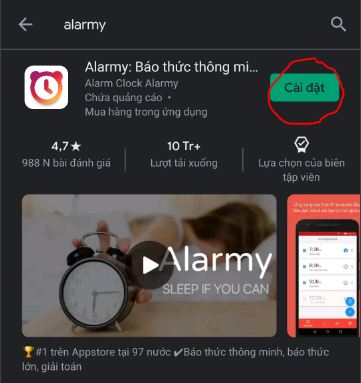
Step 2: You wait for the download and installation to complete.

After installing the application, you click the Open button to access the application.

Step 3: The main interface of Alarmy opens, click on the green plus sign on the right corner of the screen.

Now there will be two options appear: one is quick alarm and the other is Normal alarm .
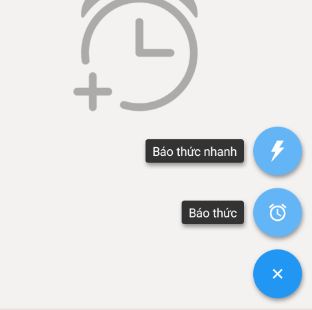
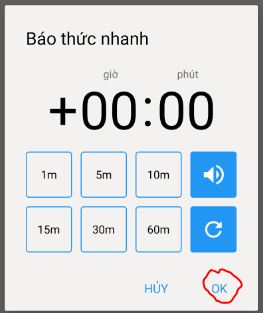
If you select Quick Alarm, you will be creating an alarm quickly by adjusting the alarm time and click OK to save is done.
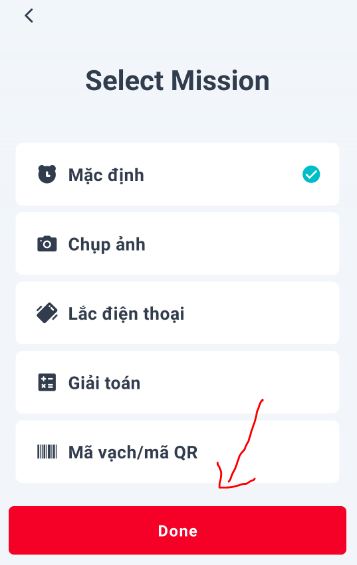
If you choose Normal alarm, you will have more unique options by clicking on the words How to turn off the alarm .

Here, users will be given a choice of unique ways to turn off the alarm such as Take a picture, shake the phone or solve math problems and then press the Done button to save.
Besides, there are other options that will appear including alarm time, snooze, ringtones and note stickers. Then click OK to save the newly created alarm.
Step 4: Now the alarm you just created will appear in the list in the main interface. If you want to delete this alarm, you just need to click on the vertical 3 dots and select Delete line is finished.

So I showed you how to set the alarm on your phone, depending on the model that has a different interface. Hopefully the above article will be useful to you. I wish you successful implementation!