Instructions to change mouse cursor on Windows 11
Windows 11 supports users to change the mouse cursor to different shape styles, or upload custom designs in .ani or .cur format..
Windows 11 supports users to change the mouse pointer to different shapes, or upload custom designs in .ani or .cur format. The default mouse pointer image included in Windows is stored in a folder on the computer or use your own image. Here are instructions for changing the mouse pointer on Windows 11.
How to change mouse pointer on Windows 11
Step 1:
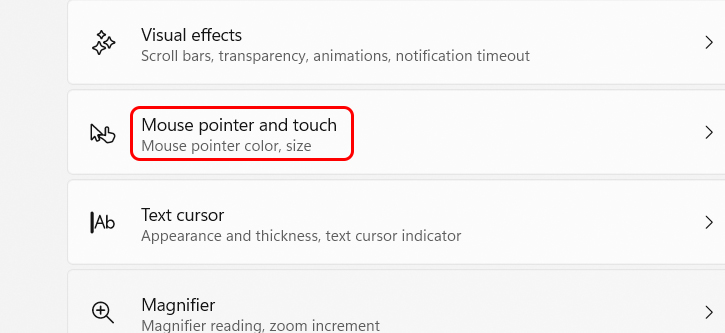
You open the Settings application on Windows 11, then click on Accessibility . Looking at the settings next to it, the user clicks on Mouse pointer and touch to adjust the mouse on the computer.
Step 2:
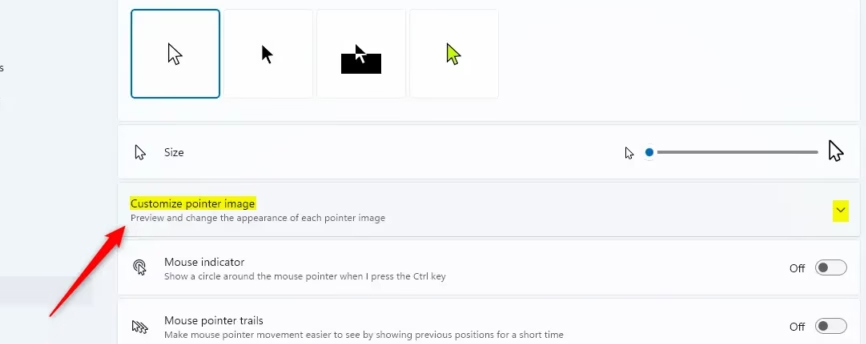
In this new interface, users click Customize pointer image to change the shape of the mouse pointer on the computer.
Step 3:
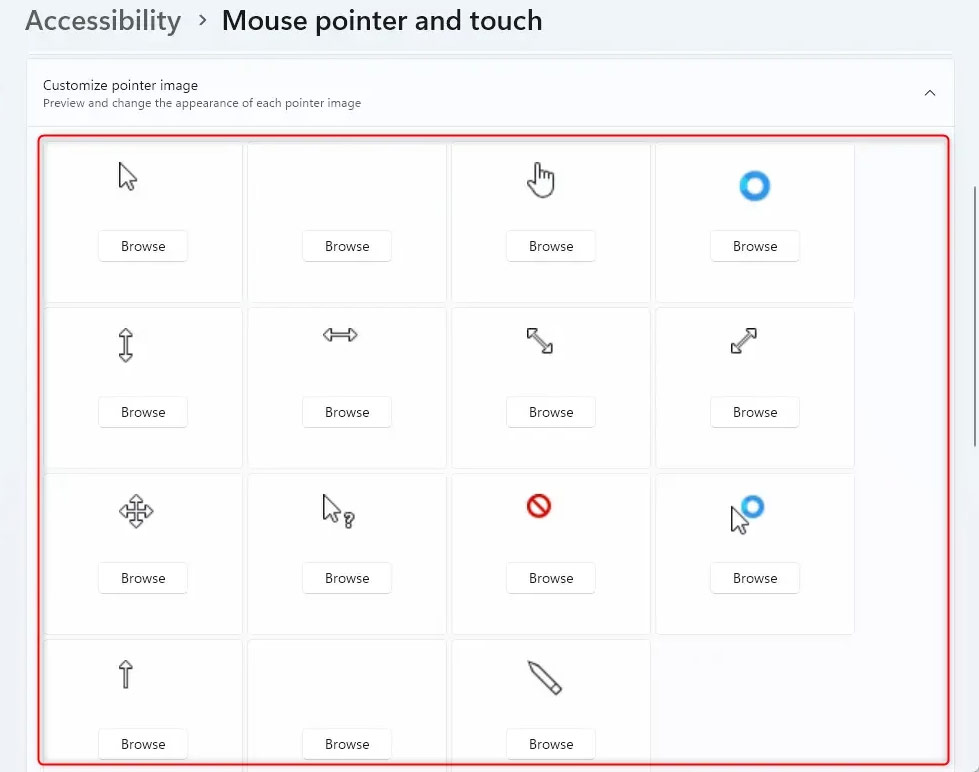
The user now also sees new shapes for the mouse pointer to change from the current shape. You can hover over the image to see the new mouse pointer change.
If you want to use a custom image, click the Browse button, then navigate to and select the .ani (animated cursor) or .cur (cursor) file you want to use.
Finally the Windows mouse pointer has changed to the new shape you selected.