How to use Wi-Fi Direct on Android
With the ability to connect two or more phones or tablets, Wi-Fi Direct eliminates the need for an Internet connection. File sharing, document printing and screen projection are the main uses for Wi-Fi Direct on mobile devices..
Using Wi-Fi Direct on Android devices to share files is a great alternative to Bluetooth, with a smaller range and slower transfer speeds. With the ability to connect two or more phones or tablets, Wi-Fi Direct eliminates the need for an Internet connection. File sharing, document printing and screen projection are the main uses for Wi-Fi Direct on mobile devices.
The instructions in this article apply to Samsung devices running Android 7, 8 and 9.
Use Wi-Fi Direct on Android Pie, Oreo and Nougat
The following steps illustrate how to connect to Samsung devices using Wi-Fi Direct on Android 9, 8 and 7.
1. Launch the Settings application, then click Connections.
2. Click Wi-Fi.
3. Click Wi-Fi Direct.
Important note : Make sure the device has Wi-Fi Direct turned on and is showing.
4. In available devices, tap the device you want to connect.
 Click the device you want to connect
Once connected, the device name will be displayed in blue font. To disconnect at any time, tap the device name again.
How to use Wi-Fi Direct to send files between Samsung devices
Samsung phones and tablets work especially well with Wi-Fi Direct. Older devices like the Galaxy S5 / S6 will connect to the new Galaxy S9 / 10 without a problem.
Warning : When sharing files, print-related tasks, or screenshots on a TV, you should use the same manufacturer or brand.
1. Navigate to the file you want to send, tap and hold the file, then press SHARE in the upper right corner.
2. With the sharing options displayed, tap Wi-Fi Direct.
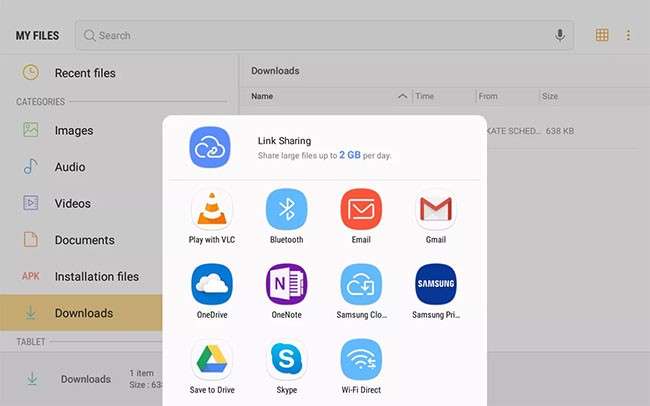 Click Wi-Fi Direct
3. In the available devices section, tap the phone or tablet you want to send the content to, then press SHARE in the top right corner.
Note : If you want to print a document, touch the Wi-Fi Direct supported printer. If you want to cast your phone or tablet screen to the TV, tap Wi-Fi Direct TV .
4. On the receiving device, touch the "File received" message.
5. In the file list, tap the file you just received to open or view the content.
 Tap the file you just received to open or view the content
6. On the sending device, a message will appear, indicating that the file transfer has been successful.
 A message will appear indicating that the file transfer has been successful
Tip : Remember to turn off Wi-Fi Direct after you finish using it to save energy. To turn off Wi-Fi Direct, disconnect from all paired devices.