How to use NessVPN application on iPhone
Using VPN software or VPN applications is always the solution that many people choose when they want to access blocked websites, or fake IP. VPN applications have very simple uses to connect to virtual private networks in many countries. NessVPN is a VPN application for iOS devices, capable of connecting up to 100 servers of many different countries.
NessVPN provides free users about 1024MB of traffic per month. Besides the basic features of a VPN application, NessVPN is fully owned, such as hiding IP address, safer web access, etc. The following article will guide you how to use NessVPN on iPhone. .
- How to use Idea VPN fake IP on Windows
- The best VPN for gamers
- The best free VPN application iOS users should not ignore
Instructions for using NessVPN on iPhone / iPad
Step 1:
Users click on the link below to install the NessVPN application for the device.
- Download iOS NessVPN application
Step 2:
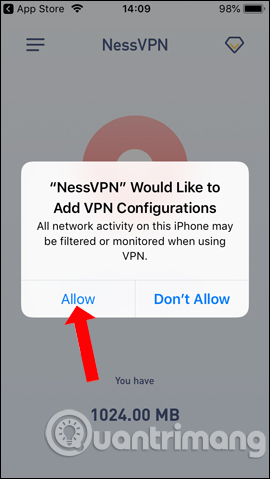
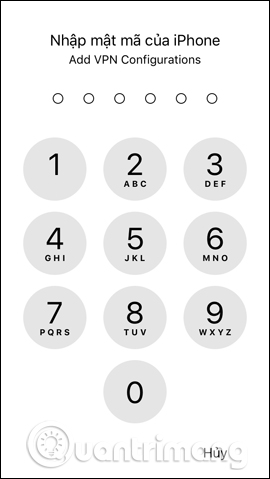
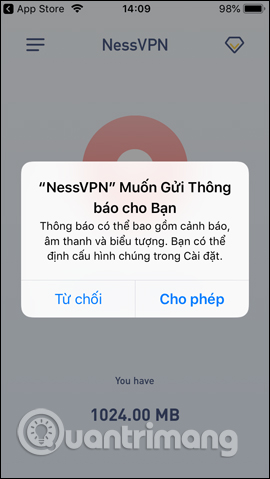
Starting the application and in the first interface, users will be asked to enable VPN configuration on the system . Click Allow to agree. Continue to enter the machine access password to complete the VPN configuration. The NessVPN application will ask if the user wants to receive notifications.
Step 3:
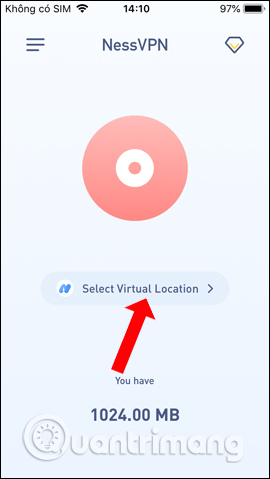
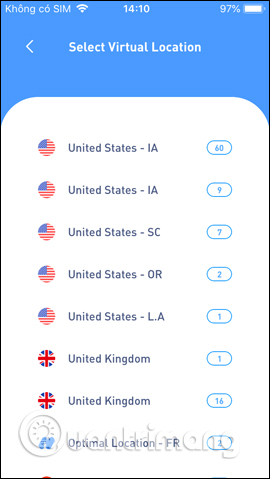
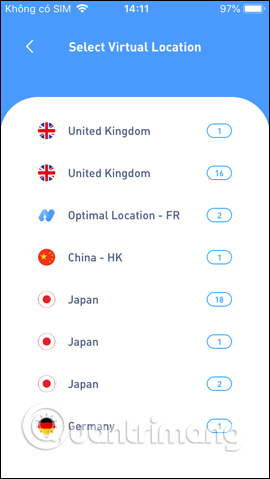
At the main interface of the application, we click on Select Virtual Location to select the location where the server wants to connect. Switch to the new interface and you will see a list of connected countries that the application supports.
The application connects to 100 servers in 8 different countries including the UK, the United States, the Netherlands, Germany, Brazil, Japan, Australia, Singapore. The number of servers will be displayed in that country. Click on the location you want to connect to.
Step 4:
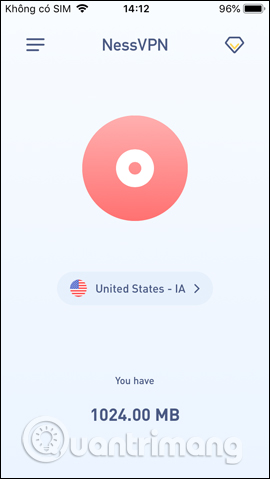
We wait for the application to connect to the selected location. Once successfully connected, the blue circle will be displayed, plus the VPN icon on the side of the screen as shown below.
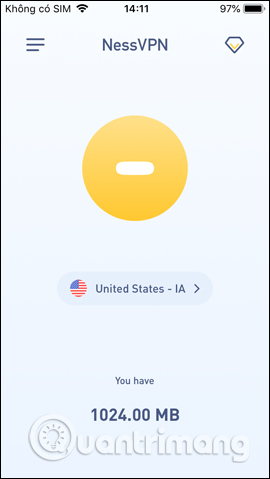
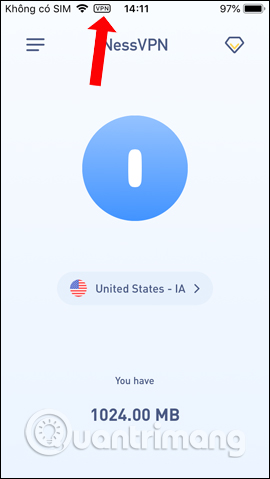
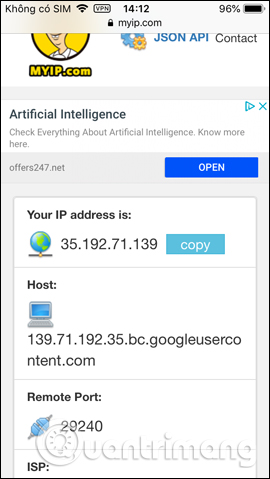
Now you can use NessVPN to surf the web. With 1024MB of free monthly storage, we can read newspapers, watch news. If you want, you can check the IP address currently connected. To disconnect, press the blue button with a straight line to return to the red circle as shown.
NessVPN is very simple to use, just one click to access or connect to any server location that the application supports. With a lost account, users can use more features, such as fast access speed, increase the number of connected server locations, .
See more:
- How to secure your VPN more secure?
- Speed up Internet connection by VPN virtual private network solution
- Summary of common VPN error codes
I wish you all success!