Table of Contents
This updated guide examines How to Use Multi.link to Create a Personal Website Sharing Page and organizes the essential facts, background, and practical takeaways in clear American English.
- How to use linkstore.app to store and share links
- How to use Manylink groups of sharing links
- How to use The Urlist to manage shared link groups
- How to create advertising content in the sharing link
Instructions for creating an image sharing page
Step 1:
Users visit the homepage of multi.link by following the link below.
https://multi.link/At the page interface, click Join to create an account to use.

Step 2:
Switch to the account registration interface, the user enters all required information in the interface and then press Create account to use.

Step 3:
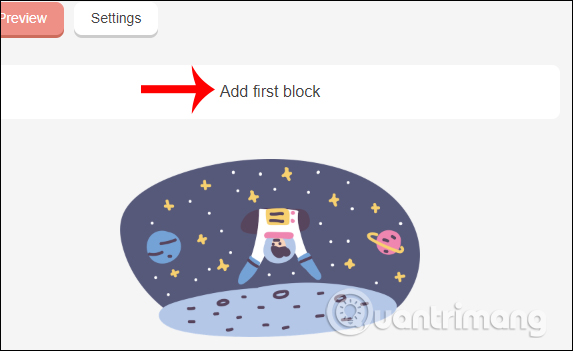
Once you have registered your user account, a new interface will appear and we click Add first block to select the first content to share.
Display shared content that your site supports. Click on the content you want to send to others.
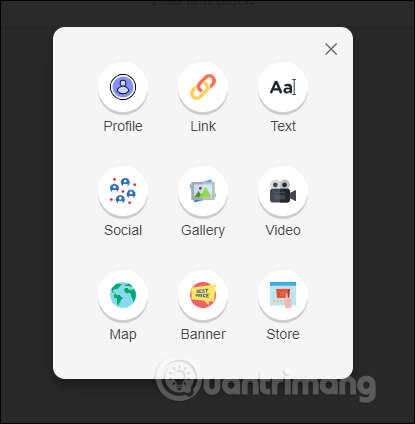
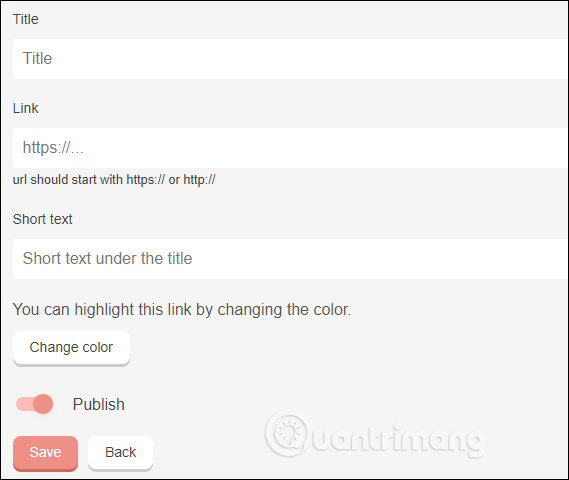
For example, to share the link , you click on the link. Now display the interface to fill the content to share any site.
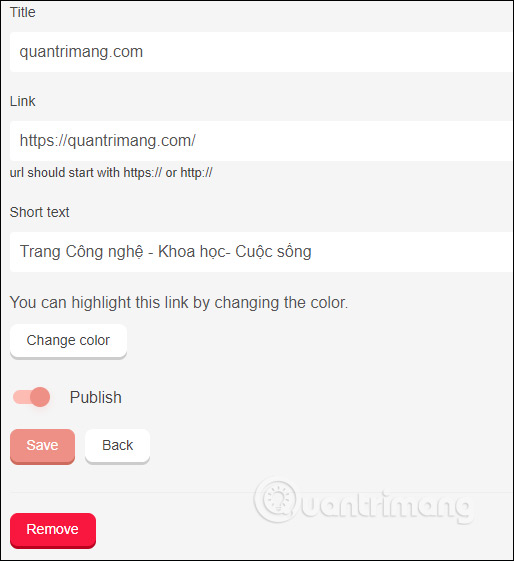
- Title: We enter the site name.
- Link: You paste the website URL.
- Short text: If you want to add a brief comment about the site, enter it here.
- Change color: Create highlight link.
- Publish: If you want to share publicly, then enable this mode.
- Save: Click on save.
Step 4:
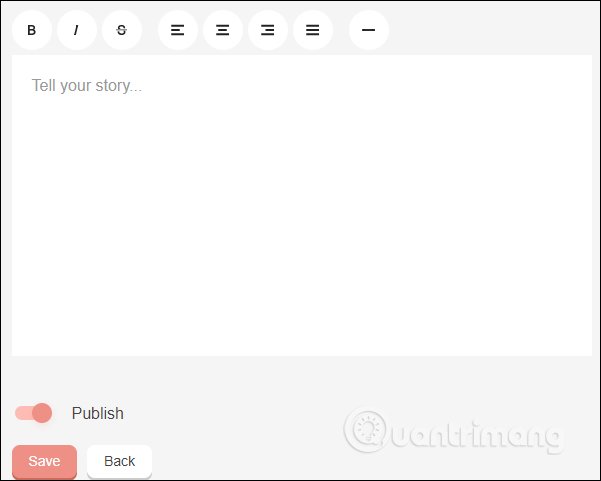
Go back to the interface of multi.link, click Add new block to add other content. If you want to share the message or content introduced, then click on the Text . Next we fill in the content as in the interface.
Step 5:
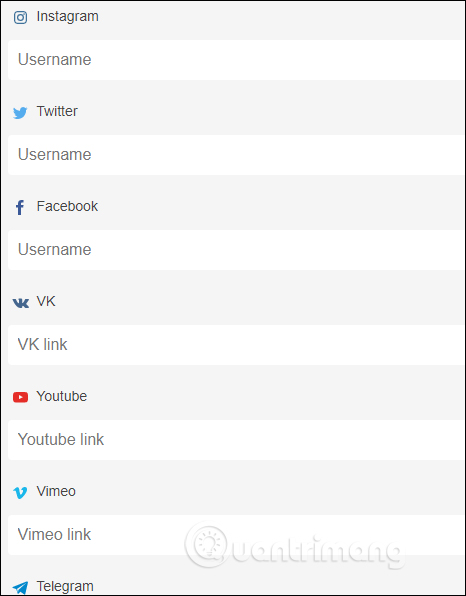
To share social networking sites , click on Socia l. There are social networking accounts and you just need to enter the content as needed.
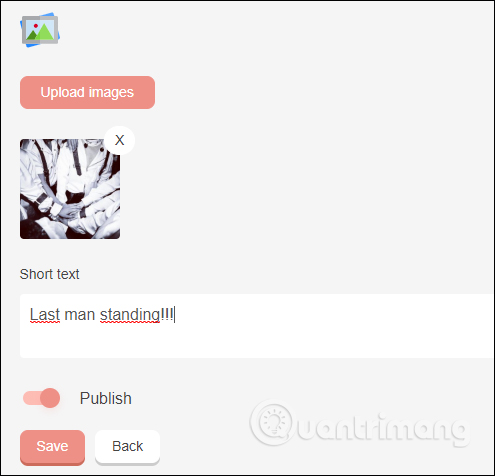
The Gallery section is for sharing photos on your computer and adding messages.
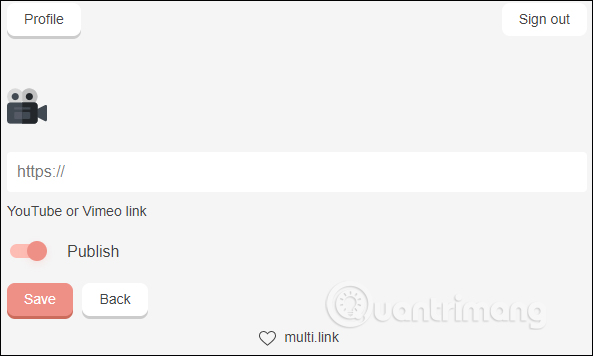
Video section will insert YouTube or Vimeo link to share.
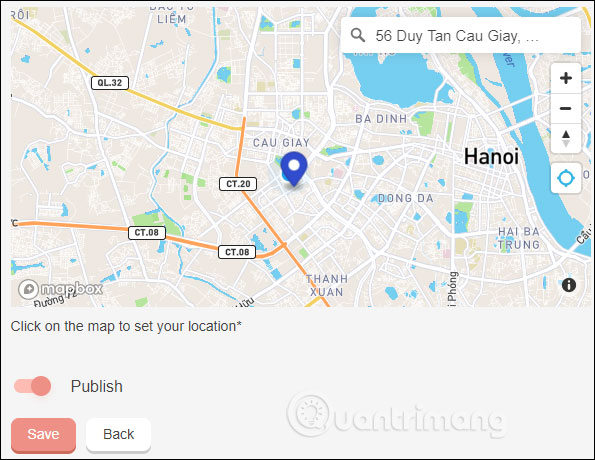
The Map section to share the location you want to post to the content sharing page.
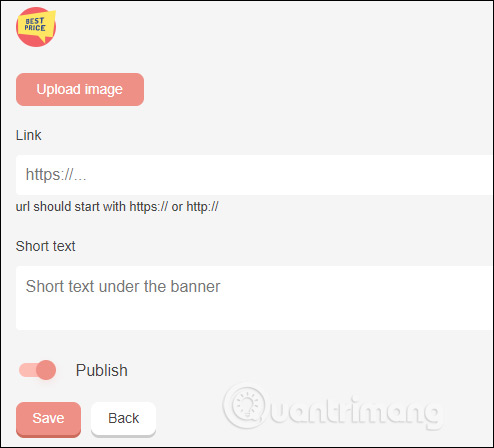
Banner for sharing advertising content from a computer or via URL link.
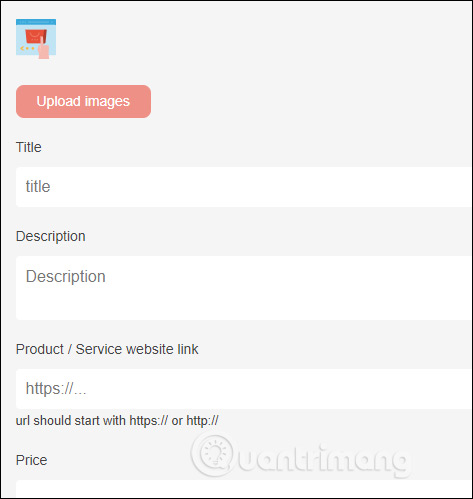
Finally the Store to share photos of the item with price, description,.
Step 6:
Each shared content will display in the Admin page interface. When clicking on a shared content will display the interface again to change the content or click Remove to delete.
Step 7:
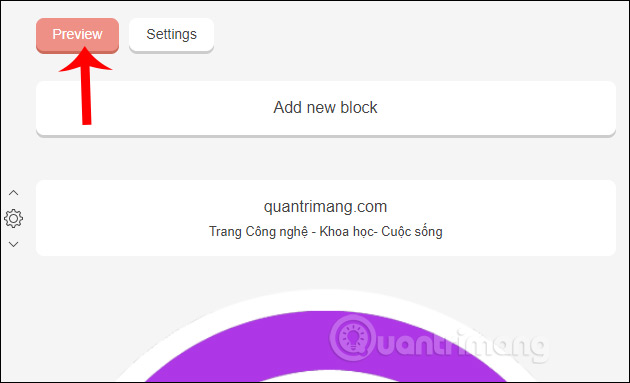
To preview the page on which you created the content, click the Preview button .
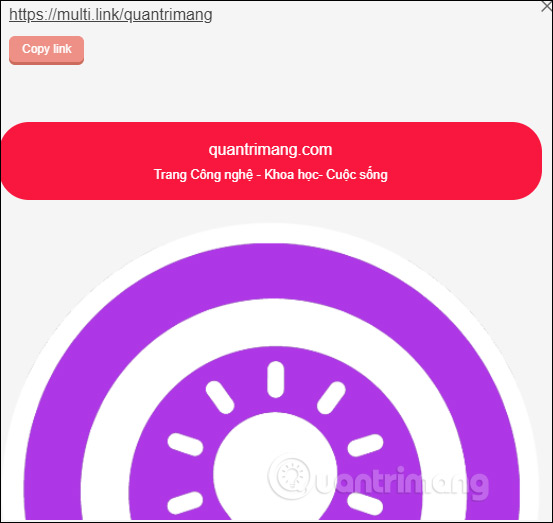
Content sharing site results as shown below. We click Copy link to copy the link we want to share and send to others.
Step 8:
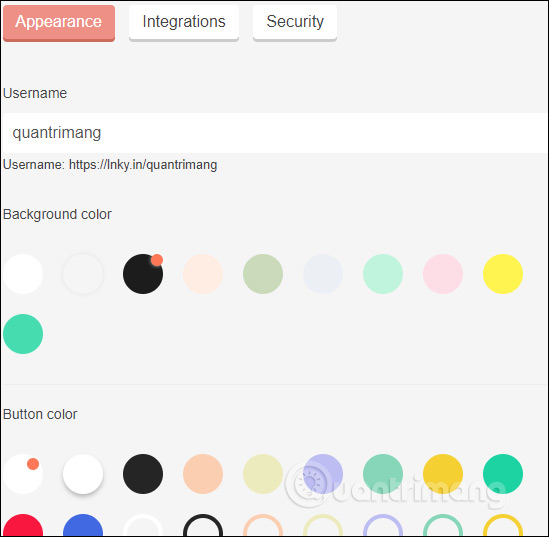
To change the settings of the page click on the Settings button . When changing the content, click Update to save.
Thus multi.link create content sharing page to others, with a lot of rich content. We can rely on the content that multi.link supports to advertise our personal page.
I wish you successful implementation!
FAQ
What is How to Use Multi.link to Create a Personal Website Sharing Page about?
It provides a structured overview of multi.link, explains the main context, and highlights practical takeaways for readers.
Why does this topic matter?
Understanding the main concepts helps readers evaluate the issue, avoid common mistakes, and make better-informed decisions.
How should readers use this information?
Use the guidance as a practical starting point, confirm details that may have changed, and follow current product, safety, or security recommendations.
Related Articles
 Anyone Can Create a Small and Simple Website with These 10 Websites10 minutes read
 Top Job Search Website, the Most Prestigious Recruitment Website9 minutes read
 4 Tools to Help Build a Website for Beginners: Best Options Compared9 minutes read
 How to Design a Website in Photoshop (Part 2): Create a Landing Page12 minutes read
 How to Creating Websites with Dreamweaver Cc Part 316 minutes read
 How to Creating Websites with Dreamweaver Cc Part 525 minutes read
Reader Comments 0
Sign in with email or Google to join the discussion.