How to take a screenshot of the site with Screenr
To take a screenshot of a computer screen, simply press the key combination. And now there are many screen capture software or utilities that have other features to support users, such as writing captions to images such as Screenr utility. This utility will create additional frames so that we can enter a caption for each content on the image after taking a screenshot of the website. All of these annotations can be synchronized via a Google account, if we are logged in. So you can easily review photos with annotated content when needed. The following article will guide you how to take a screenshot of the web screen using the Screenr utility on Chrome.
- Instructions for taking screenshots that contain mouse cursors in Windows
- How to take photos, record videos on Chrome screen with Nimbus utility
- How to use Captura to take photos, record, film screen of Windows 10
- Instructions for filming and taking game screen shots in Windows 10
Instructions for taking screenshots on Chrome
Step 1:
We click on the link below and then proceed to install the utility on the browser.
- Download Screenr utility on Chrome
Step 2:
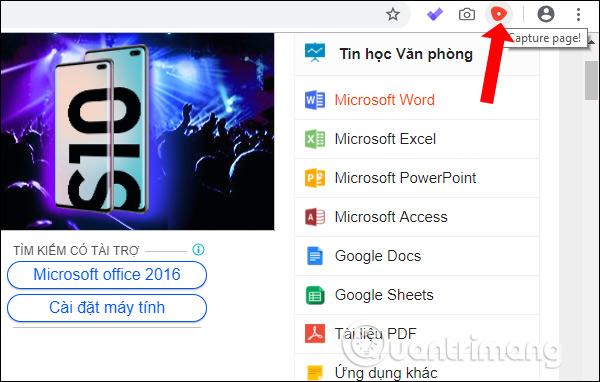
Next we open the website that wants to take a screenshot and click the utility icon on the toolbar . The utility will take a full screen picture horizontally, with no option to take a picture of the screen area.
Step 3:
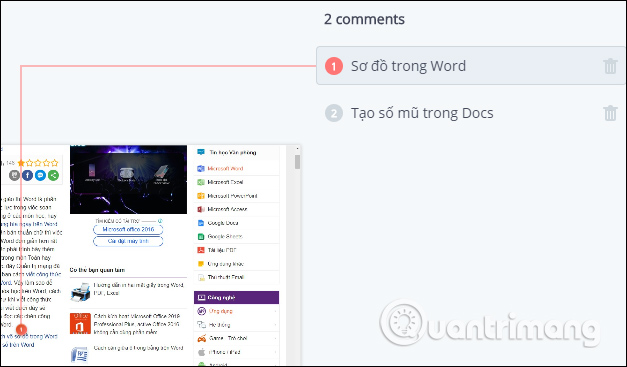
Soon the screenshot is transferred to the new browser tab to write a comment. The user selects the location where they want to write the caption and is numbered. So we can easily follow the caption on the image of the web page. We can move this note number to any location, depending on the content of the note.

The content of notes will be written on the right side of the screen. If you want to delete the created note, click the trash can icon. When finished writing, click the mouse on the external interface to continue adding other notes for the screenshot.
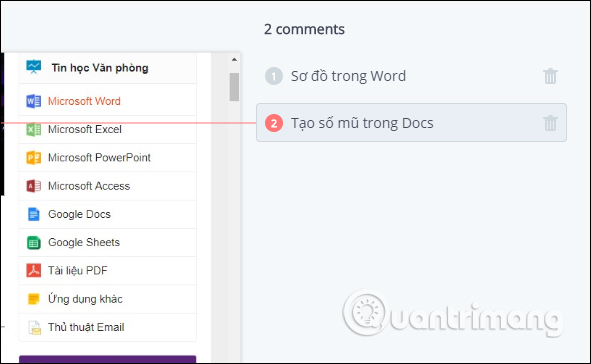
Each of these notes will have a link to the right location of the note so you can follow and search faster and more accurately. These links are visually arranged without causing confusion for users.
Step 4:
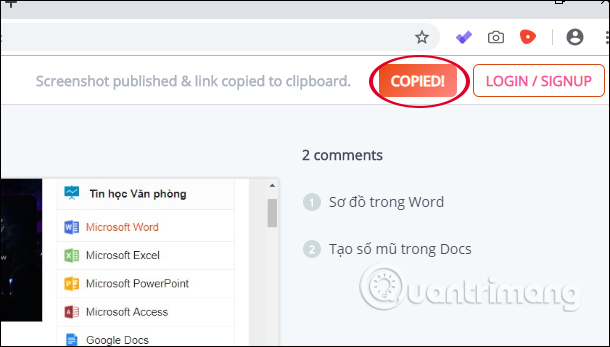
After creating the note, click Copy link in the upper corner to continue.
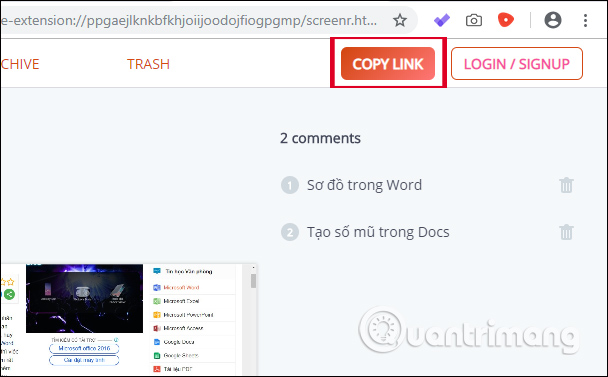
This will display 2 different options as shown below.
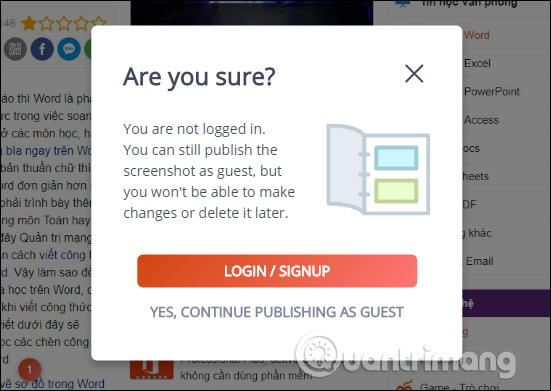
Step 5:
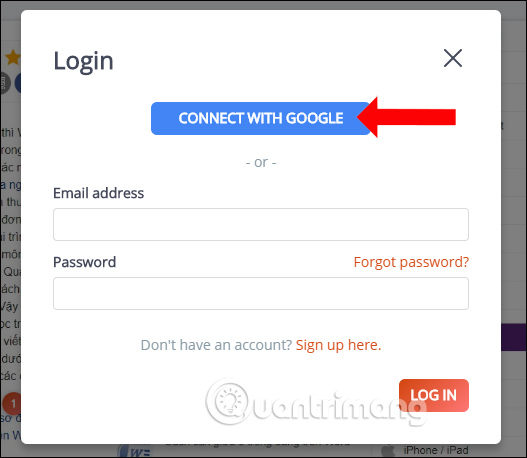
With Login / Signup option, users need to log in to Google account to save photos to account. Screenr will then save the annotated snapshot to your account automatically after clicking Copy link. Shared links also save automatically to the cache.
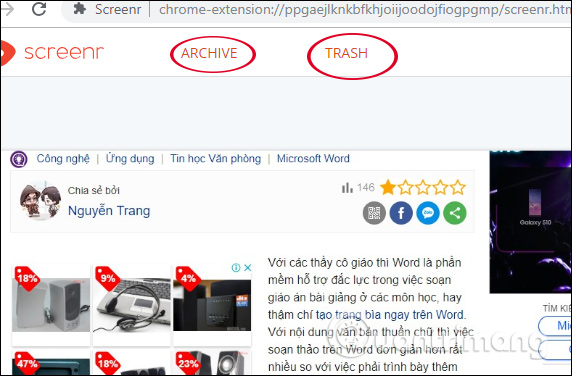
Captured images will be saved in the Archive section. As for the deleted image, it is saved in Trash.
If you do not want to use your account, click Yes, continuepublishing as guest . Then the utility will create a link to share photos with annotations, but the photos will not be edited nor saved.
Screenr utility also basically supports screen capture like other utilities, but you can add captions if needed and be arranged in order number for easy management. Comments are saved via personal Google account when logged in.
I wish you all success!