How to capture computer screen fast, self-saved, without software
How to capture screen 2, 3 computers using built-in tools on all Windows (XP, 7, 8, 10). The first way only applies to Windows 10/8 / 8.1, no software needed. If you often have to take a screen shot of a laptop, you should read the 3rd way, I also use this method very often..
Computer screen capture is one of the fastest ways to record your favorite images, meaning texts that many websites do not allow you to save in the usual way. You can also use the way to capture your computer screen to save error messages, problems when using applications, computers, and asking others for help. With 3 ways to capture the computer screen below, you can use it to suit many different purposes such as: capture the entire screen, capture a program window, take part of any screen.
How to capture screen 2, 3 computers using built-in tools on all Windows (XP, 7, 8, 10). The first way only applies to Windows 10/8 / 8.1, no software needed. If you often need to take a screen shot of a laptop, your computer should read the 3rd way, I also use this method very often.
1. Instructions to take a screenshot of your computer, save it without Paint
Many people do not know that Windows 8 / 8.1 and Windows 10 can capture PC screens and save to folders on the computer without using intermediate photo editing applications. You only need to use the following keystroke to capture a computer screen:
- Press Windows + PrtSc key combination (Print Screen), if your prtsc key is not alone, with a different font color than most keys on the keyboard, you may have to press the Fn key to activate PrtSc key, Screen capture key combination will become Windows + Fn + PrtSc.
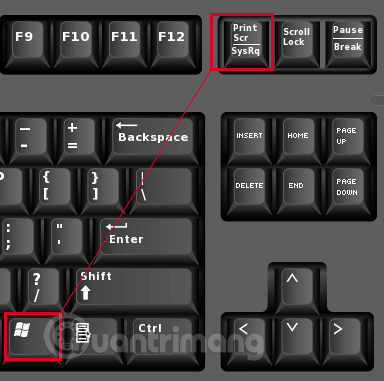
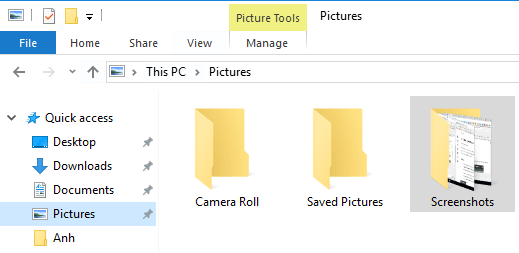
- Open the Pictures> Screenshots folder on your computer and you will see a screenshot of your laptop or computer.
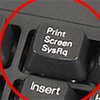
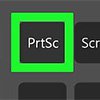
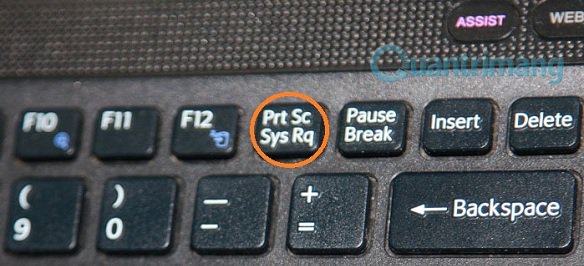
If you can't find the PstSc key, it may have changed a bit on your keyboard, try finding one of the following keys:


2. Take a screenshot of the laptop and save the image with Paint
This applies to all Windows versions from Windows XP, Windows 7, Windows 8 / 8.1 to Windows 10.
How to capture a full screen computer
At the screen of the screen to be captured, you press the Print Screen key ( This button is usually located in the upper right corner of the computer keyboard with many different abbreviations such as: 'PrtScn', 'Prnt Scrn', 'Print Scr '. )
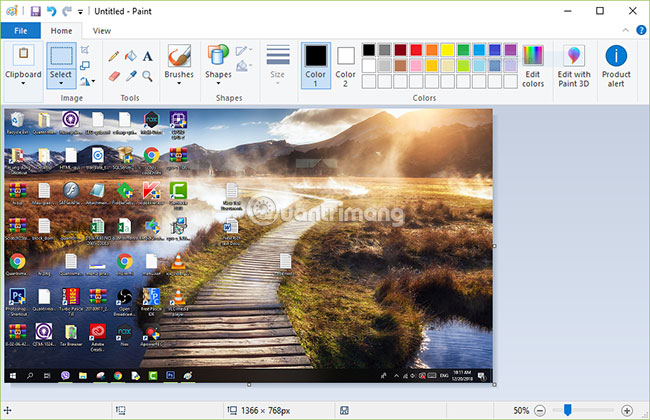
You enter "paint" in the search box, click on the result to open Paint ( software available in Windows ) to save the image just taken, can use other photo editing software like Photoshop , or paste directly into the chat application like Viber to send to friends.

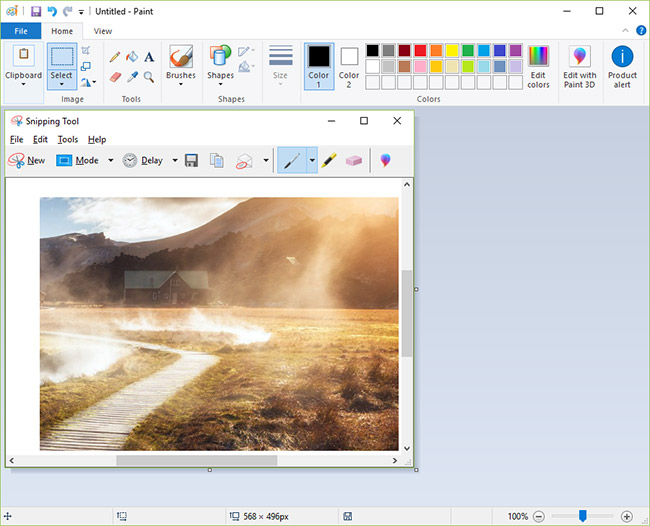
Paint interface window appears, you press Ctrl + V to paste the image just taken
If you just want to grab a portion of the screen you just took, click Select, create a selection on the image by clicking and dragging the mouse, and then click on the cutting tool, the steps are as shown below:
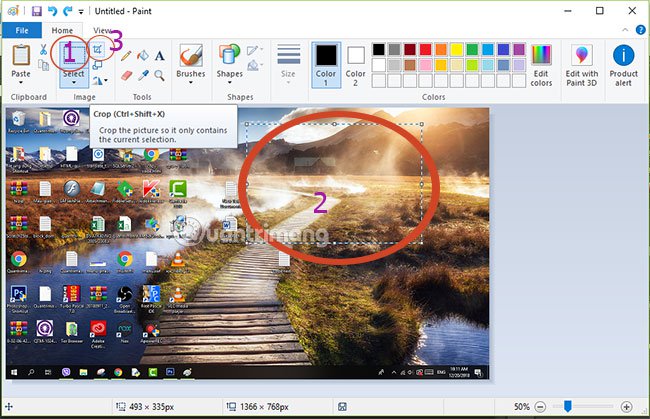
Finally, press CTRL + S to save the image.

Take a window on the computer screen
You do the same thing as above, except that you don't have to press Print Screen but Alt + Print Screen.
Open the window you want to capture and press Alt + PrtSc:
Open Paint and press Ctrl + V to paste the photo, then press Ctrl + S to save it:
3. How to take a screenshot of the computer screen using the Snipping Tool (great)
Like Paint, the Snipping Tool is also a built-in tool for every Windows and taking a screenshot of your computer with Snipping Tool is incredibly cool and handy. If you use Windows and you don't know it, it's a big flaw.
Step 1 :
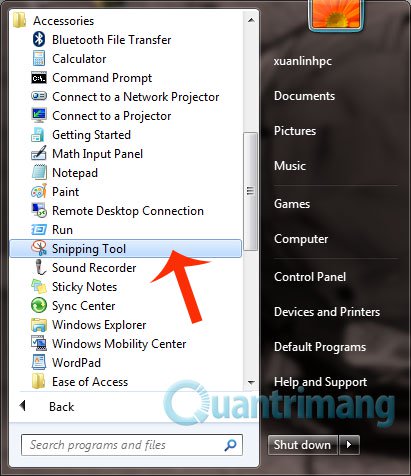
- For Windows 7, Windows 10: Go to Start >> Accessories >> Snipping Tool
- On Windows 8 / 8.1, hover over the top right corner, click the search icon, enter Snipping and click Snipping Tool in the result.
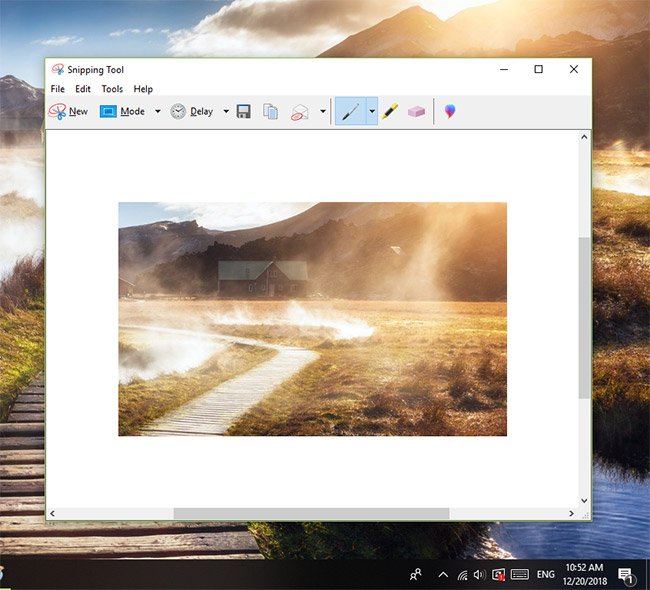
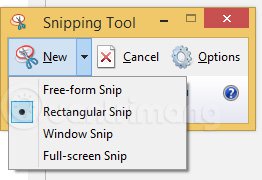
Step 2 : At the interface of Snipping Tool , click the arrow to the right of the New word , you will see 4 options for taking a screenshot of your computer screen:
- Free-form Snip: Take photos freely, the border of the image is the path you circle on the screen
- Rectangular Snip: Take a picture into a rectangular frame
- Window Snip: Capture an open window
- Full-screen Snip: Full screen capture
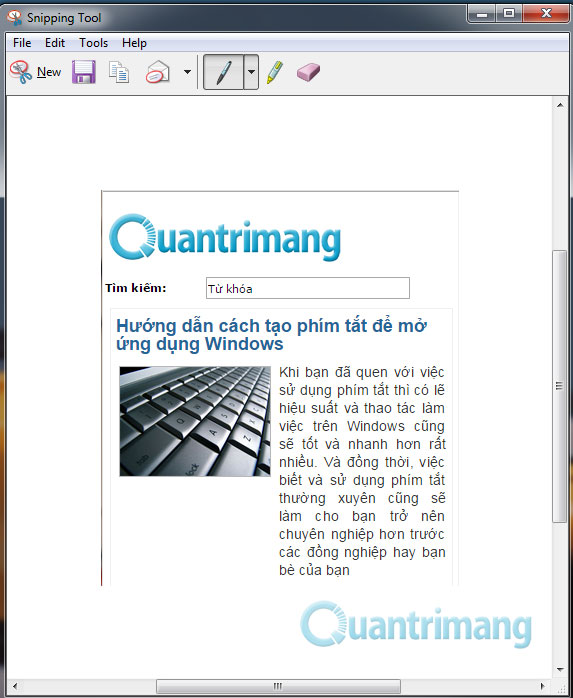
Choose a suitable shooting style, with the first two shooting modes you need to localize the screen you want to capture, click to start and release the mouse when finished. After taking a picture, you can Ctrl + V into Photoshop, Paint to edit it, paste it into a chat application like Viber to send to a friend or Ctrl + S to save it on your computer.
If you often have to take screenshots, you should pin the Snipping Tool in the taskbar, with just 2 clicks to capture the screen area you want and save it, send it to a friend.
4. Capture computer screen on macOS
On macOS you can take a full screen picture or just a certain part. Mac screen screenshots are then saved automatically to the desktop.
Take full screen photos of macOS computers
- Press Shift + Command (⌘) + 3.
- Find screenshots that look like .png files on the desktop.
Capture an optional part of the screen on the macOS computer
- Press Shift + Command + 4, the cursor will change to a cross.
- Move the cross to the area where you want to start the screen capture, drag to the end of the area to capture. While dragging, hold down Shift, Option or Space to change the selection of the selection.
- Once you've selected the area to take the screen, release the mouse or trackpad. To cancel, press the Esc key before you release the mouse.
- Screenshots are saved as .png files on the desktop.
Take a menu on macOS
- Click on the menu to display the contents of the menu.
- Press Shift + Command + 4, the cursor will turn into a cross.
- Drag the mouse to select the menu.
- Release the mouse or trackpad to take a screenshot. You can also press the Esc key if you want to cancel the photo.
- Find photos taken menu as .png on the desktop.
If you just want to capture the menu content without the menu name, when the cursor turns into a cross, press the Space key, the cursor will turn into a camera, move the camera through the menu to highlight it> click or trackpad to capture the menu.
Shooting Touch Bar on macOS
You refer to detailed instructions in the article: How to take photos of the Touch Bar screen on the Macbook.
If the computer screen capture features available on macOS haven't made you satisfied, try using some macOS screen capture software to see why.
5. Video tutorial on how to capture screen laptop, computer
Explore more:
- 3 ways to take screenshots on Samsung Galaxy Note 4
- 2 ways to take screenshots on iPhone, iPad phones
- 15 useful screen capture applications for Windows
- Frequency handicap from AZ how to take screenshot of Android device screen
Good luck!