Instructions for taking screenshots of Linux computers
Linux is a powerful and diverse operating system, so the screen capture tools for this platform are also powerful and varied. The variety of these screeenshot tools includes simple and easy-to-use command line tools that provide scripting and process automation capabilities.
Table of Contents
The Linux operating system is a powerful and diverse operating system, so the screen capture tools for this platform are also powerful and varied. The variety of screen capture tools includes a simple and easy-to-use command line tool for scripting, and automatic screen capture.
Take a screenshot of Linux using GNOME screenshot, Ubuntu's default tool
Ubuntu, like many of the Linux-based versions of GTK, comes with the default GNOME screenshot screen capture tool, which is one of the easiest and easiest to use screenshot tools available on Linux. GNOME screenshot is capable of capturing the entire screen, specific windows and manually selected rectangular areas. If more time is needed while shooting, you can add time delay for full screen shots and window shots.
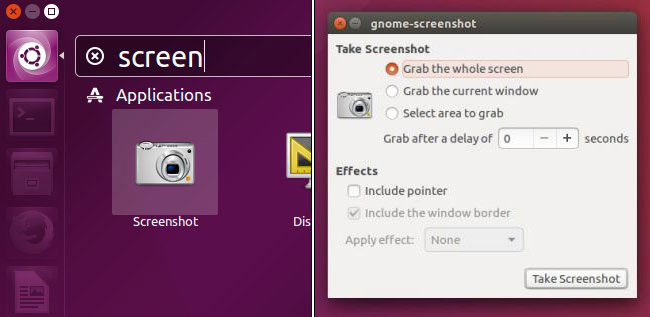
GNOME screenshot supports several effects including mouse pointer, add shadow, border or even Vintage effect. The simplicity of this tool is also a limitation, its effects are only available when taking screenshots of the current window. For example, manually selected region mode cannot use any effects.
Using
If not, install GNOME screenshot using the package manager of the version you are using. Ubuntu, Ubuntu MATE, Ubuntu GNOME and many other versions will be available for GNOME screenshot. Then, launch GNOME screenshot by searching for it in Ubuntu Dash or the distro application menu.
Taking a screenshot is simple: select the type of screenshot you want (Whole Screen, Window, or Selectable Region), select any option you want and click the ' Take screenshot ' button. From there, you can save the image to the computer or copy it to the clipboard.
GNOME screenshot is usually the default screen capture tool for most desktop versions based on GTK like GNOME, MATE, LXDE, Cinnamon, Budgie, Pantheon and other versions. However, XFCE has its own tool called "Xfce4-screenshooter". XFCE's tool is practically the same as GNOME for the process, but XFCE chose to support the ZimageZ image server instead of the visual effect.
Take a screenshot of Linux with Spectacle of KDE for more options
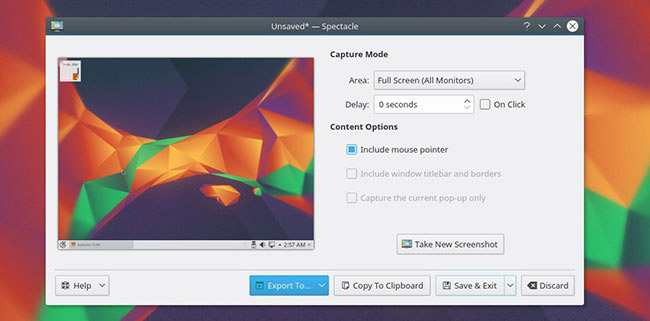
Spectacle is the default screen capture utility for Kubuntu 16.04 and other KDE Plasma-based versions. Spectacle replaces KSnapshot as the official KDE screen capture tool that started with Plasma 5.5. Spectacle is a great combination of simplicity and robustness. Spectacle offers all the same features as GNOME screenshot, sound effects, but also has many additional features for users to set up themselves. Spectacle also allows the use of all these features in all modes used.
Spectacle is capable of capturing the entire screen, a specific screen part, a specific window, a manually selected rectangular area and even a dialog window / pop-up window specified. All of these modes are capable of including the mouse pointer and adding latency to the shooting process.
Spectacle comes with excellent time-saving capabilities such as automatic file name selection with custom date format and the last manually selected region. When the screenshot is taken, you can save it to the computer, copy to clipboard, open it directly in another application, or automatically upload it to Imgur or Twitter.
Using:
If you do not have Spectacle, install it using the package manager of the version you are using. Kubuntu, KDE Neon and many other versions have installed Spectacle. Then launch Spectacle from the App Menu , select the type of screenshot you want, and click the " Take New Screenshot " button. Click ' Export to ' to save or upload images or copy images to the clipboard if you want to paste elsewhere.
Capture, edit and export Linux screenshots with Shutter
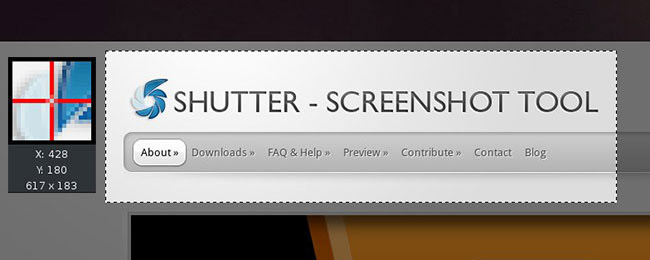
Shutter is one of the most powerful screenshot tools available for Linux and probably for any platform. Shutter includes standards like full screen shots, specific windows and manually selected areas, but Shutter has even more features of the standard screen capture tool. Shutter's diverse features also include Magnifier for magnifying glass to select the region, take pictures without a browser, take Tooltip photos, expand export tools, Plugin system and even image editor. it's own.
Shutter's export system supports custom FTP servers and cloud services like Imgur, Dropbox, ToileLibre, Minus and many other services. Shutter supports uploading accounts based on these services through a combination of OAuth or username / password.
Shutter's Plugin system provides an impressive set of effects and tools that can be automatically applied to any image uploaded during the session. Shutter's effects and tools include red, gray, watermark, torn paper, auto-resize, auto-cut and many other things.
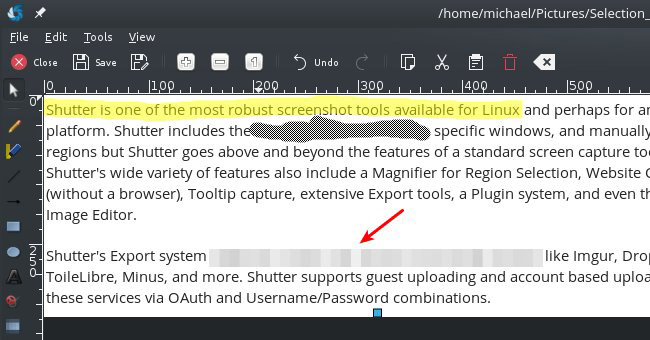
Shutter's integrated image editor offers a wide range of basic features like adding text and cropping. The most interesting feature of the editor is the ability to highlight elements with arrows, drawing shapes and, of course, a marker tool. However, sometimes you may want to share a screenshot but limit some data from the view. Shutter provides this functionality with censorship and Pixelation tools to keep data from being exposed. The editor also comes with an automatic image creation tool that can be added to screenshots that help Shutter to be the perfect screen capture tool for step-by-step instructions.
Using:
To use shutter, download and install it from the home page or package manager in the current version, if available. Then just launch the application from the application menu, select the type of screenshot you want to make and press 'Enter' to complete the shooting process. When done, you will have a lot of options to do with that screenshot.
Capture Linux desktop from Command Line
For advanced users, Linux command line functions can be very important, which is where Scrot and Maim impact.
Scrot (SCReenshOT) is a screen capture utility that uses the imlib2 library to save images. Developed by Tom Gilbert, it is written in C programming language and licensed under BSD License.
The majority of the features provided by the GUI application (Graphical User Interface) are available in both software but can also use one of two tools for automatic screen capture, screen capture Remote calculation via SSH and many other features.
Scrot is a comprehensive tool for command line screen capture, as it provides options for adding latency, quality control, area selection, thumbnail creation and more.
Besides, maim takes a simpler approach by relying on other tools to improve functionality. For example, with maim, if you want to take a screenshot of the current window, you will need to combine the use of 'xdotool'. Both of these applications are great for command line screenshot but you will need to decide which method is best for you.
Using:
Scrot and maim will be more complicated if we dig deeper, but the basics are quite simple. Install scrot or maim from the repository of the current version and run scrot filename.jpg or maim filename.jpg to take a screenshot. Read through the manpage of each command for more details on what you can do - for example, you can set the current date for the file name or change the location to save the screenshot.
The following is a detailed tutorial for scrot. Please note that all the examples in this tutorial are conducted on Ubuntu 16.04 LTS and the scrot version 0.8.
Install Scrot:
The scrot tool may already be preinstalled on Ubuntu. If not found, you can install it using the following command:
sudo apt-get install scrot
Once the tool is installed, you can launch it using the following command:
scrot [optional] [filename]
Note: The parameters in [] are optional.
Usage and features of the Scrot:
In this section, we will discuss how to use the scrot tool and all the features it provides.
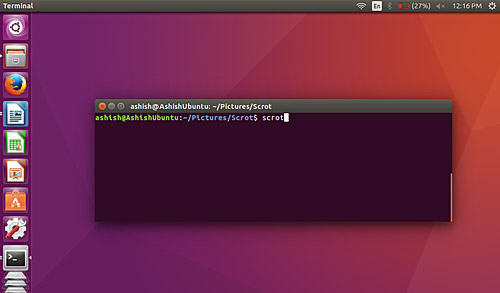
When the tool is run without any command line options, the scrot captures the entire screen.
By default, the captured file is saved with the date stamped in the current directory, you can also specify the name of the captured image when the command is run. For example:
scrot [image-name] .png
Download the application version:
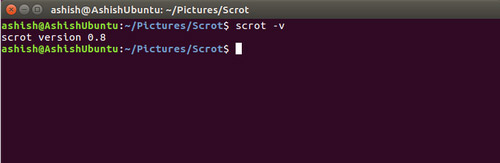
If you want, you can check the scrot version using the -v command line option.
scrot -v
Here is an example:
Take the current window:
Using this utility, you can limit screen shots to the currently targeted window. This feature can be accessed using the -u command line option.
scrot -u
For example, this is the desktop when executing the command on the command line:

And here is the screenshot taken by the script:

Choose a window:
This utility allows you to capture any window by clicking on it through the use of the mouse. This feature can be accessed with the -s option.
scrot -s
For example, as you can see in the picture below, there is a screen with two terminal windows overlapping. In the above window, run the scrot -s command.
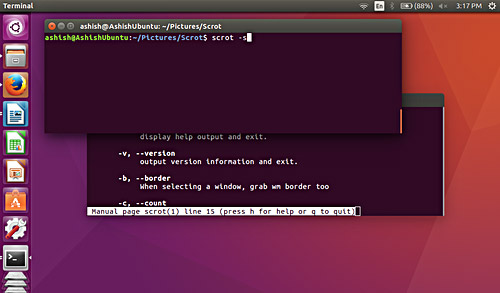
Now suppose, if you want to capture the terminal window below, simply click the window when the command is executed - the execution of the command will not complete until you click somewhere on the screen.
This is the screenshot taken after clicking on the terminal window:
Note: As you can see in the snapshot above, any area that is captured includes the bottom window being hidden and the overlapping section with the top window.
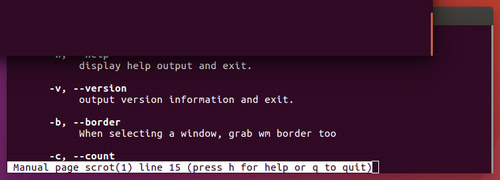
Capture both window borders in screen shots:
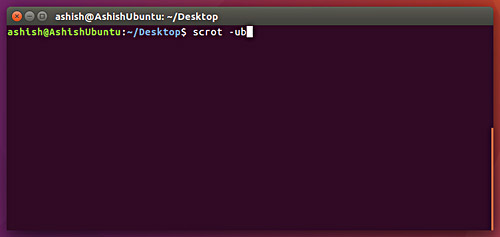
The -u command line option that we discussed earlier does not include the window border in the screenshot. However, you can include the border of the window if you want. This feature can be used by using the -b option (combined with the -u option).
scrot -ub
Here is a screenshot for example:
Note: Some background areas around the border of the window are also added to the screenshot.
Time delay when taking a screenshot:
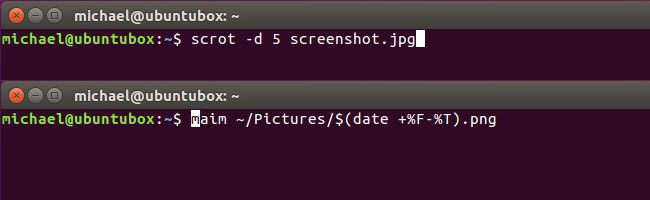
You can set the delay time while taking a screenshot. To do this, you must assign a numeric value to the --delay or -d command line option.
  scrot --delay [NUM]

  --delay scrot 5
Here is an example:
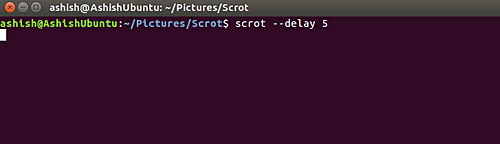
In this case, the scrot will wait 5 seconds and then take a screenshot.
Countdown before screenshot:
This tool also allows you to display the countdown while using the time delay option. This feature can be enabled using the -c command line option.
  scrot –delay [NUM] -c

  scrot -d 5 -c
Here is a screenshot for example:
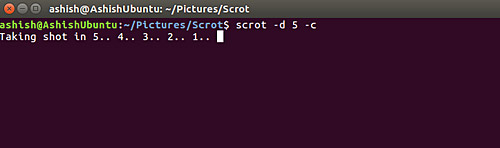
Image quality:
Using this tool, you can adjust the quality of screenshots at a rate of 1-100. High value means large size and low compression. The default value is 75, although the effect varies depending on the selected file format.
You can access this feature by using the --quality or -q option, but you must assign a numeric value for this option from 1-100.
  scrot –quality [NUM]

  scrot -quality 10
Below is a sample photo:
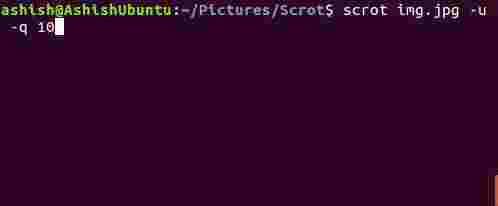
So, you can see that the quality of the image is greatly reduced when the -q option is assigned a value close to 1.
Create thumbnail:
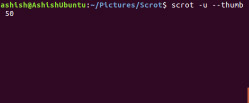
This utility also allows you to create thumbnails of screenshots. This feature can be accessed using the --thumb option. This option requires a NUM value, which is basically the percentage of the original screenshot size.
  script --thumb NUM

  scrot --thumb 50
Note: --thumb option ensures that screenshots are captured and saved at the original size.
For example, this is the original screenshot taken:

And the following are saved thumbnails:
Show multiple screenshots:
In case your device has multiple monitors attached, scrot allows you to take and display screenshots of all these screens. This feature can be accessed with the -m command line option.
scrot -m
Below is a sample photo:

Perform actions on saved photos:
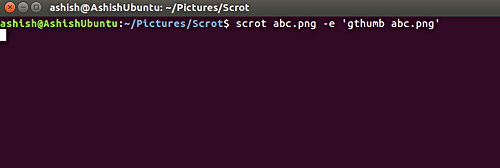
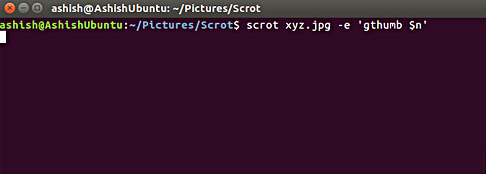
Using this tool, you can perform various operations on saved images - for example, opening a screenshot in the image editor like gThumb. This feature can be accessed with the -e command line option. Here is an example:
scrot abc.png -e 'gthumb abc.png'
Here, gthumb is the image editor that will automatically launch after the user runs the command.
The following is a snapshot of the command:
And this is the result of the above command:
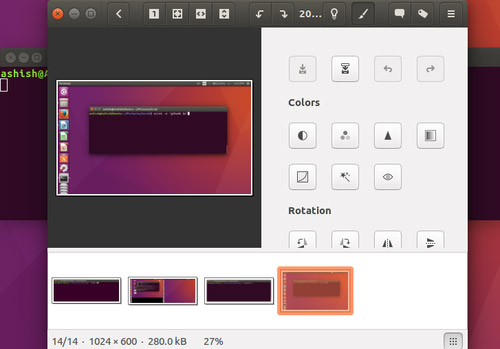
So you can see that the scrot command took the screenshot and then launched the gThumb image editor with the image taken as an argument.
If you do not specify a name for the screenshot, the snapshot will be saved with the file name with a date stamp in your current directory - this, as we mentioned earlier, is the default behavior of the collection process.
This is an example of the command -e option, which scrot uses the default name for the screenshot:
scrot -e 'gthumb $ n'
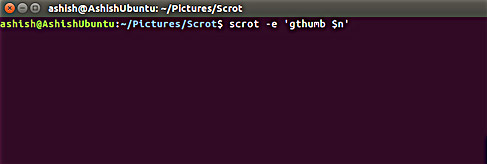
It is worth mentioning that $ n is a special string, providing access to the screenshot name. For more details on special sequences, go to the next section.
Special series:
The -e (or --exec) parameters and file names can use formatters when used with scrot. There are two types of parameter formats. The first type is the preceding character '%' used for date and time formats, and the second type is for internal filtering and the prefix is '$'
Some specifiers are identified by the --exec parameter and the file name below.
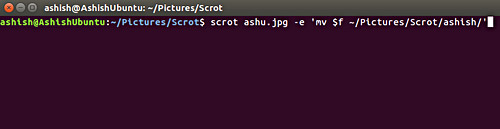
- $ f - provides access to the screenshot path (including file name).
For example:
scrot ashu.jpg -e 'mv $ f ~ / Pictures / Scrot / ashish /'
Below is a sample photo:
If you do not specify a file name, then the script will by default save the snapshot in a date stamped file format. This is the date stamp file format by default used in scrot:% yy-% mm-% dd-% hhmmss_ $ wx $ h_scrot.png
- $ n - provide snapshot names. Below is a sample snapshot:
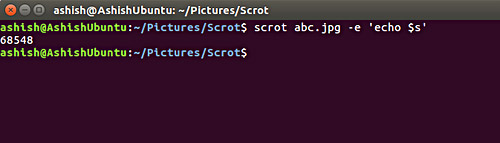
- $ s - grant access to the size of the screenshot. This feature, for example, can be accessed in the following way:
scrot abc.jpg -e 'echo $ s'
Here is a sample photo:
Similarly, you can use other special strings $ p, $ w, $ h, $ t, $$ and n to provide access to image pixel size, image width, and image height. , image format, $ symbol and grant new line access respectively. For example, you can use these strings in the same way as the $ s example we discussed above.
This utility is easy to install on Ubuntu systems, the use is also quite simple for beginners. Scrot also provides some advanced features like special strings that can be used by professionals. You can find out more in case you want to use them.
See more:
- Instructions for taking screenshots that contain mouse cursors in Windows
- 15 useful screen capture applications for Windows
- How to use iTunes on Linux?
Was this article helpful?
Your feedback helps us improve.
Related Articles
 How to Take Screenshots on Linux8 minutes read
 How to take screenshots on Linux9 minutes read
 Instructions for taking screenshots with Snagit14 minutes read
 Instructions for taking screenshots5 minutes read
 3 Quick Ways to Take Screenshots in Windows 83 minutes read
 How to Take a Screenshot in Microsoft Windows16 minutes read
Reader Comments 0
Sign in with email or Google to join the discussion.