How to See Your Apple Messages History
Method 1 of 4:
Viewing Your iMessages (iOS)
-
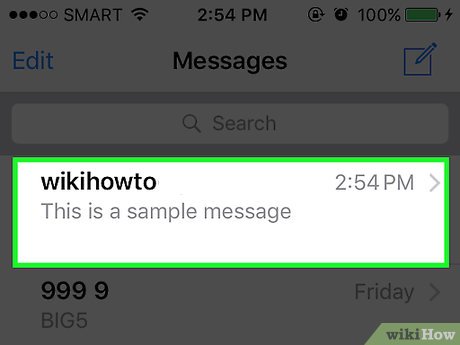
 Open the Messages app.
 -
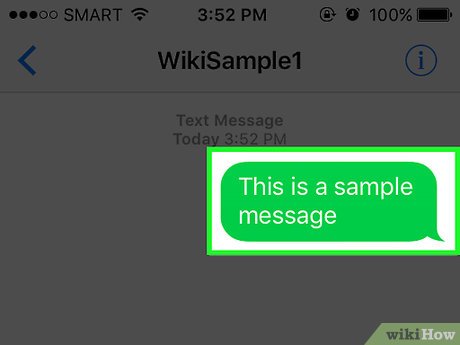
 Tap a conversation you wish to view. If you're already in a different conversation, tap < in the top left corner of your screen first.
 -
 Scroll up through the conversation's contents. This will allow you to see your Messages history from as far back as the conversation goes!
- You will not be able to see deleted messages here.
-
 Tap the Details button. This is the encircled "i" in the top right corner of your screen.
 -
 Review your conversation's media. Media comes in two formats that you can switch between by tapping the pertinent button:
- Images - All images and videos from your conversation.
- Attachments - All attachments (e.g., audio clips) from your conversation.
-
 Tap Done. You have successfully seen your Messages history for a conversation!
Method 2 of 4:
Viewing Your iMessages (Mac)
-
 Open the Messages program. This is the blue speech bubble icon in your dock.
 -
 Select a conversation. You can do so from the left side of your Messages program.[1]
 -
 Scroll up through the conversation's contents. As long as your messages haven't been deleted, you can review the conversation's history!
Method 3 of 4:
Restoring an iTunes Backup
-
 Attach phone to your computer. Use your Apple charging cord to do this.
 -
 Open the iTunes program. Depending on your computer's settings, it may open automatically.
 -
 Wait for your iPhone to sync to iTunes.
 -
 Click the device icon. This icon resembles an iPhone and is located beneath the "Account" tab.[2]
 -
 Click Restore Backup. This is in the "Backups" box in the middle of your iTunes page.
- You may have to disable Find My iPhone on your phone before continuing.
-
 Select your restore point. You'll find this option in the "Restore from this backup" section; click the bar with your iPhone's name in it to select a restore point.
- You won't want to select the most recent one (e.g., the one your phone just performed) because it won't contain your deleted iMessages.
-
 Click Restore. Your iTunes will begin restoring your phone; you should see a "Time remaining" value on the bottom of the restoration pop-up window.
 -
 Press the Home button.
 -
 Enter your Apple ID password. Your iMessages should be restored along with the rest of your phone's data!
Method 4 of 4:
Restoring an iCloud Backup
-
 Open the Settings app.
 -
 Make sure your software is up to date. You won't be able to restore from iCloud if you aren't running the latest version of iOS. To check for an update:
- Tap General.
- Tap Software Update.
- Tap Download and Install if there is an update available.
-
 Return to the "General" tab. If you had to update, you'll need to re-open Settings.[3]
 -
 Tap Reset.
 -
 Tap Erase all content and settings. If your iPhone has a passcode, you'll need to enter it to continue.
 -
 Tap Erase iPhone.
 -
 Wait for your iPhone to finish resetting. This may take several minute; once it's done, you can begin restoring your iPhone.
 -
 Press the Home button.
 -
 Set up your phone's preferences. These include:
- Preferred language
- Preferred region
- Preferred wifi network
-
 Enter your Apple ID and password.
 -
 Tap Next.
 -
 Choose to enable or disable location services.[4]
 -
 Enter a passcode. You can also skip this step.
 -
 Tap Restore from iCloud Backup. This should be on the "Apps and Data" screen.
 -
 Enter your Apple ID and password again.
 -
 Tap Agree.
 -
 Tap your preferred iCloud backup date. Make sure you pick one that will hold the iMessages you wish to retrieve.
 -
 Wait for your iPhone to finish restoring. This may take several minutes.
 -
 Enter your Apple ID password. This will restore your phone and its data, including your lost iMessages!
Share by
Lesley Montoya
Update 04 March 2020
You should read it
- ★ Apple promised to fix iMessages bug in iOS 7.1.2
- ★ The first company to bring iMessages to Android phones
- ★ Apple released Mac OS 10.8.2 for programmers supporting Facebook and iMessages
- ★ How to use iMessage on iPhone, iPad, iPod touch, Mac and Apple Watch
- ★ How to Recover Deleted iMessages on iPhone or iPad


