Table of Contents
This guide explains how to rotate Video on iPhone, with clear steps, practical tips, and important checks before you begin.

Step 1 : To perform video rotation, you need to download more iMovie applications.
You access the App Store -> type iMovie search -> Install applications .

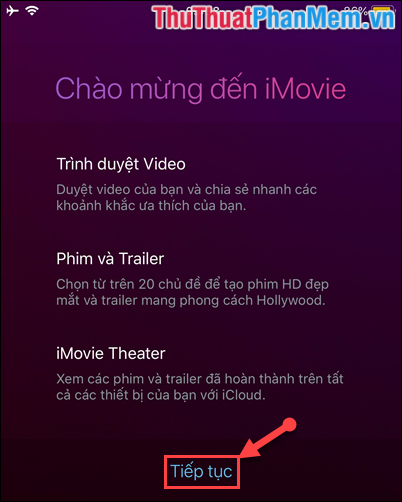
Step 2 : After downloading the application, launch the application. In the application introduction you select Continue .
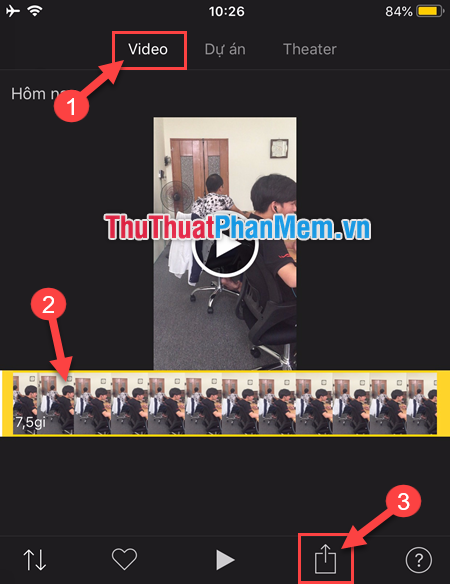
Step 3 : At the application interface:
(1) Select the Video item .
(2) Select the Video you want to make the rotation.
(3) Then click on the extension icon.
Step 4 : Choose Create movie .

Step 5 : Then, use your two fingers to change the direction of the video.

The result we get:
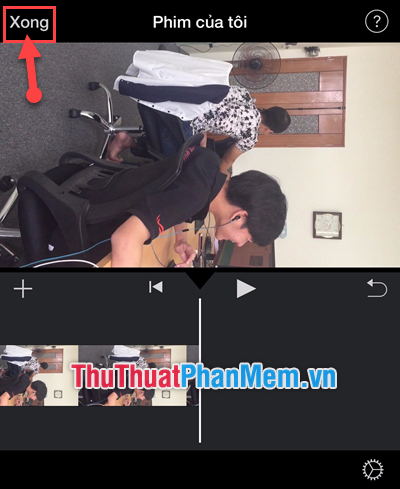
After you have rotated the video to your right, select Done .
Step 6 : To perform the saved video rotation into your phone, select the extension icon.
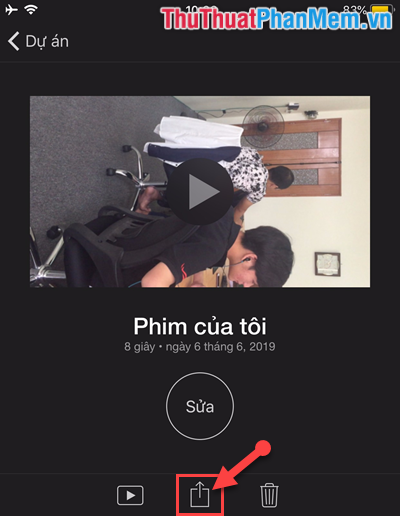
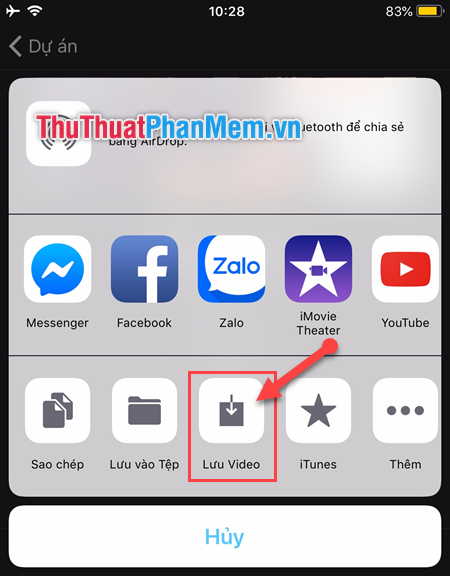
Step 7 : Then select Save Video .
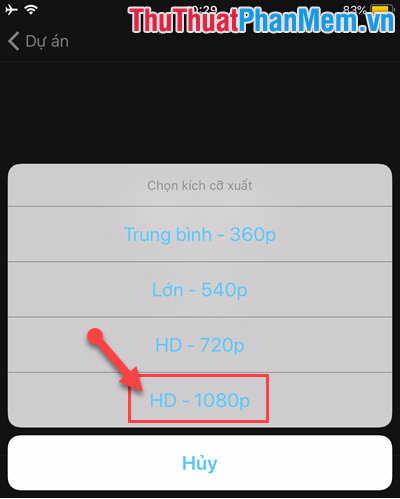
Step 8 : Select the quality of the video. You should choose HD - 1080p quality for the best video quality.
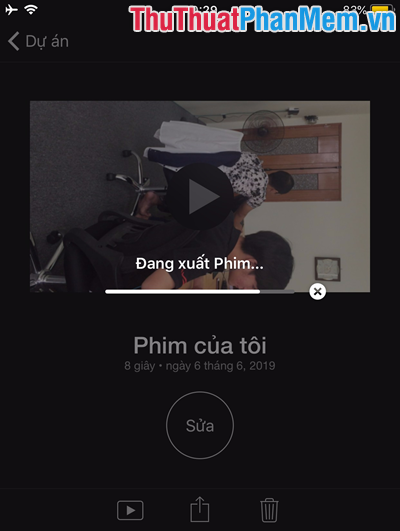
Step 9 : The software will then create a new video for you.
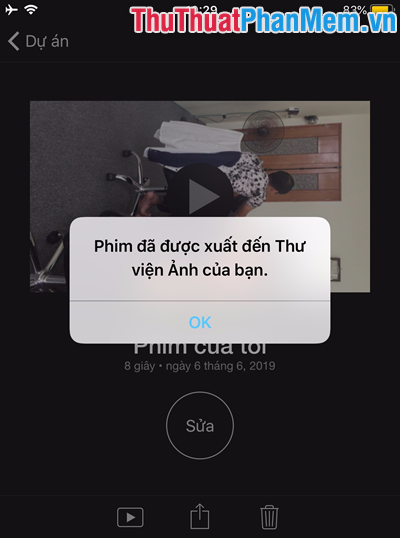
And now notify when finished creating a new video.
Step 10 : Now you go to Library on iPhone -> Select Video to get rotated video.
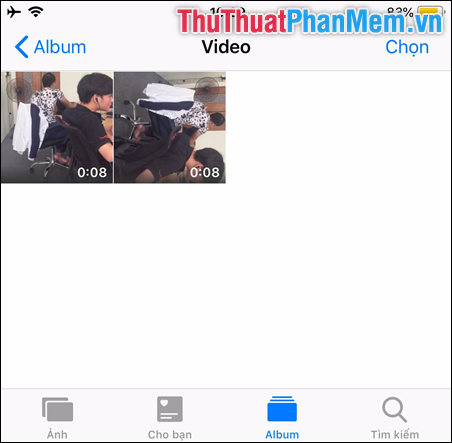
Very simple and easy to implement right. I wish you successful implementation!!!
FAQ
What should I know about Rotate Video on iPhone?
Focus on the key features, requirements, limitations, and practical use cases explained in this guide.
How do I get the best results with Rotate Video on iPhone?
Follow the recommended steps, use current software or information, confirm compatibility, and review settings before major changes.
Are there any risks or limitations?
Potential limitations depend on compatibility, data quality, cost, privacy, support, and how the product or method is used.
Related Articles
 How to Rotate Iphone Videos Without Installing the Application3 minutes read
 How to Rotate a Video: Step-by-Step Guide8 minutes read
 4 Software to Rotate Video in Reverse, Tilt 90, 180 Degrees Best8 minutes read
 How to Rotate Videos on Android with Google Photos6 minutes read
 How to Rotate the Video Upside Down, Tilted by Videorotate Online6 minutes read
 Guide to Rotate Video by Free Video Flip and Rotate3 minutes read
Reader Comments 0
Sign in with email or Google to join the discussion.