Table of Contents
An AI car-evolution video works best when every vehicle appears in the same location, at the same scale, and from the same camera angle. The workflow has three parts: create one fixed background, generate a matching still image for each vehicle, and use a frame-to-video model to animate the transitions.
AI may produce inaccurate badges, body details, or model years. If the video is presented as automotive history rather than fiction, verify each reference image against reliable photographs and label approximate or stylized results.
1. Create the background and camera setup
Open an image generator that supports reference images. The screenshots use Geminigen.AI, but the same method can work in another tool with comparable controls.

Describe the environment without asking for a transformation yet. Fix the road, camera height, viewing direction, time of day, and aspect ratio. For example:
A photorealistic Japanese mountain road at golden hour. Straight two-lane asphalt with a dashed center line. Camera fixed on the right shoulder at road level, looking diagonally along the road. Empty road, natural cinematic light, realistic automotive-commercial composition, 16:9.
Select the aspect ratio, format, and quality before generating.
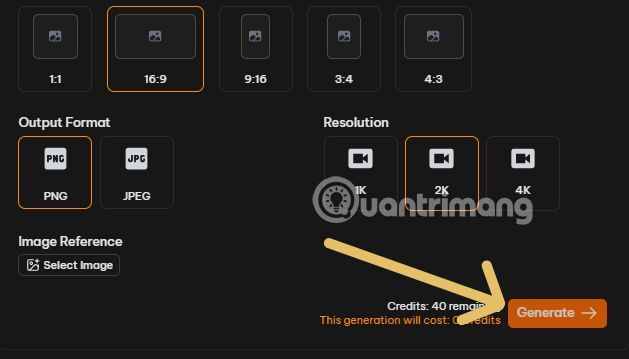
Choose one clean background and keep it for the entire project. Avoid vehicles, pedestrians, signs with text, or moving objects that may change between generations.

2. Generate one still image for each vehicle
Add the background as an image reference.

If the wrong reference is loaded, remove it before generating the next set.
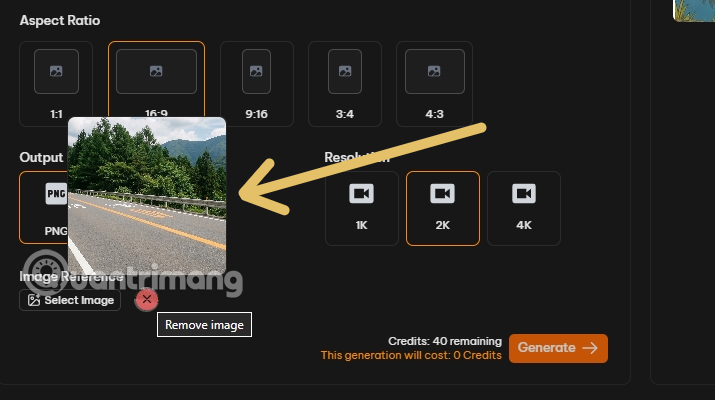
Use the same prompt structure for every vehicle and change only the vehicle description:
[vehicle model and generation], positioned on the road in the supplied reference image. Match the reference camera position, lens perspective, road placement, lighting, shadows, and environment exactly. Photorealistic automotive photography. Keep the full vehicle visible and facing the same direction. Change only the vehicle.Repeat an explicit continuity line at the end of every prompt:
Same camera position, same background, same road perspective, same lighting, identical environment and vehicle scale.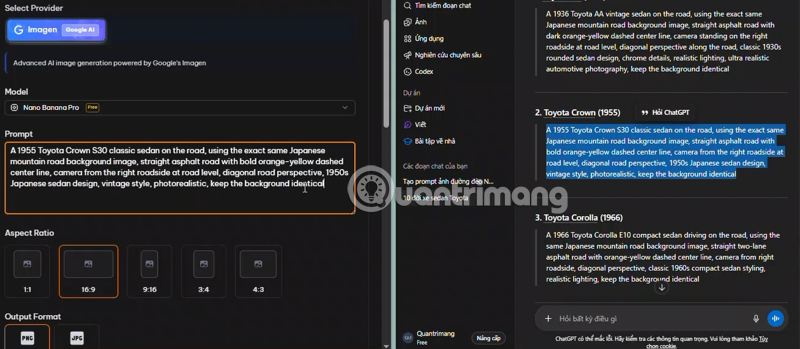
Generate the sequence in chronological order, but confirm each model designation and year independently. Choose images in which the wheels touch the same part of the road and the vehicle occupies a similar area of the frame.
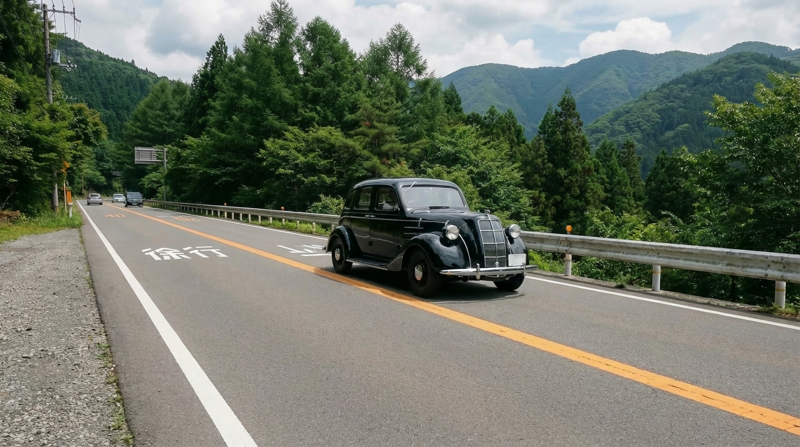


Reject and regenerate a still if the road geometry, shadows, wheel count, badge, or body shape is visibly wrong. A faulty reference image will make the transition harder to repair later.
3. Animate the transformation
Open the tool's frame-to-video or video-generation section and select a model that accepts multiple image references.

Add the vehicle stills in chronological order and keep the same aspect ratio used for the images.
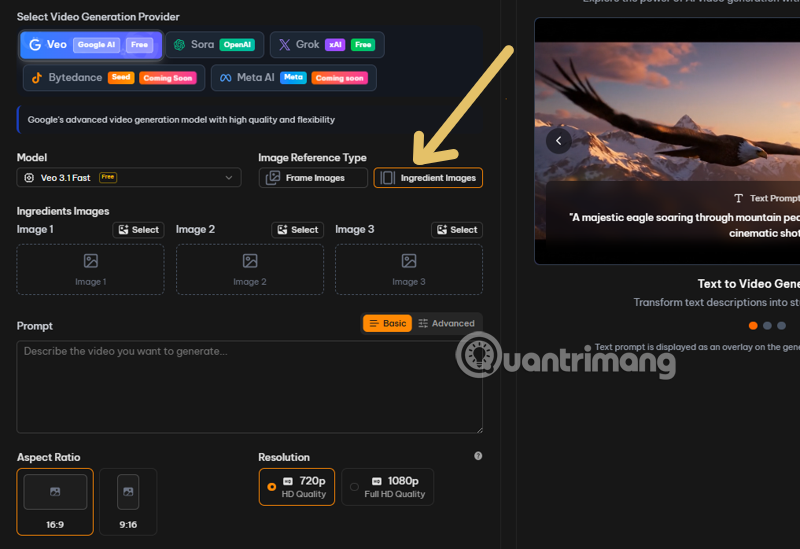
Use a transition prompt that emphasizes continuity and controlled movement:
The vehicle moves forward at a steady speed while transforming smoothly from the first reference design into the next. Keep the camera locked and preserve the road, background, lighting, direction, scale, and wheel contact. Reshape the headlights and grille first, then the hood and body panels, followed by the doors, mirrors, wheels, roofline, and rear section. Parts should morph and reassemble without exploding or leaving the vehicle. Realistic motion, stable geometry, cinematic automotive-commercial style.If the model accepts three images, create the sequence in overlapping groups. After generating the first group, save a clear frame near the end and use it as the first reference for the next group. This overlap reduces a visible jump between clips.
4. Edit the clips into one video
- Import all clips into CapCut or another editor in chronological order.
- Trim unstable frames and duplicate frames at each join.
- Match clip speed so the vehicle appears to move continuously.
- Use a short crossfade only when the transition needs minor concealment.
- Add model names and years after verifying them; do not rely on text generated inside an image.
- Add licensed music or sound effects and export at the original aspect ratio.
Common problems and fixes
- The background changes: increase the reference-image influence, shorten the prompt, and repeat the locked-camera instruction.
- The car jumps in size: regenerate the stills with a fixed road position and similar bounding box.
- Parts fly apart: replace “explodes” or “disassembles” with “morphs while remaining attached.”
- The vehicle melts: shorten the transformation, reduce camera motion, or use more intermediate generations.
- Historical details are wrong: use verified reference photographs and state that the result is a stylized reconstruction if exact fidelity is not possible.
The consistency of the source stills matters more than an elaborate transition prompt. Lock the scene first, verify every vehicle image, and animate only after the full sequence looks coherent as a set of still frames.
Related Articles
 The Best Laptop Models for Video Editing 201922 minutes read
 How to Create Product Advertising Videos on Flow3 minutes read
 How to obtain evolution items in Evomon Roblox4 minutes read
 Brainrot Evolution Code Full Latest Rewards and How to Redeem Code: Key Facts7 minutes read
 Latest Pet Evolution Diary Code and How to Redeem Code6 minutes read
 How to Create Scripts from Million-View Videos Using TikViral AI3 minutes read
Reader Comments 0
Sign in with email or Google to join the discussion.