How to Replace a Hydraulic Hose
Many types of heavy equipment use a hydraulic system to work their mechanisms. Hydraulic hoses deteriorate over time and could start leaking, and the equipment won't work properly until you replace worn-out hoses. Start by locating the....
Method 1 of 3:
Removing the Damaged Hose
-
 Put on goggles and gloves to protect yourself from the hydraulic fluid. Hydraulic fluid is toxic and will damage any body part it contacts. Protect yourself with goggles and gloves while you're handling any hydraulic materials. Don't take them off until the job is done.[1]
- Also consider wearing long sleeves and pants while changing the pipe to protect the rest of your skin.
- If you're not working in a well-ventilated area, also wear a mask or respirator.
- Contact your local poison control center right away if any fluid gets on your skin, in your eyes, or in your mouth.
-
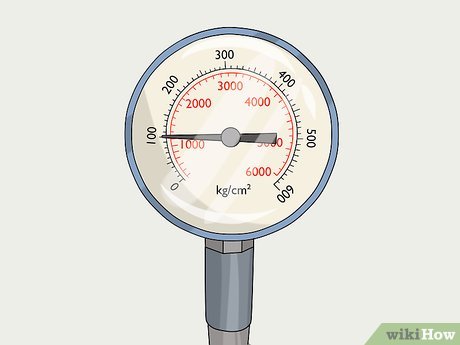
 Release all the pressure from the hydraulic system. Never work on a hydraulic machine while pressure is in the system. This could result in hydraulic fluid spraying out and hurting you. The process for releasing the pressure varies for different equipment. Consult your owner's manual for the exact procedure.[2]
- Commonly, hydraulic equipment has a lever that releases the pressure. Pull this lever first. Then shut off all the power to the hydraulic system. Finally, work the hydraulic lever back and forth a few times to push excess pressure out.
- If you're working on a piece of equipment that raises, like a backhoe, lower the mechanism completely to the ground before doing any work.
-
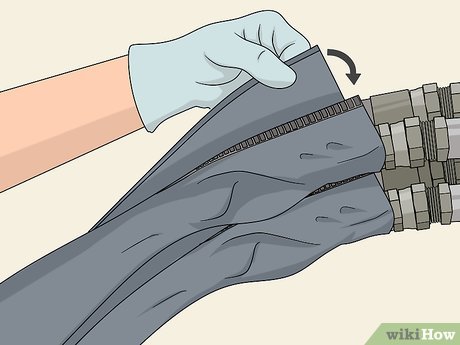
 Lay a sheet or bucket underneath the hose you're removing. Hydraulic fluid will leak out of the hose when you remove it. Prevent contamination of the area by collecting the fluid as it leaks. A thick drop cloth or a bucket will stop the oil from spreading.[3]
- If the hose is in an awkward spot to put a sheet or bucket, try stuffing rags underneath it instead.
-
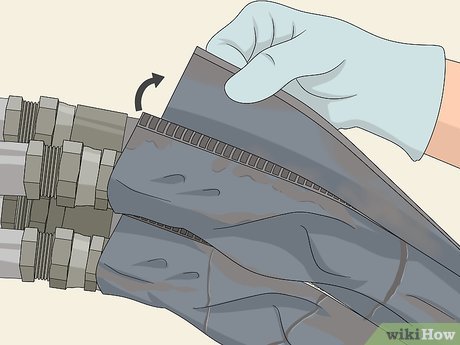 Remove any coverings that get in the way of the hose attachment. Some machines have hoods or coverings that protect the hoses, especially at the attachment point. If your equipment has any covering like this, remove it so you can work on the hoses.[4]
- Keep track of everything you remove from your equipment. Take a picture of the machine before you remove anything so you know how it should look when you replace the parts.
- Remember to consult your owner's manual for the exact process of hose removal. Different equipment may have a different process.
-
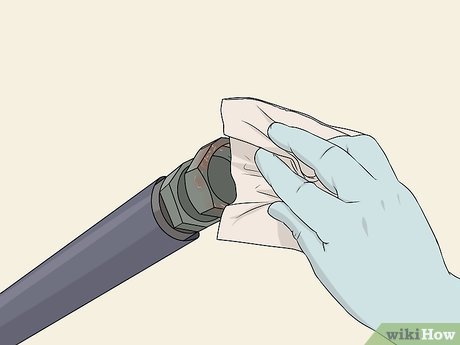
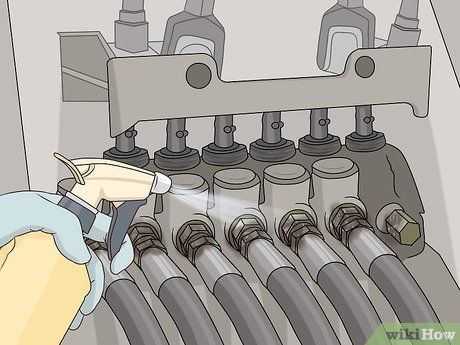 Wash off the connectors on both sides of the hose. Dirt, dust, and grime have probably built up on both ends of the hose over time. This can all get into the hydraulic system when you remove the hose and damage it. Before removing the hose, spray around the hose attachments with window cleaner or a similar fluid. Then use a rag and wipe off any dirt.[5]
 -
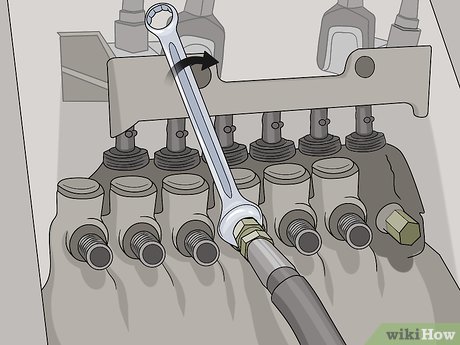
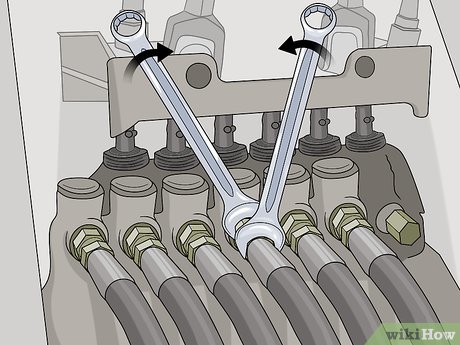 Use 2 wrenches to unscrew the fittings securing the hose. Hydraulic hoses are usually secured by an attachment with 2 fittings that spin in opposite directions. Hold the fitting closest to the hose with one wrench. Then use the other wrench to loosen the fitting closer to the machine by turning it counterclockwise. Spin until the hose detaches from the fitting. Then repeat this process for the other side of the hose.[6]
- The size of the wrenches depends on your hose type. Typical wrench sets come with a variety of sizes that should fit most equipment. Try out a few wrenches to see which fits your hose attachments.
Method 2 of 3:
Installing a New Hose
-
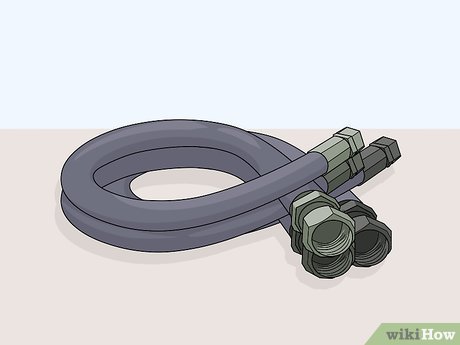 Get a new hose to the exact specifications of the old hose. There are many types of hydraulic hoses, so make sure you get the correct one by matching the new hose to the old one. It should be the same width and thickness. Also check the pressure rating on the hose, which is usually marked on the hose itself in psi.[7]
- If you don't know where to start, bring the old hose with you to the store and ask an employee for the same type.
- When you select a hose, have the supplier cut and crimp the hose with an attachment. Crimping the hose requires special equipment and you can't do it at home.
- When the supplier crimps the hose, they will attach a new fitting to the end. You can screw this fitting into the old fitting attached to your machine.
-
 Slide an abrasion sleeve over the hose if it rubs against anything. If your hose is in a position where it rubs against the machine or other hoses, consider getting an abrasion sleeve. This is a piece of fabric that slides over the hose and protects it from damage. If you've had a problem with abrasions on your hoses in the past, this could solve the issue and make your hoses last longer.[8]
- Abrasion sleeves are available from hydraulic hose suppliers.
-
 Wipe off all of the hose fittings and connectors before installing it. Dirt or grime can get into the hydraulic system and damage it. Make sure all the connectors are clean before installing the hose. Use a damp rag and rub all the connectors to remove any dirt.[9]
 -
 Screw one side of the hose into the fitting. Inserting the first side of the hose is easy because one side is still free. Insert the end of the hose into the fitting and rotate it clockwise to tighten it. When the hose stops spinning, it's fully tightened.[10]
- Don't over-tighten the hose. Once the hose stops spinning, it's snug enough. Pushing it further can rupture the attachment and cause leaks.
-
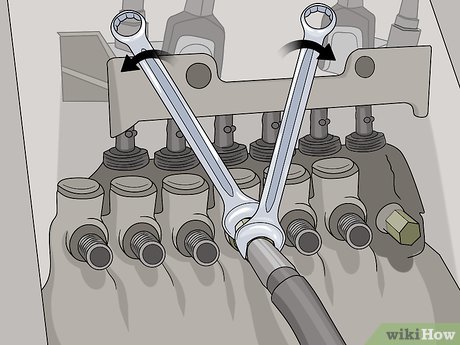 Use 2 wrenches to screw in the final side. Installing the final side of the hose is a bit trickier because the hose can't rotate freely. Insert the hose into the connector. Then hold it in place with a wrench. Use a second wrench to rotate the connector attached to the machine. Stop rotating when the connector doesn't spin any further.[11]
 -
 Replace any coverings that you removed before the installation. Make sure all the pieces you removed are back where they belong before you test the hydraulic system. Refer to the pictures you took or the owner's manual to double-check the correct positions.
 -
 Test the system by circulating the hydraulic fluid at low pressure. Always test the machine after replacing its hoses. Start the machine and set the hydraulic mechanism to low power. Then check the hoses for leaks by running a piece of cardboard around it.[12]
- If you hear air escaping, this also indicates a leak. Don't use the equipment for work if there is air leaking.
- If your hose is leaking fluid or air, stop the machine, lower its mechanism, and release the pressure. Double-check where you connected the hose and see if the connector is tightened all the way. If the connectors are tight and your machine is still leaking, the hose may be defective. Remove it and bring it back to the supplier.
- When you've ensured there are no leaks, raise and lower the hydraulic system slowly to check its performance. If that all works properly, your replacement was successful.
Method 3 of 3:
Determining if a Hose Needs Replacement
-
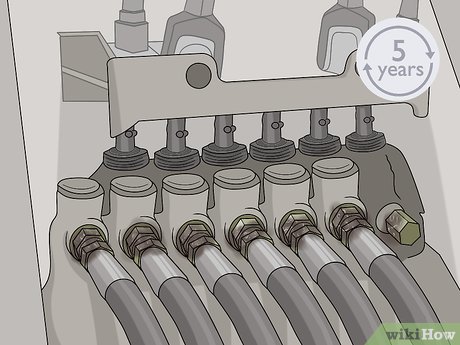 Replace hydraulic hoses 5 years after the printed date of manufacture. Hydraulic hoses have a shelf life, so manufacturers usually print the date of manufacture on the hose. If you use the hose regularly, replace it after 4 to 5 years of use, even if it doesn't show signs of damage. If you use the hose less, it can last up to 10 years.[13]
- Even if a hydraulic hose hasn't been used much, replace it after 10 years. Rubber degrades over time and the hose could burst due to age.
-
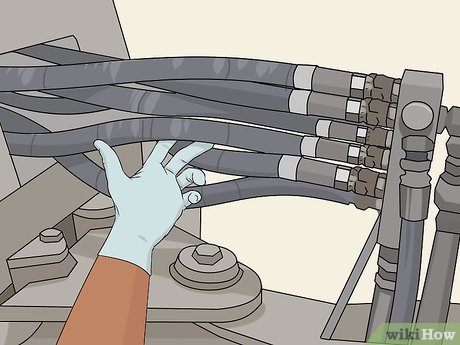 Inspect your hose for signs of wear or cracking. Stress, heat, sunlight, and normal wear and tear all degrade hydraulic hoses. Check the surface of your hose units to see what sort of shape they're in. If you see cracking or tearing, replace this hose.[14]
- Signs of wear include cracks, tears, and abrasions. Sometimes the outer rubber is worn away and you can see the support wires inside. Replace a hose that looks like this as soon as possible.
- Hoses might also be crushed or pinched. These should be replaced as well.
-
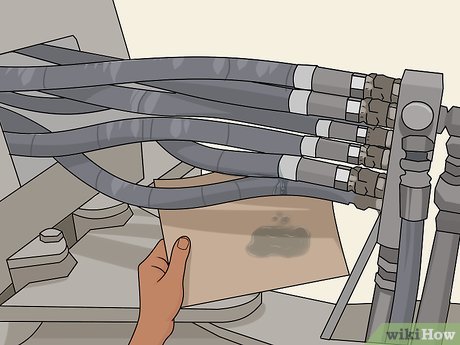 Rub cardboard over the hose to find an oil leak. If your hose is leaking hydraulic fluid, replace it right away. If your machinery has multiple hoses, locate the one with the leak. First, wipe the hoses down to remove any liquid or oil. Then take a piece of cardboard and rub it along the hose. A wet spot should show up on the cardboard when you pass the leaking point. This hose is the one to replace.[15]
- There is also a special dye designed to detect leaks in hydraulic pipes. It glows when under a black light, making leaks easy to spot. This method is used in industrial equipment and factories. If you want to try this method, get a bottle of hydraulic dye and inject it into your hydraulic system. Then shine a black light around the hose to find the leak.[16]