Table of Contents
This updated guide examines Post Gif on Facebook: How to Post Status Facebook Gif Images and organizes the essential facts, background, and practical takeaways in clear American English.
Instructions to post Facebook status as GIF images
Step 1:
Users visit the link below to access the homepage of Msgif. Scroll to the bottom of the page and click Get Started to use.
https://msgif.net/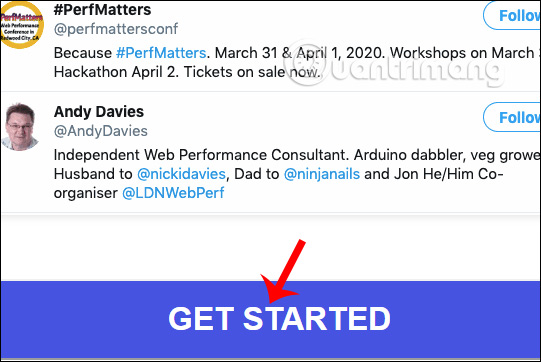
Step 2:
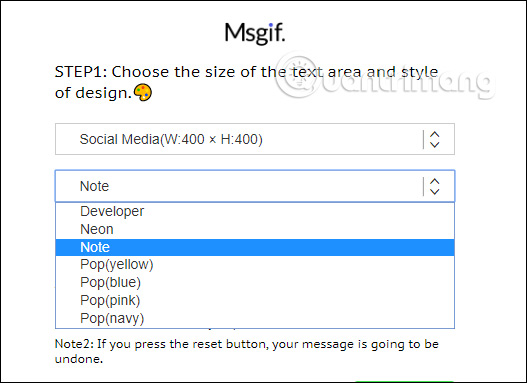
In the next interface, first of all in Step 1 users choose to post photos to any social network . With Twitter, the site already has dimensions, to choose to post to Facebook or other social networks we click on Social Media with square size. Next choose the background image for the animation.
Step 3:
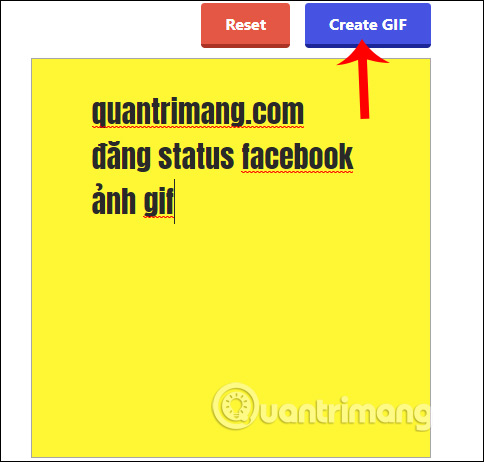
Next, click Record and enter the status you want to post to Facebook in the blank box below. As soon as you enter Msgif will record your operation and display the status content. Click Create GIF to create animation. If you want to do it again, press Reset.
Step 4:
Finally, click Download to download the animation to your computer.

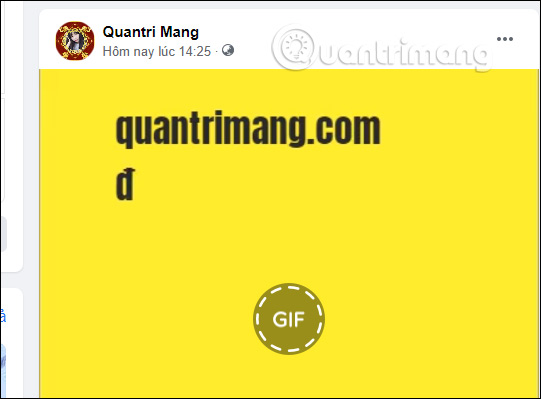
The last thing you do is post this gif on Facebook like you would normally post a photo. At this time, the status line you want to post will turn into animation as below.
FAQ
What is Post Gif on Facebook: How to Post Status Facebook Gif Images about?
It provides a structured overview of post gif on facebook, explains the main context, and highlights practical takeaways for readers.
Why does this topic matter?
Understanding the main concepts helps readers evaluate the issue, avoid common mistakes, and make better-informed decisions.
How should readers use this information?
Use the guidance as a practical starting point, confirm details that may have changed, and follow current product, safety, or security recommendations.
Related Articles
 How to Post Color Status on Facebook Computer6 minutes read
 How to Delete Status, Photos Posted on Facebook4 minutes read
 How to Post Facebook Status with Multiple Languages5 minutes read
 How to Post Status, Comment, White Message on Facebook4 minutes read
 How to Write Unique Effects, Bold, Italic, Underlined Facebook7 minutes read
 How to Post Facebook Status with Sticker: Post Facebook Sticker4 minutes read
Reader Comments 0
Sign in with email or Google to join the discussion.