Table of Contents
This practical guide explains how to Install New Version of Directx on Computer through clear, ordered steps. It also covers useful settings, common mistakes, and checks that can improve the final result.
Overview
Along with Net Framework, DirectX is an indispensable software for computers. WhileNet FrameworkSupports installation and programming, DirectX is used to improve the quality of graphics and music.

How to setup the latest version of DirectX
You can approach install Net Framework and DirectX as well. You must regularly update these two supporting software, otherwise you will not be able to install some software.

* Windows 11 operating system:
1. Click on theStartMenu and selectSettings.

2. The SettingsWindow appears, click onWindows UpdateAnd selectCheck for Updates

* Windows 10 operating system:
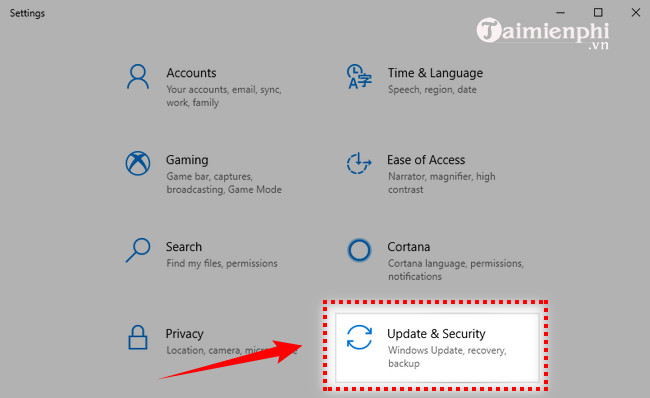
1. Click on theStartMenu and selectSettings.

2. The SettingsWindow appears, click onUpdate and Security
* Windows XP or Windows 7 operating system. 1. Go to the Start menu and select Settings
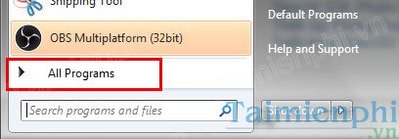
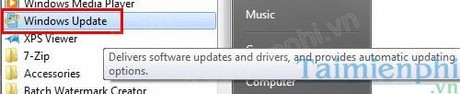
2. SelectWindows Update
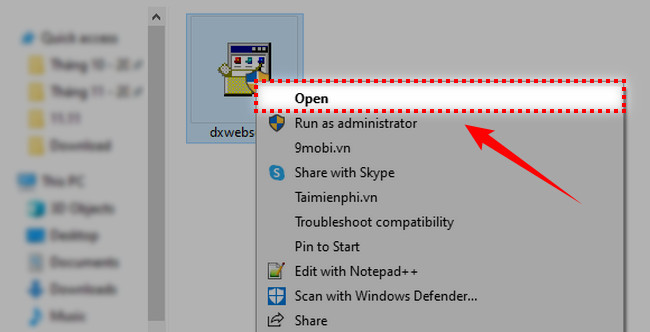
Step 1. DownloadDirectX End User Runtime Web InstallerHere . Step 2. Right click on the installation file and selectOpenTo proceed with the installation.
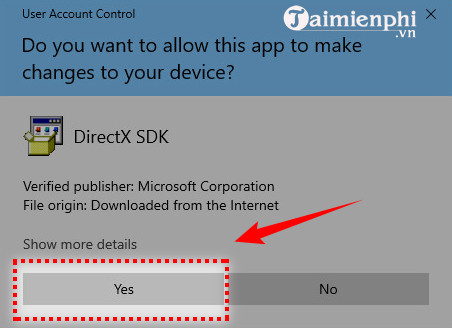
Step 3. SelectYes.
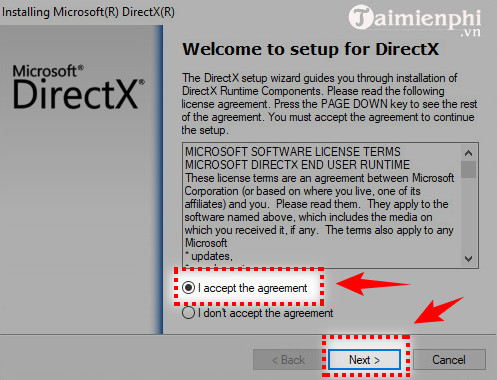
Step 4. SelectI accept the agreementAnd clickNextTo continue.
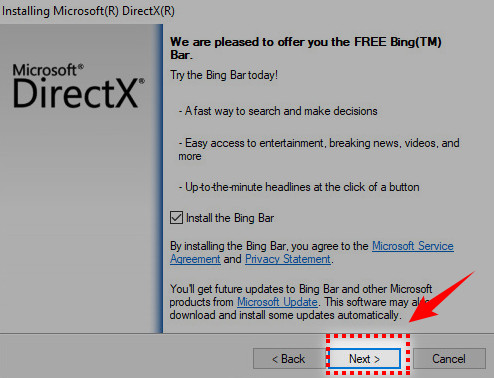
Step 5. SelectNext.
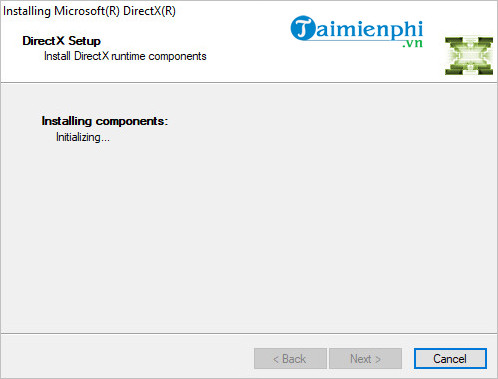
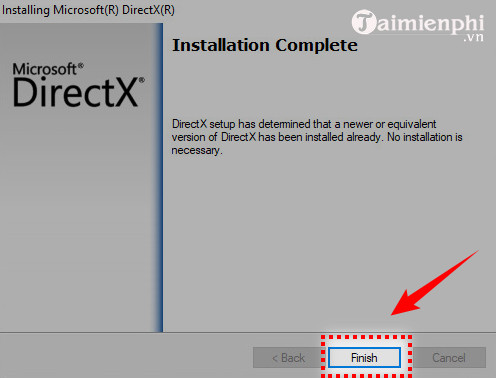
Step 6. The installation process will take a few minutes.
Step 7. SelectFinishTo complete the installation process.
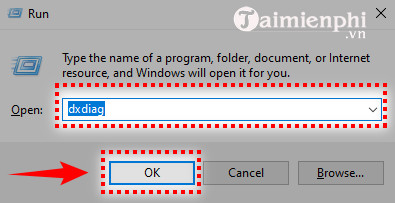
1. Press the Windows + RKey combination to open the Run dialog box and typeDxdiag, then press Enter.
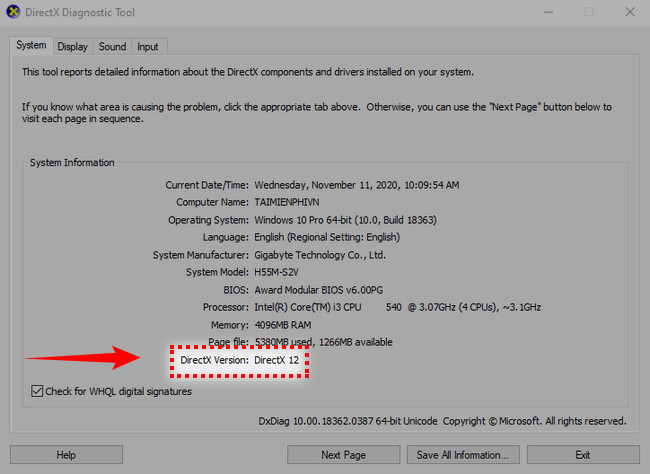
2. The DirextX version information will be displayed on the first page of the report in theSystem InformationSection. Here the version I am using is DirextX 12.
With these 3 ways, you have successfully updated DirectX to the latest version. However, with many software, not only updating is enough, you also need to install the driver for your computer. Driver Easy is one of the software that helps you automatically search and update Driver. To update the driver with Driver Easy, click and download. Wish you use the software most conveniently.
Frequently Asked Questions
How do I Install New Version of Directx on Computer?
Follow the steps in this guide in order, verify each setting before continuing, and check the result after every major change.
What should I prepare before I Install New Version of Directx on Computer?
Confirm compatibility, install current updates, save important work, and back up data before changing system or application settings.
What can I do if install New Version of Directx on Computer does not work?
Review permissions and requirements, restart the relevant device or app, repeat the steps carefully, and use official support resources when the issue continues.
Was this article helpful?
Your feedback helps us improve.
Related Articles
 How to Download Direct X and Install Directx on Your Computer7 minutes read
 Directx 11 - Directx 11 Download and Installation Guide3 minutes read
 What Is Microsoft Directx?9 minutes read
 How to Check What Version of DirectX You Are Using3 minutes read
 How to Install Directx4 minutes read
 What Is Directx and Why Is It So Important?8 minutes read
Reader Comments 0
Sign in with email or Google to join the discussion.