How to disassemble Dell desktop monitor
How to disassemble a Dell desktop monitor simply, quickly and in detail. You can completely disassemble the screen yourself.
Table of Contents
Dell desktop computers are increasingly being chosen by many users because of the great features they bring. However, not everyone knows about technical issues related to the machine such as: assembling the machine, disassembling the screen. In this article, TipsMake will guide you on how to disassemble the Dell desktop computer screen in the most detailed and fastest way!
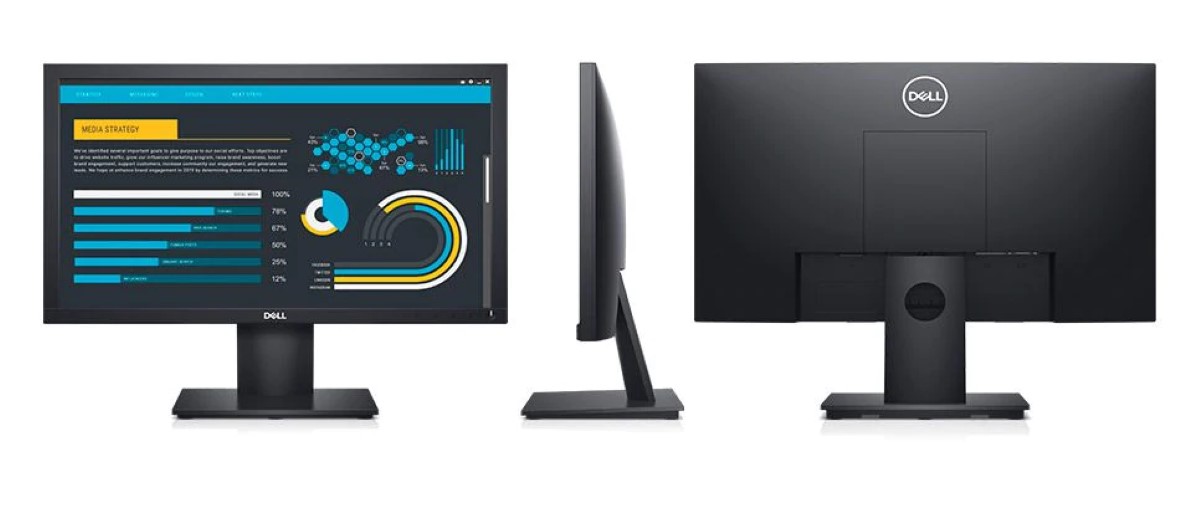
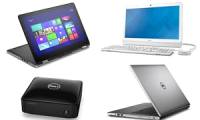
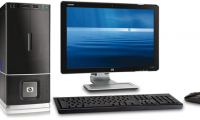
Dell Desktop Monitor
Choosing to buy a computer monitor is very important because it will greatly affect your experience and use of the computer.
A good quality computer monitor not only helps you work more efficiently but also adds professionalism to your workspace.
When choosing a Dell desktop monitor, you should choose based on many factors such as screen size, screen shape, screen resolution.
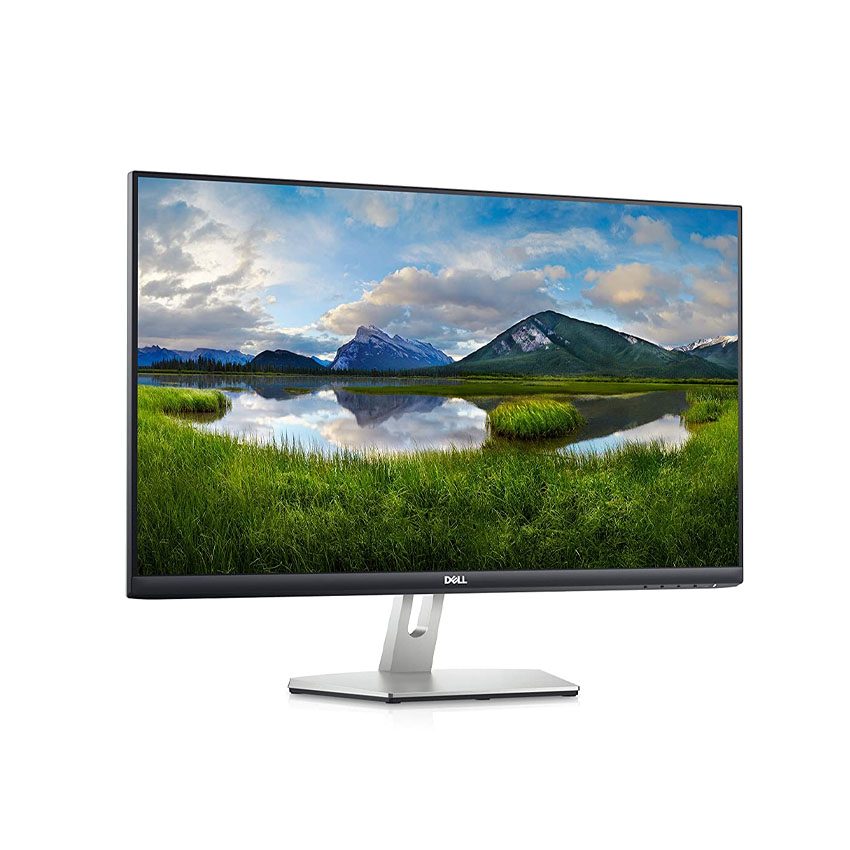
Should I buy a Dell desktop monitor?
Most Dell monitor models are evaluated by reviewers as having advantages in design, ability to display detailed images, and price. Some advantages of Dell desktop monitors:
- Dell monitor products create a more luxurious feel with an ultra-thin screen border design.
- Dell's color accuracy is also a factor that attracts many consumers: With the ability to display sRGB up to 99%, this is considered an impressive parameter that helps designs and prints display the most standard colors.
- Diverse connectivity: Versions like Dell U2417H have many connection ports such as HDMI/MHL 1.4, Displayport, full-size Displayport, mini-Displayport, USB 3.0. Therefore, Dell monitors can connect to devices such as laptops and projectors easily and quickly.
So buying a Dell desktop monitor is worth it, right? But how to disassemble a Dell desktop monitor?
How to disassemble Dell desktop monitor
Step 1: Before removing the computer screen, turn off all power sources to ensure safety.
In the way to disassemble a desktop computer screen in general and how to disassemble a Dell desktop computer screen in particular, this is the first step you need to do. This step is extremely important and necessary to ensure the safety of computer data and at the same time ensure your safety. Because all parts of a desktop computer have a power source running inside.
Double check to make sure you have disconnected all power sources. Be sure to do your best to be safe before disassembling the machine.
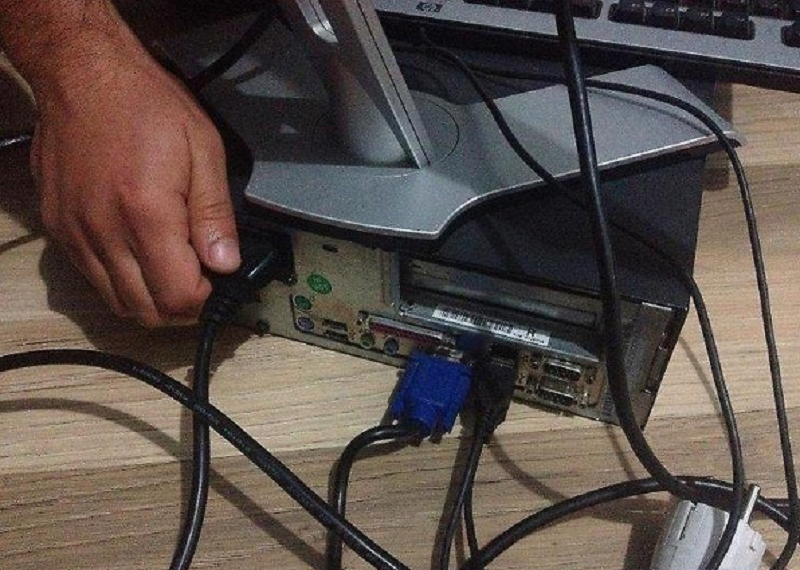
Step 2: Next, remove the cable connecting the CPU to the screen.

The next step in how to disassemble a dell desktop monitor after disconnecting all power sources is to remove the cable connecting the CPU to the monitor.
Because this wire is quite large, you need to remove it first and carefully so as not to affect the jacks, as well as the internal components. You must pull it out firmly and absolutely do not shake it to the sides to remove it.
Step 3 : Remove the accessories
After removing the cable connecting the CPU to the screen. Next, proceed to remove and install the auxiliary parts including mouse, keyboard, network cable.
Because desktop computers often have many types of related wires, it can be confusing, but if you pay attention, you will be able to distinguish the types of wires of each different part. So observe carefully and proceed to remove each detail one by one.
Step 4: Classify each computer part after disassembly
Classify each computer part for easy installation and to avoid losing parts during installation:
It seems very simple but many people often ignore the way to disassemble the Dell desktop computer screen, which is to classify the details of the machine after the apple. When classifying each part separately for easy installation when arriving at the new location, avoid losing.
If you do not remember the order of parts when disassembling the Dell desktop monitor, you can use a pen or string to mark and record all the disassembled parts. For small details, you should put them in a separate bag.
To make reassembly easier and more accurate, you should mark the ports and wires that the sub-components connect to.
In addition, you should wrap tightly and put them in shockproof bags and neatly pack them in cartons for transportation to ensure the parts are safe during transportation.
Step 5: Reassemble the Dell desktop monitor
A small tip for you in how to disassemble a Dell desktop monitor is to prioritize installing auxiliary ports first.
To ensure your safety when installing a Dell desktop monitor , you will reassemble it in the reverse order of disassembly. That means you will first install the auxiliary ports of supporting components such as network cables, mouse, speaker cables, keyboards. after finishing, then proceed to install the power cord.
Step 6: Test and use
After completing step 5, check again the components and wires to see if they are complete. After making sure everything is complete, you can turn on the power for the computer to use.
With the way to disassemble and assemble a Dell desktop computer screen that TipsMake shared above, we hope you can refer to and assemble it yourself without needing the help of others. Wish you success when doing it!
At TipsMake we provide genuine, reputable Dell desktop monitors at the most competitive prices on the market. If you are interested, you can come directly to our showroom or order online right here .
Was this article helpful?
Your feedback helps us improve.
Related Articles
 The most detailed guide to checking Dell monitor warranty!6 minutes read
 Dell's new UltraSharp 52 Thunderbolt Hub Monitor is a powerful productivity machine.3 minutes read
 Dell launches 40-inch UltraSharp: Ultrawide display with 5K resolution3 minutes read
 Dell launched many new computers Inspiron line3 minutes read
 Hard to force 'desktop'5 minutes read
 Some mistakes need to be avoided when building and installing desktop computers - PC7 minutes read
Reader Comments 0
Sign in with email or Google to join the discussion.