Table of Contents
On iPhone or iPad
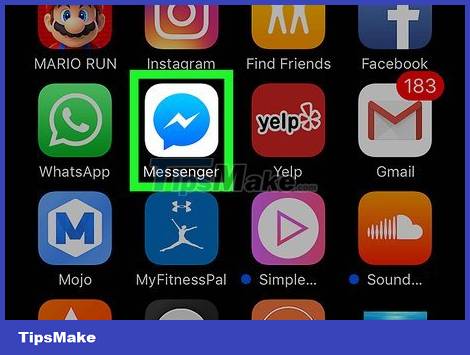
This practical guide explains how to delete a group on facebook messenger with clear steps and useful context. It also covers common requirements, potential problems, and the details that can help you get better results.
If Messenger doesn't automatically sign in on your device, you'll need to enter your email address or phone number and password.
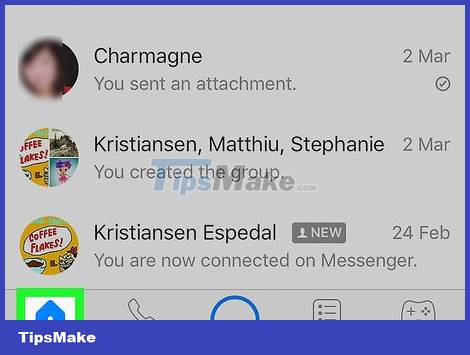
Click on the small house-shaped Home icon in the lower left corner of the screen.
If Messenger opens a conversation, press the back button to return to the Home screen.

Click the Groups tab. This button is located below the search bar (Search) in the upper right corner of the screen. A list of all group conversations will appear.

Tap the group you want to delete. The conversation will open in full screen mode.
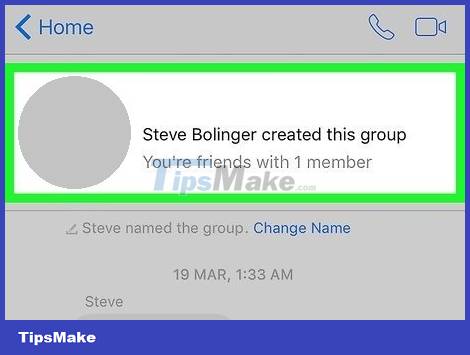
Tap the group name at the top of the conversation. The "Group" page will open.
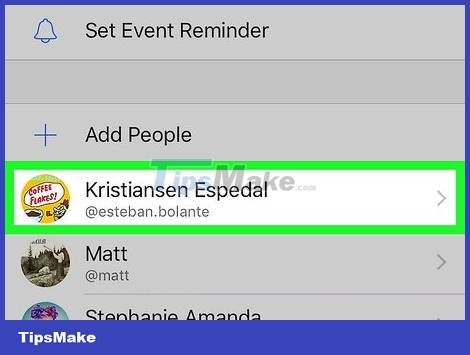
Scroll down and tap a group member. The "Group" page will list all members in this chat group. Tap a member to see options for this contact.
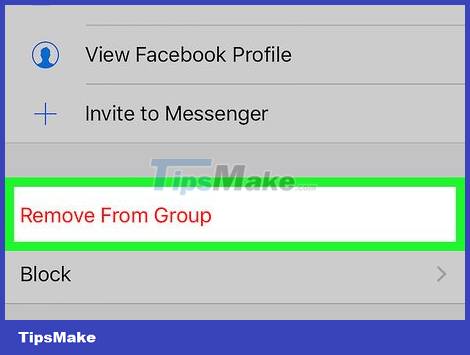
Click Remove From Group. This option is displayed in red and is located at the bottom of the screen. You will have to confirm the action in the pop-up window.
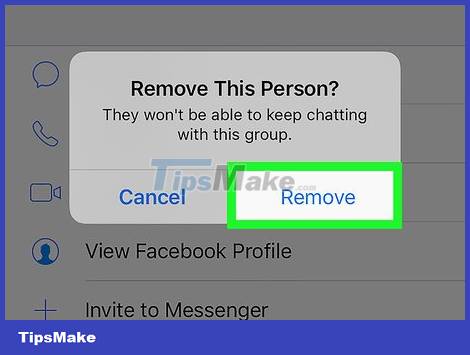
Click Remove to confirm. This member will be removed from the chat group.
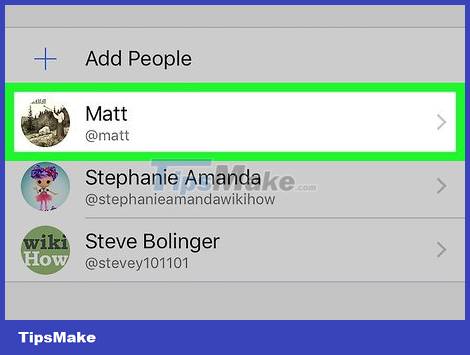
Delete all remaining members of the group. If you want to delete a conversation, you must be the only one left in the group.
If you leave the group without removing all members, the conversation will continue without you.
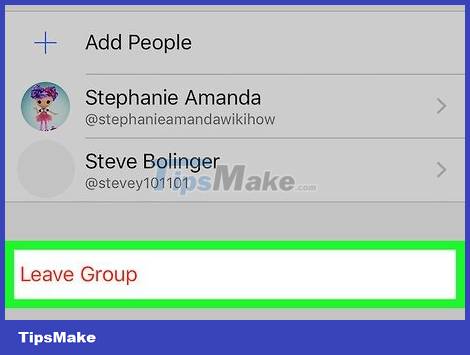
Click Leave Group. This option is shown in red at the bottom of the "Group" page. You will have to confirm the action in the pop-up window.
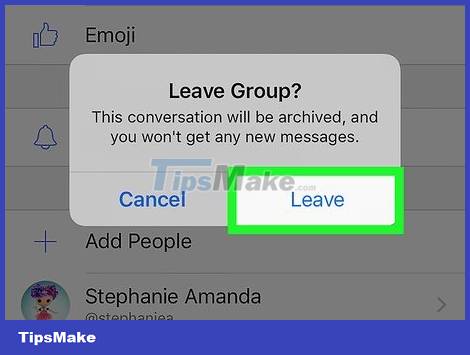
Click Leave to confirm. The chat group will automatically be removed from the list of conversations.
The conversation history is still saved in the Archived Threads folder. You can access and delete archived chats on Messenger web version.
On Android
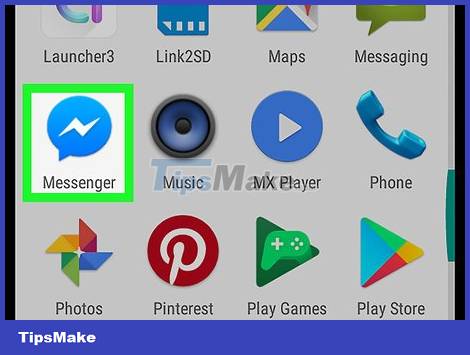
Open the Messenger app on your Android device. Messenger has a white lightning bolt icon on the dialogue bubble and is in the Apps list.
If Messenger doesn't automatically sign in on your device, you'll need to enter your email address or phone number and password.
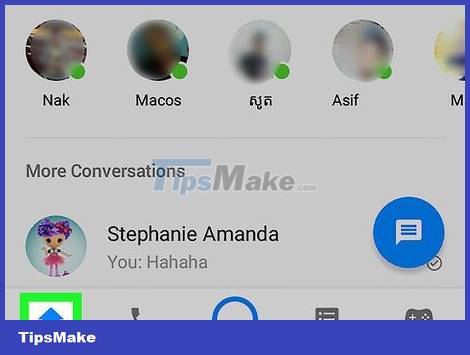
Click on the small house-shaped Home icon in the lower left corner of the screen.
If Messenger opens a conversation, press the back button to return to the Home screen.
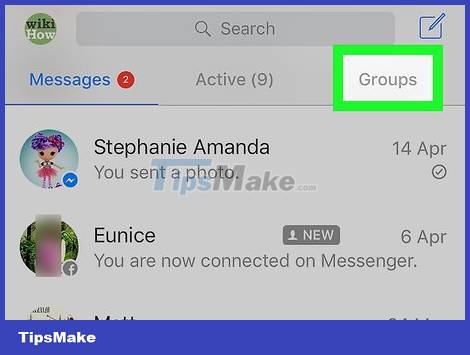
Click the Groups tab. This button is located below the search bar in the upper-right corner of the screen. A grid list of all group conversations will appear.
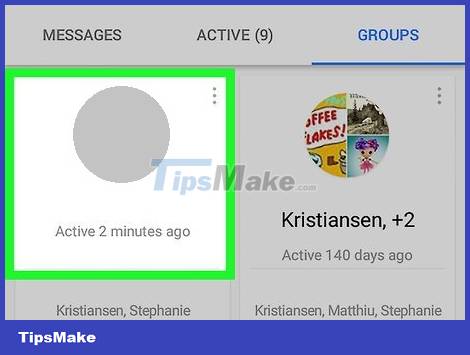
Tap the group you want to delete. The conversation will open in full screen mode.
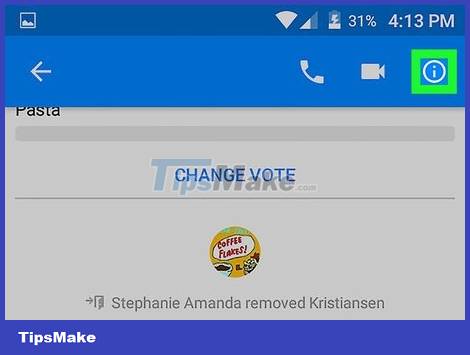
Tap the info icon. This option has an "i" (short for info) in a circle in the upper right corner of the conversation. The "Group Details" page will appear.
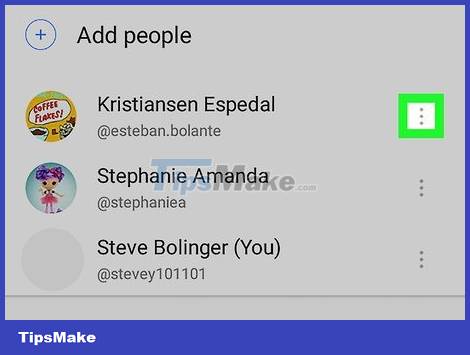
Tap the three vertical dots icon next to the group member's name. A drop-down menu will open.
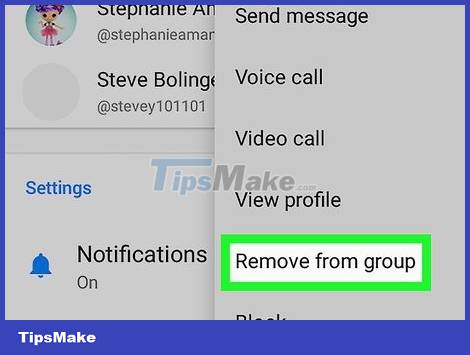
Click Remove from group in the drop-down menu. This contact will be removed from the group chat.
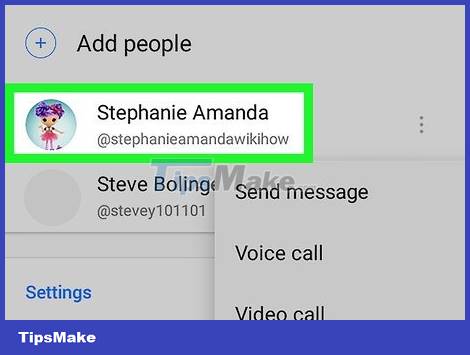
Delete all remaining members of the group. If you want to delete a conversation, you must be the only one left in the group.
If you leave the group without removing all members, the conversation will continue without you.
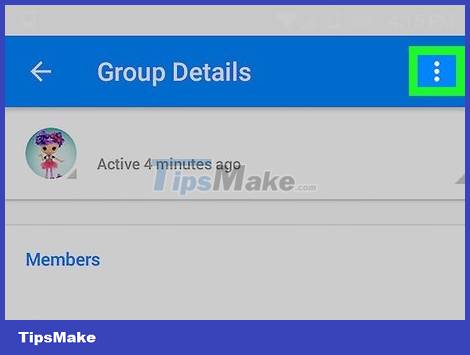
Click the three vertical dots icon in the upper right corner of the "Group Details" page. A menu with grouping options will drop down.
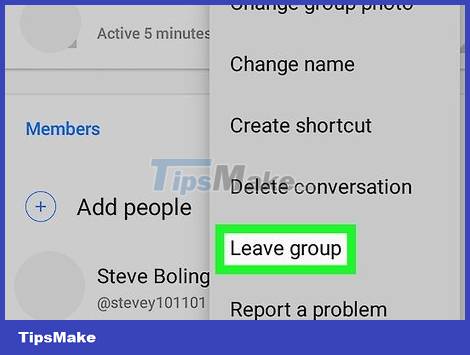
Click Leave group in the drop-down menu. The chat group will automatically be removed from the list of conversations.
The conversation history is still saved in the Archived Threads folder. You can access and delete archived chats on Messenger web version.
By Messenger Website
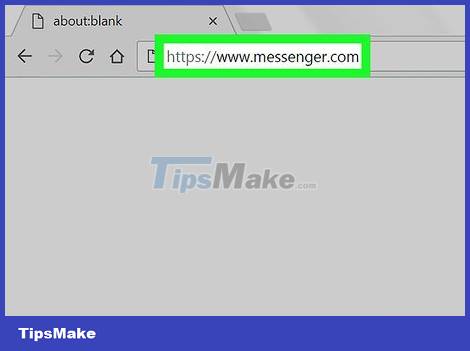
Open the Messenger application on your computer's web browser. Type www.messenger.com in your browser's address bar and then press ↵ Enter on your keyboard.
If Messenger doesn't automatically sign in on your device, you'll need to enter your email address or phone number and password.
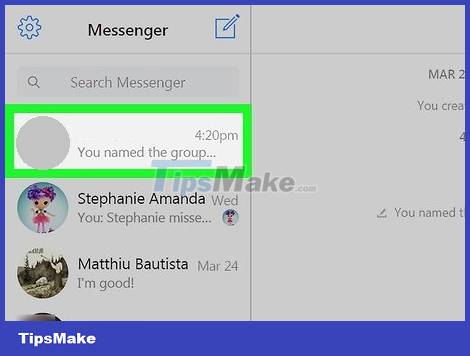
Click the group to delete in the left pane. A list of all groups and individual chats will appear on the left side of the browser window. Find and click the group you want to delete.
You can also use the Search Messenger bar in the upper left corner to find if you remember the group name, member name or content in the chat.
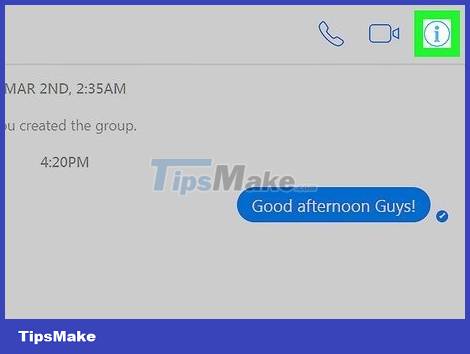
Click the info icon. This option has an "i" in a circle in the upper right corner of the chat group. The group details will open on the right side of the screen.
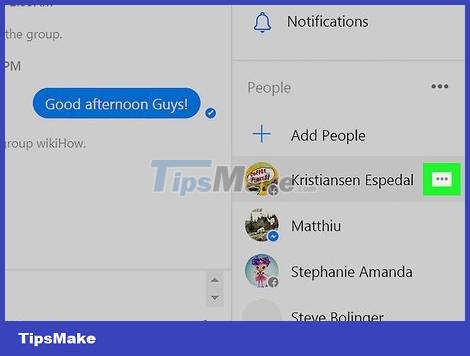
Click the three vertical dots icon next to the group member's name. This button will appear next to a member when you hover over their name. A drop-down menu will open.
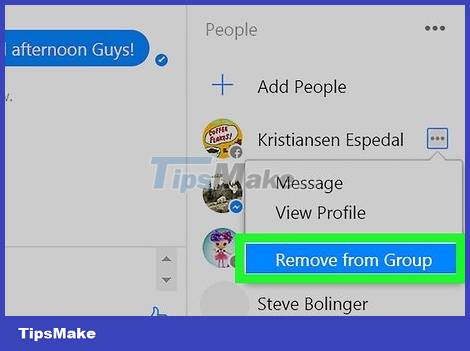
Click Remove from Group in the drop-down menu. You will have to confirm the action in the pop-up window.
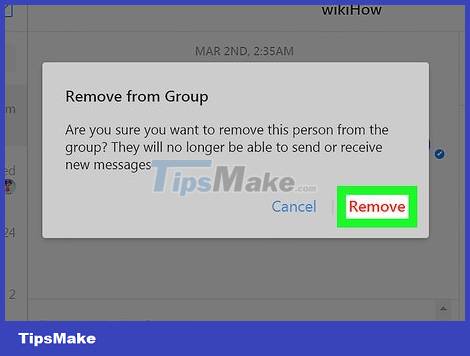
Click Remove to confirm. This red button is in the lower right corner of the pop-up window. This contact will be removed from the group chat.
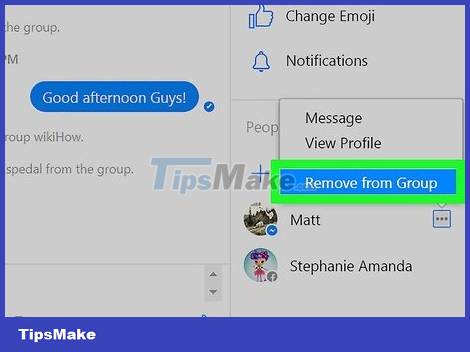
Delete all remaining members of the group. If you want to delete a conversation, you must be the only one left in the group.
If you leave the group without removing all members, the conversation will continue without you.
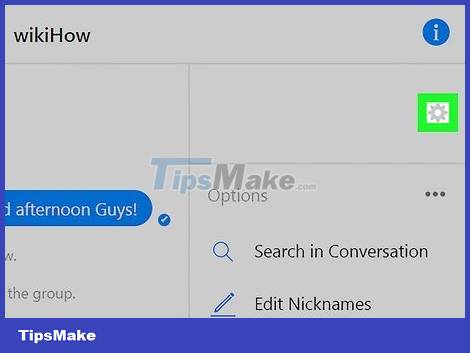
Click the gear icon in the right pane. This option is located below the info button in the upper-right corner of the screen. A menu with grouping options will drop down.
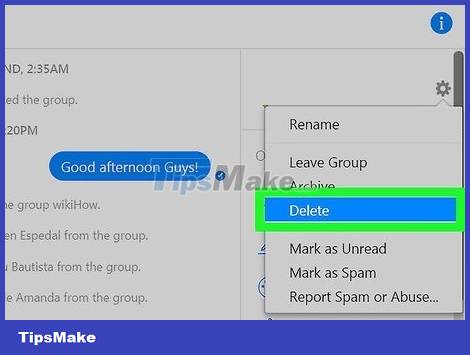
Click Delete in the drop-down menu. You will have to confirm the action in the pop-up window.
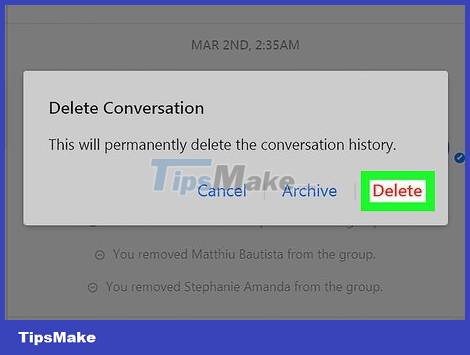
Click Delete to confirm. This red button is in the lower right corner of the pop-up window. The chat group will disappear from the chat list, and the conversation history will also be permanently deleted.
Conclusion
Understanding Facebook Messenger makes it easier to compare options, avoid common mistakes, and apply the information in this guide more effectively. Review the relevant requirements before making changes or choosing a solution.
FAQ
How do you delete a group on facebook messenger?
Follow the steps in this guide in order, confirm the required settings or tools, and verify the result before making additional changes.
Is it safe to delete a group on facebook messenger?
It is generally safe when you follow the recommended instructions, use trusted tools, and avoid changing settings you do not understand.
What should you do if the process does not work?
Recheck the requirements, restart the device or application when appropriate, and review each step for missed settings or compatibility issues.
Related Articles
 Instructions for Free Group Calling on Facebook Messenger4 minutes read
 How to Stop Receiving Messenger Chat Groups Without Deleting the2 minutes read
 Guide to Calling Groups on Facebook Messenger Computers4 minutes read
 You Should Not Ignore the Group Chat Tricks on Facebook Messenger9 minutes read
 The Chat Group on Facebook Messenger Adds Administrative Rights3 minutes read
 How to Call Group Videos on Facebook Messenger6 minutes read
Reader Comments 0
Sign in with email or Google to join the discussion.