PowerPoint 2019 (Part 17): Aligning, Arranging, and Grouping Objects
In PowerPoint, each slide can contain multiple items, such as images, shapes, and text boxes. You can adjust these objects to your liking by aligning, arranging, grouping, and rotating them in various ways.
Table of Contents
In PowerPoint , each slide can contain multiple items, such as images, shapes, and text boxes. You can adjust these objects to your liking by aligning, arranging, grouping, and rotating them in various ways.
Align objects
When you move objects in PowerPoint, alignment and spacing guidelines appear as dashed lines and orange arrows around the objects to help you align them. However, if you have many objects on a slide, it can be difficult and time-consuming to align them perfectly. Fortunately, PowerPoint has several alignment commands that allow you to easily arrange and position objects.

How to align two or more objects
1. Select the objects you want to align. To select multiple objects at once, hold down the Shift key while clicking. The Format tab will appear.

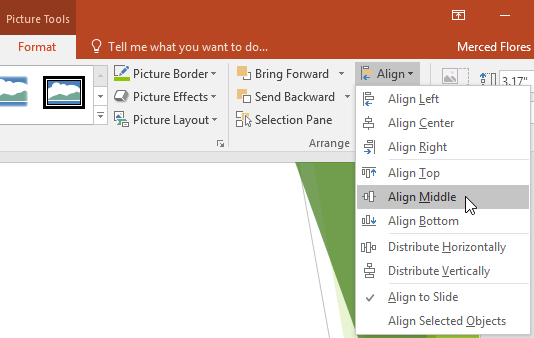
2. From the Format tab , click the Align command , then select Align Selected Objects .
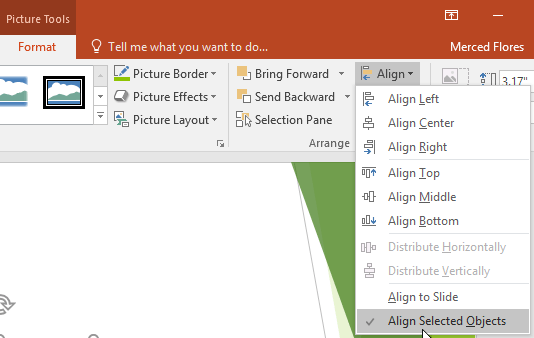
3. Click the Align command again , then select one of the six alignment options.
4. The objects will align based on the options you have selected.

How to align objects in a slide
Sometimes you might want to align one or more objects to a specific position in a slide, such as at the top or bottom. You can do this by selecting the Align to Slide option before aligning the objects.
1. Select the objects you want to align. To select multiple objects at once, hold down the Shift key while clicking.

2. From the Format tab , click the Align command , then select Align to Slide .
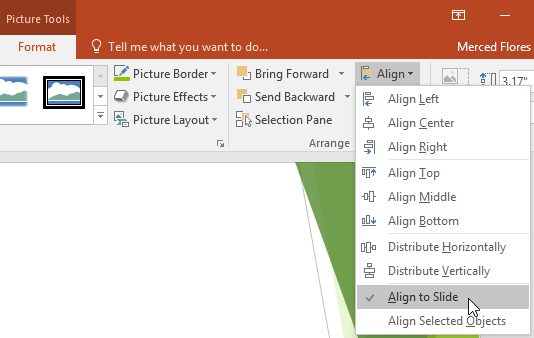
3. Click the Align command again , then select one of the six alignment options.
4. The objects will align based on the options you have selected.

How to evenly space out people
If you've arranged objects in a row or column, you might want to space them evenly to make it look neater. You can do this by spacing the objects horizontally or vertically.
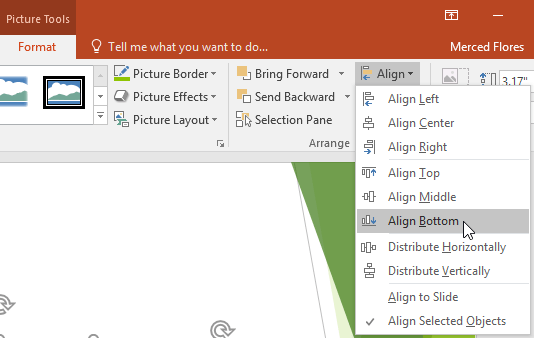
1. Select the objects you want to align. To select multiple objects at once, hold down the Shift key while clicking.
2. From the Format tab , click the Align command , then select Align to Slide or Align Selected Objects .

3. Click the Align command again , then select Distribute Horizontally or Distribute Vertically from the drop-down menu that appears.
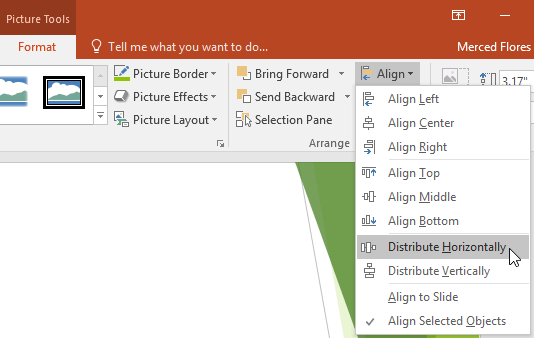
4. Individuals will be spaced evenly apart.

Group of subjects
You might want to group multiple objects together so they'll stay together if moved or resized. This is often easier than selecting all the objects each time you want to move them.
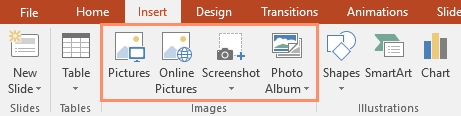
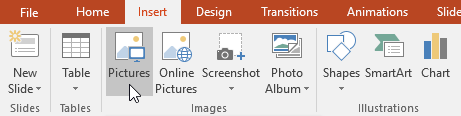
Images, shapes, clip art, and text boxes can all be grouped; placeholders, however, cannot. If you intend to group images, use one of the commands in the Images group on the Insert tab to insert the image instead of the image icon inside the placeholder.
How to group objects
1. Select the objects you want to align. To select multiple objects at once, hold down the Shift key while clicking. The Format tab will appear.

2. From the Format tab , click the Group command , and then select Group.
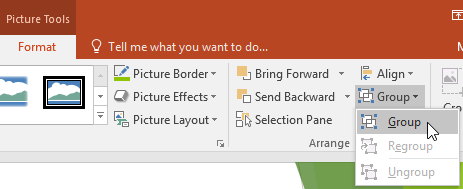
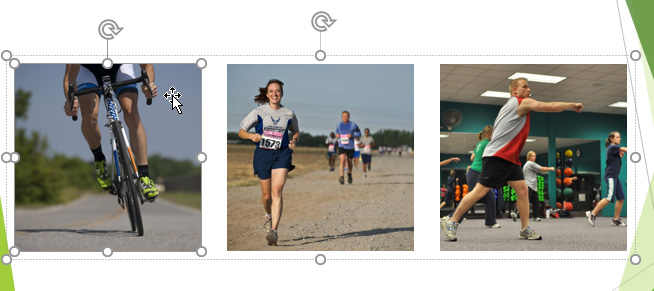
3. The selected objects will now be grouped together. A single box with resizing handles will surround the entire group to indicate that they are a group. Now you can move or resize all the objects at once.

If you want to edit or move one of the objects in the group, double-click to select the object. Then you can edit or move it to the desired location.
If you select objects and the Group command is disabled, it may be because one of the objects is inside a placeholder. If this happens, try reinserting the image using the Pictures command on the Insert tab.
How to ungroup objects
1. Select the group of objects you want to separate.
2. From the Format tab , click the Group command , then select Ungroup .
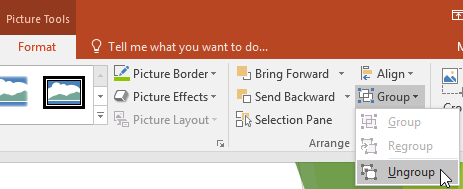
3. The objects will be removed from the group.
Sort the objects
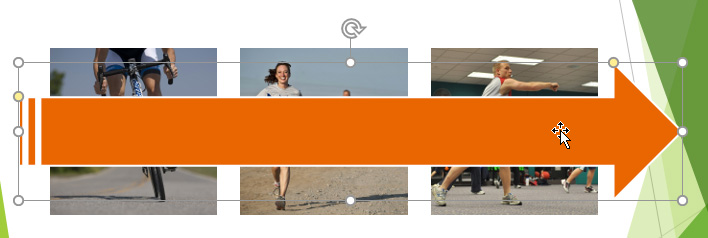
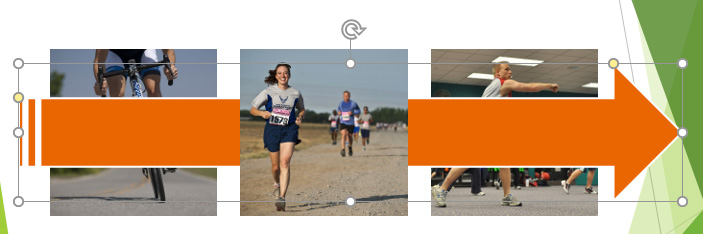
In addition to aligning objects, PowerPoint also gives you the ability to arrange objects in a specific order. The order is crucial when two or more objects overlap because it determines which object is in front or behind.
Learn about the levels
When objects are inserted into a slide, they are placed on levels in the order they were inserted. For example, an arrow might be drawn at the top level, but the level can be changed to place it behind other objects.
How to change the ascending/descending order of a level
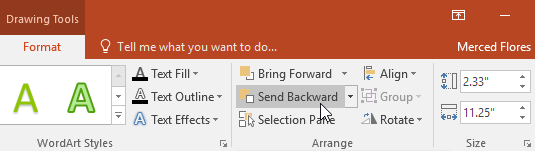
1. Select an object. The Format tab will appear.

2. From the Format tab , click the Bring Forward or Send Backward command to change the order of objects up or down one level. If there are multiple objects on the slide, you may need to click the command multiple times to achieve the desired order.
3. The objects will be rearranged.
How to move an object to the front or back.
If you want to move an object to the front or back of other objects, moving it to the front or back is faster than clicking the arrangement commands multiple times.
1. Select an object.
2. From the Format tab , click the Bring Forward or Send Backward drop-down arrow.

3. From the drop-down menu, select Bring to Front or Send to Back .
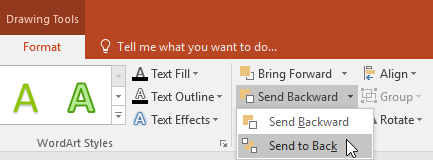
4. The objects will be rearranged.

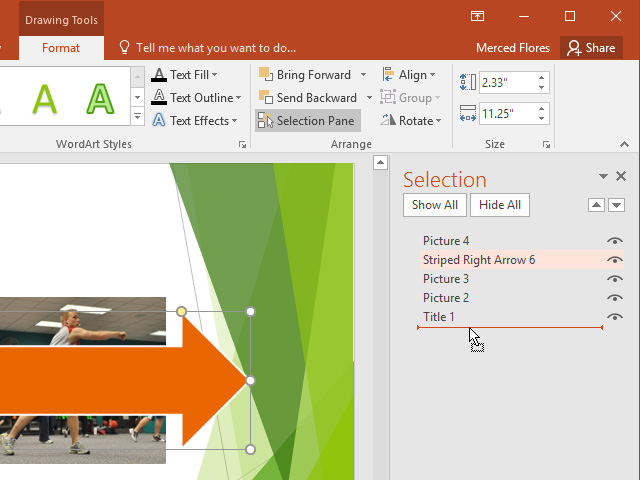
If you have multiple objects stacked on top of each other, it can be difficult to select an individual object. The Selection panel lets you easily drag an object to a new location. To access Selection , click Selection Pane on the Format tab.
Rotate the objects
If needed, you can rotate an object to the left or right, or flip it horizontally or vertically.
How to rotate an object
1. Select an object. The Format tab will appear.
2. From the Format tab , click the Rotate command. A drop-down menu will appear.
3. Select your desired rotation option.

4. The object will rotate as you wish.

Was this article helpful?
Your feedback helps us improve.
Related Articles
 Sort and group objects in PowerPoint 20168 minutes read
 PowerPoint 2016: Arrange and group objects8 minutes read
 Complete Word 2016 tutorial (Part 20): Align, align, and group objects5 minutes read
 How to name objects in PowerPoint2 minutes read
 PowerPoint 2019 (Part 18): Adding Animations to Text and Objects9 minutes read
 The order in which objects appear in Powerpoint3 minutes read
Reader Comments 0
Sign in with email or Google to join the discussion.