How to create GIF images from screen recording videos on Snipping Tool
Windows 11 has updated the feature to create GIF images from screen recording videos on Snipping Tool, to save the content you need to use in a new format..
Windows 11 has updated the feature to create GIF images from screen recording videos on Snipping Tool , to save the content you need to use in a new format. GIF images created from screen recording videos on Snipping Tool have the option of image quality, high or low according to the user's preference. Below are instructions for creating GIF images from screen recording videos on Snipping Tool.
How to create GIF from Snipping Tool screen recording video
Step 1:
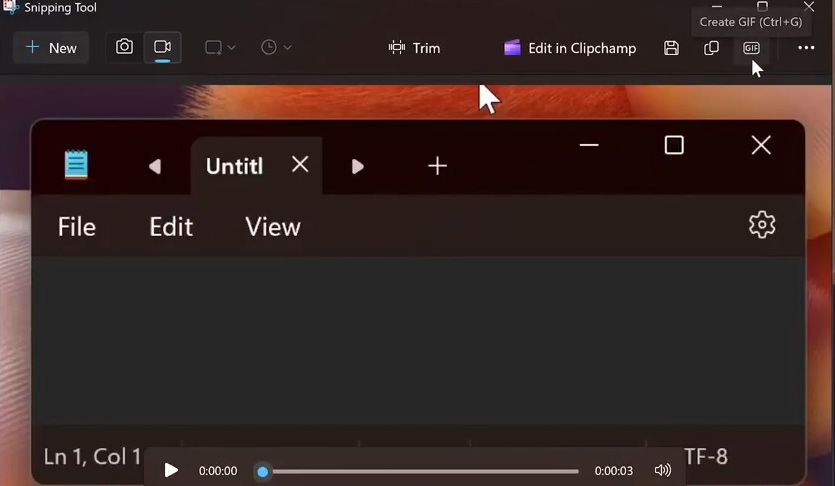
We open Snipping Tool on the computer and then click on the camera icon to record the screen video. In the screen recording video viewing interface, you continue to click on the GIF icon in the top right corner .
Step 2:
Immediately after that , the Create GIF interface appears , we choose the video quality we want to create as shown below.
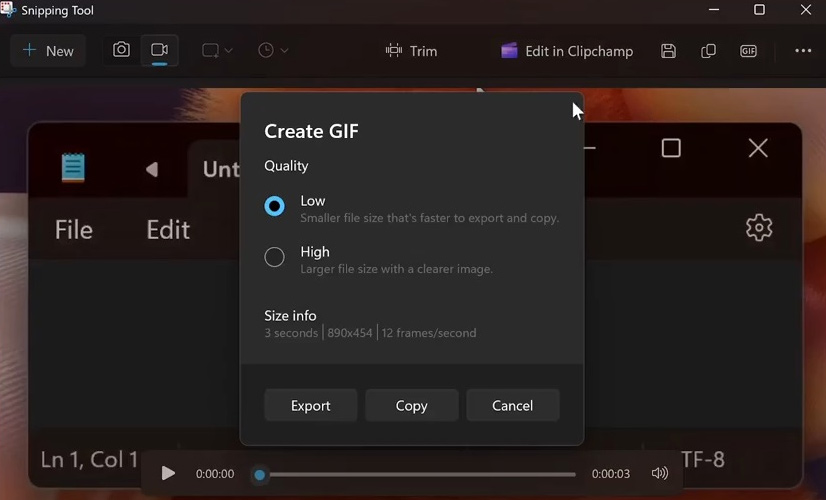
Low GIF quality will result in a smaller file size, which will result in faster export, while high quality will result in a sharper image but a larger file size. It also shows you details like the length of the GIF, resolution, and frame rate.
Step 3:
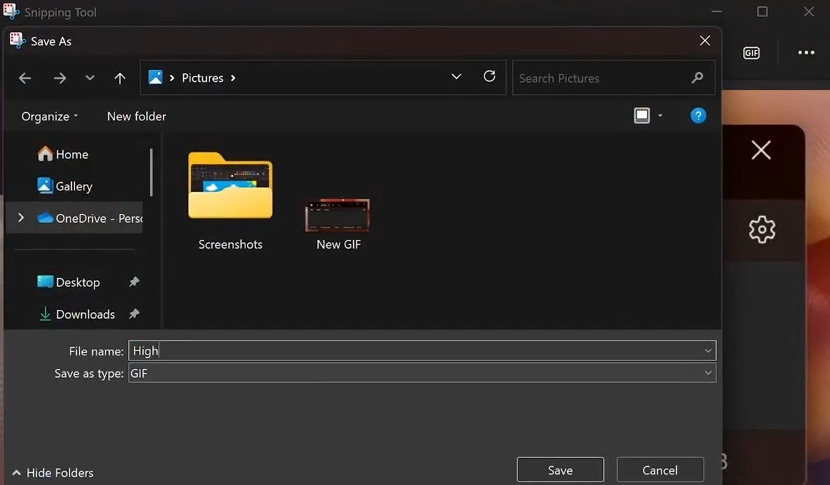
After selecting the quality for the GIF image, we click Export to create and save the GIF image to the computer.
Unlike the GIF mode that is available to everyone, Snipping Tool on PC AI Copilot+ is also testing a new feature called Perfect screenshot.
With this new screenshot mode, you don't need to crop your screenshot to remove unwanted parts, such as white space in the image. The AI technology in Snipping Tool will do the job for you.