Instructions for editing screen recording videos on Snipping Tool
Windows 11 has integrated the Clipchamp video editor on Snipping Tool so that users can edit videos as they want, without having to use other applications.
Table of Contents
In addition to the computer screen capture feature that you already know, Snipping Tool can now record screen videos on Snipping Tool with extremely simple operations. Windows 11 has integrated the Clipchamp video editor on Snipping Tool so that users can edit videos as they wish, without having to use other applications. Below are instructions for editing screen recording videos on Snipping Tool.
How to edit screen recording videos on Snipping Tool
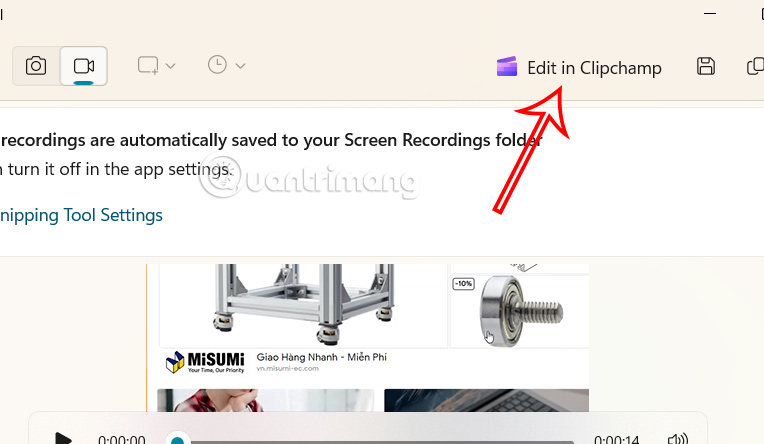
Step 1:
First, you need to record a screen video using the Snipping Tool on Windows 11 as usual. Then in the screen recording video review interface above, we click Edit in Clipchamp .
Step 2:
After opening the Clipchamp application on your computer, you log in to your Microsoft account to use it.

Step 3:
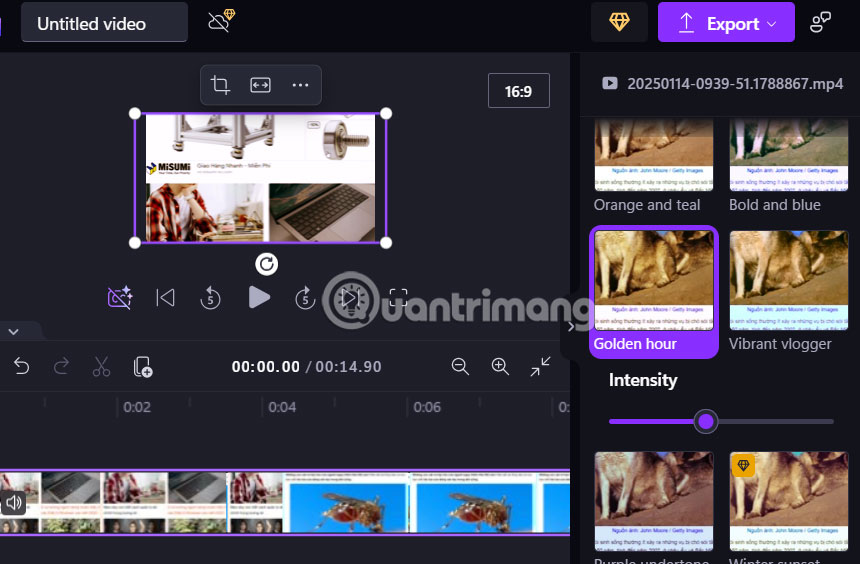
Immediately after that, we will see the screen recording video displayed in the Clipchamp interface with tools for users to choose to edit as they like.

Basically, Clipchamp also has full options to change and edit videos such as adding video filters, adding effects to videos. Note, some options only apply to the paid version.
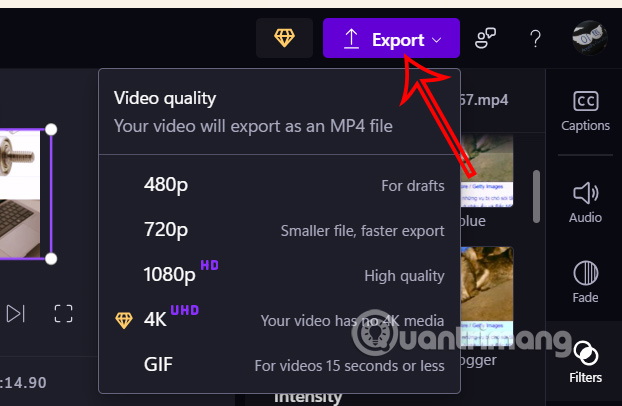
Step 4:
Finally, when you have finished editing the screen recording video on Snipping Tool, click Export and choose a free format to download.
Was this article helpful?
Your feedback helps us improve.
Related Articles
 How to create GIF images from screen recording videos on Snipping Tool2 minutes read
 Instructions for recording screen using Snipping Tool on Windows 115 minutes read
 How to notify save edits of Snipping Tool screen recording video2 minutes read
 How to use Snipping Tool on Windows 10 full set9 minutes read
 Instructions for enabling or disabling Snipping Tool in Windows 102 minutes read
 Microsoft officially integrated the screen recording feature into the Snipping Tool application3 minutes read
Reader Comments 0
Sign in with email or Google to join the discussion.