Table of Contents
This updated guide examines Fonts: How to Add a Font to Dreamweaver and organizes the essential facts, background, and practical takeaways in clear American English.
Method 1of 3:
Downloading Fonts
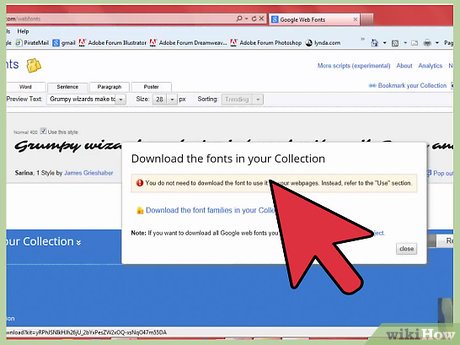 Download a font file and save it on your computer. These files are usually in TrueType format (with extension ". TTF") and can be downloaded using the following websites.
- 1001 Free Fonts: Offers free downloads for fonts arranged in alphabetical order or by themes such as Decorative, Retro, Sci Fi and Horror. You can even find some fonts that appear as 3D images.
- Urban Fonts: Has a large variety of fonts of various language themes including old-fashioned English as well as Arabic, Chinese and Greek.
- MyFonts: You have to purchase most fonts here but free trials are available.
- Fontstock: Fonts arranged in alphabetical order and categories such as Elegant and Futuristic. There is also a separate section for Christmas fonts.
Method 2of 3:
Installing Fonts
 Open the folder containing the font that you have downloaded.
 Go to the Windows Start menu and click on Control Panel.
 Switch to Classic View (the option is available on the left sidebar).
 Double-click on the Fonts folder.
 Drag the font file that you had downloaded and drop it into the Fonts folder. The font is now installed on your computer.
Method 3of 3:
Adding Fonts in Dreamweaver
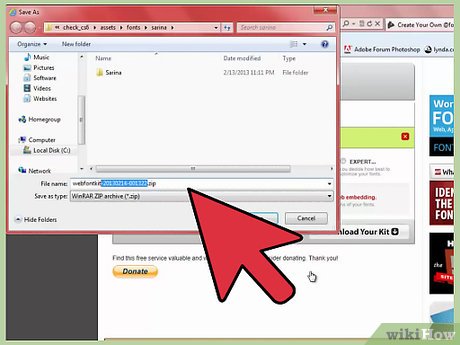 Open the Macromedia Dreamweaver software.
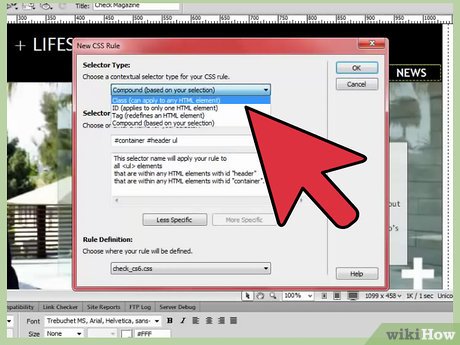 Select "Text" in the top menu.
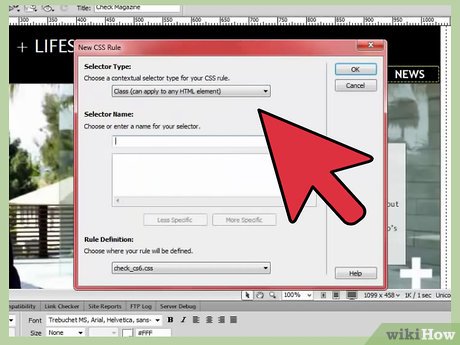 Browse to "Font" and select "Edit Font List. "
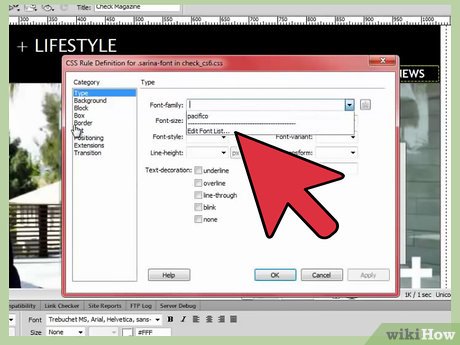 Find the font that you want to add in the "Available fonts" list.
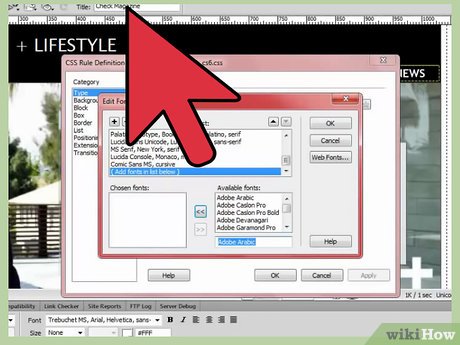 Add the font to the "Chosen fonts" list by clicking on it and pressing the arrow pointing left.
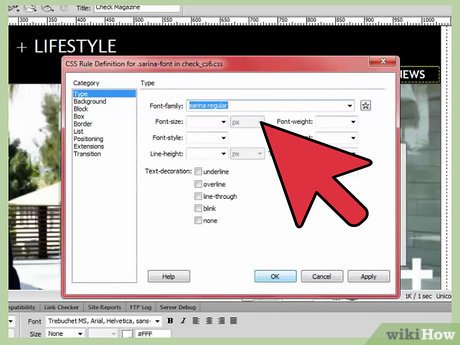 Press the "OK" button. This will close the window for editing the font list and you should be able to see the new font that you have added appear in the list of other fonts that could previously be seen and selected in Dreamweaver.
FAQ
What is Fonts: How to Add a Font to Dreamweaver about?
It provides a structured overview of fonts, explains the main context, and highlights practical takeaways for readers.
Why does this topic matter?
Understanding the main concepts helps readers evaluate the issue, avoid common mistakes, and make better-informed decisions.
How should readers use this information?
Use the guidance as a practical starting point, confirm details that may have changed, and follow current product, safety, or security recommendations.
Related Articles
 How to Creating a Website Using Dreamweaver Cc -- Part 420 minutes read
 Shortcut Dreamweaver2 minutes read
 Install and Use Extensions for Adobe Dreamweaver CS68 minutes read
 How to Creating Websites with Dreamweaver Cc -- Part 6: Create25 minutes read
 Design Website with Adobe Dreamweaver CS5 Software - Part 19 minutes read
 How to Creating Websites with Dreamweaver Cc Part 725 minutes read
Reader Comments 0
Sign in with email or Google to join the discussion.