4 plugins that help GIMP become a professional tool.
Plugins transform GIMP into a fantastic program. They add new features, improve user workflows, and help make GIMP one of the best free alternatives to Photoshop.
Table of Contents
GIMP already has the basic elements of a professional editor: layers, masks, color management, and a plethora of complex menus. The challenge lies in crossing the line between "editable" and "actually getting the job done." More than features, speed is crucial for professional tools. You want fewer cumbersome operations, less manual repetition, and many buttons that work exactly as intended from the first try, perhaps by using a patch that makes GIMP run as smoothly as Photoshop .
That's when plugins completely changed how things are used. With the right add-ons, you can confidently use GIMP for client work, product photography, YouTube thumbnails, print-ready graphics, or batch image export. If you're using GIMP 3, you're also in a better position than you were a year or two ago, as current GIMP builds are being actively maintained and the plugin ecosystem is stabilizing again.
G'MIC-Qt
Transform GIMP into an endless treasure trove of professional filters and effects.

If only one plugin could be installed, many would choose G'MIC-Qt, which serves as the primary graphical interface for the G'MIC (GREYC's Magic for Image Computing) framework. They see it not just as a plugin, but as a massive extension that expands GIMP's capabilities. It integrates a library of over 640 filters and artistic effects directly into the workflow, including categories such as Artistic (especially if you want to transform your images into cartoons), Repair (e.g., noise reduction or image enhancement without sacrificing quality), Color Retouching, Deformations, and Rendering (e.g., creating textures or 3D shapes).
Resynthesizer
The addition of smart editing capabilities makes the edits look "unbelievable".
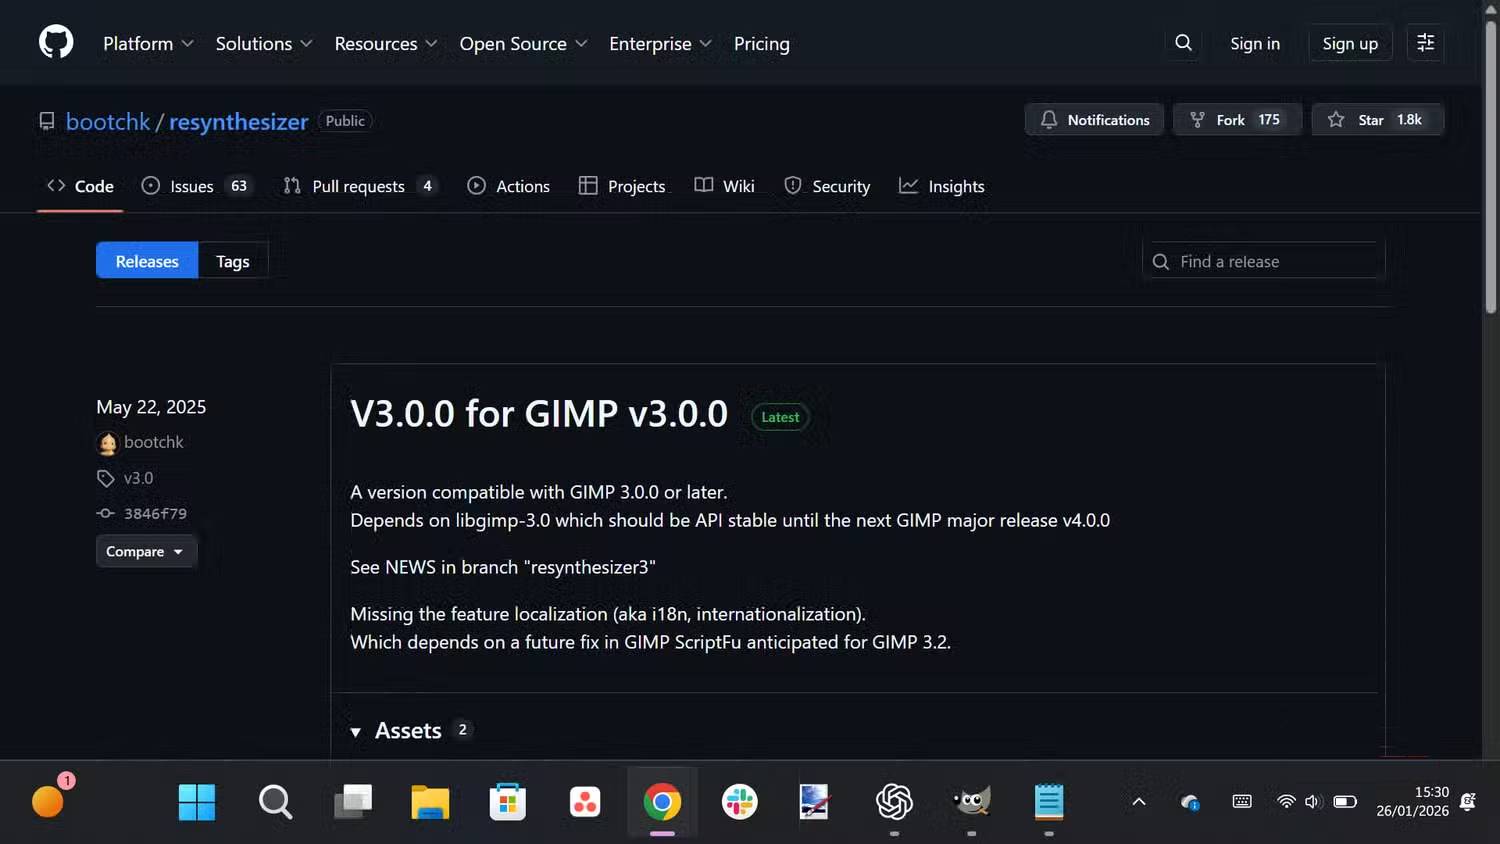
If there's one thing that long-time Photoshop users often miss when switching to GIMP, it's Content-Aware Fill. Resynthesizer is the answer to that shortcoming. It's one of the oldest and most essential plugins for GIMP, creating realistic textures out of thin air.
Its most outstanding feature is the "Heal Selection" tool. You draw a relative outline around whatever you want to remove, and the plugin automatically creates new pixels to fill the gap. It understands the rhythm and randomness of the background, which is why the results are often impressive at first glance. If you're a professional photo editor, this means you can remove blemishes on portraits or lost travelers in landscape photos in just seconds. You simply create a preliminary selection around the unwanted element, run the filter, and watch it seamlessly disappear into the background.
BIMP (Batch Image Manipulation Plugin)
Stop editing each file individually like a prehistoric man.
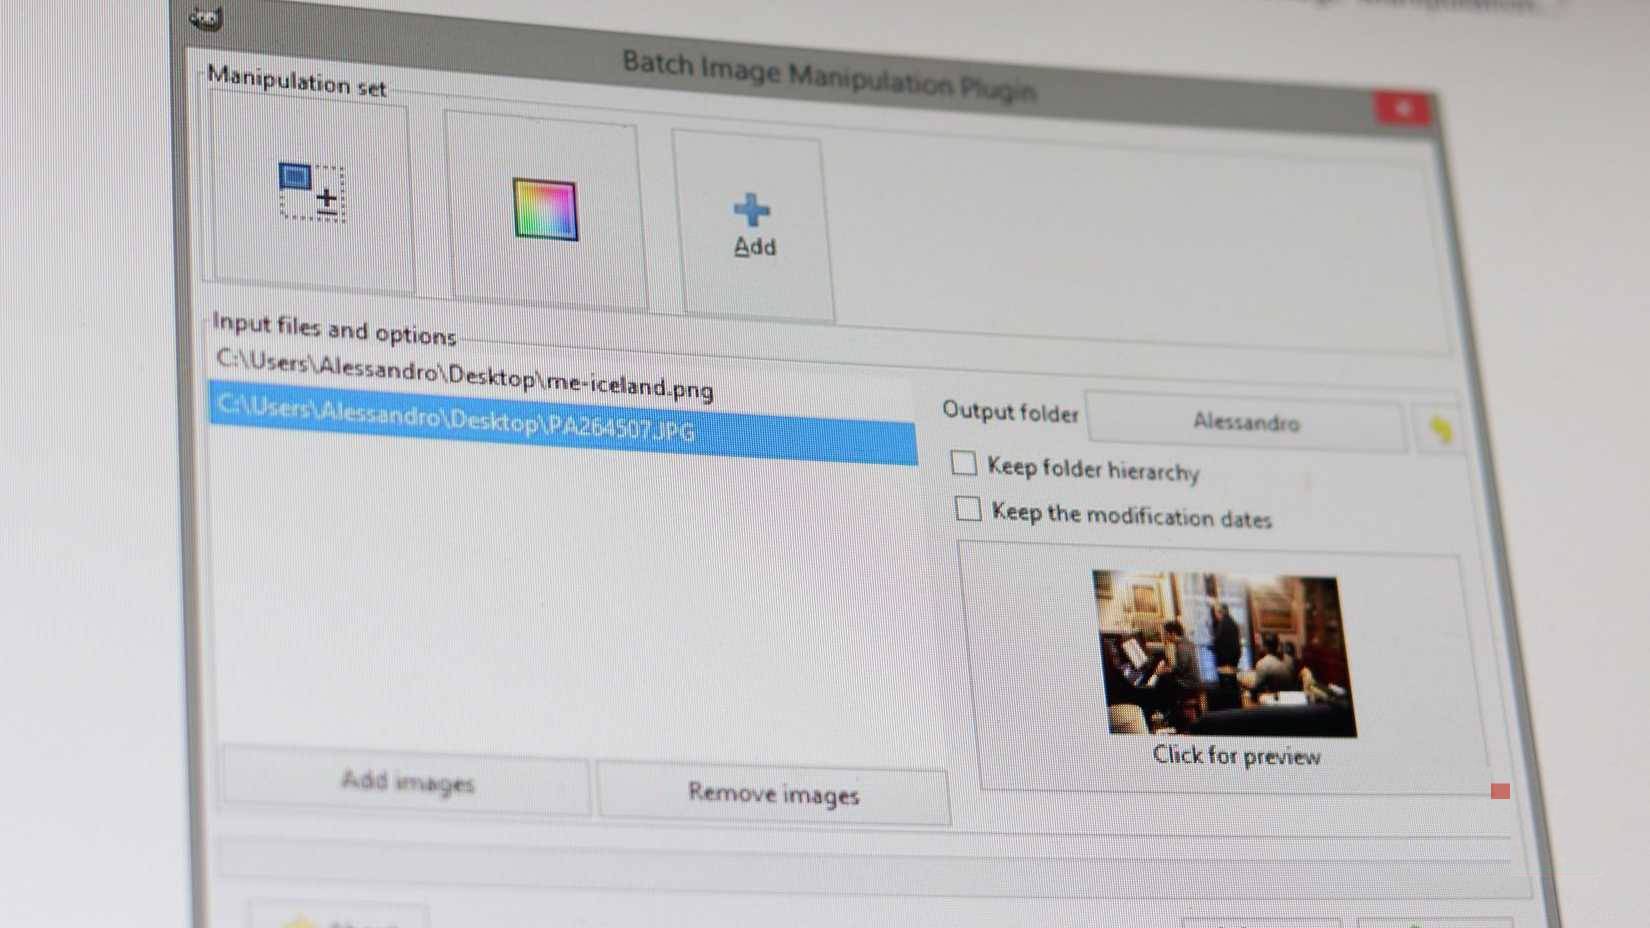
Many professional tasks are essentially just repetition in a more polished form. Resizing, adding watermarks, and renaming 50 product photos for a single client is a tedious manual process. BIMP offers a powerful automation tool for GIMP, allowing you to build complex workflows.
BIMP also simplifies file handling. You can define custom naming rules and output locations, avoiding the chaos often that occurs when you have to rename multiple files in Windows one by one. It even handles format conversions instantly, ensuring your output is consistent, organized, and ready for clients without the usual cleanup.
Darktable
Because JPEG is for amateurs.
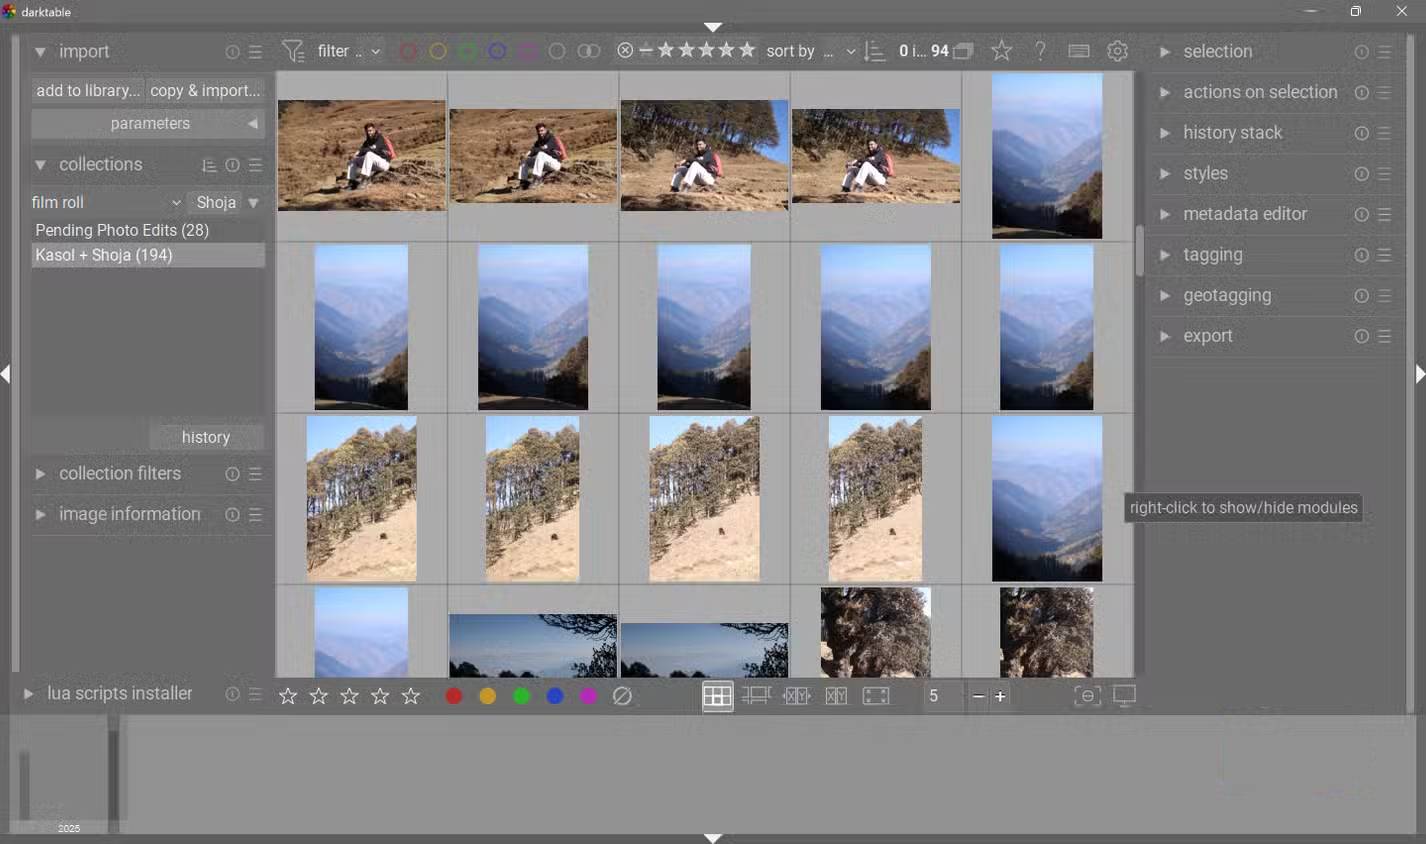
Although GIMP is a raster-based image editor, professional photography workflows often begin with processing RAW images, and GIMP doesn't natively support RAW files. It needs a "processor," and Darktable acts as that bridge, integrating so seamlessly that it feels like a native plugin.
When you open a RAW file in GIMP with Darktable installed, the interface automatically switches to Darktable's processing modules. Here, you can restore overexposed areas, brighten deep shadows, and correct lens distortion using a non-destructive workflow. The original sensor data remains unchanged. You can fine-tune exposure and white balance with mathematical precision before the image is converted to a bitmap for editing in GIMP. The result is very similar to the standard process of converting from Lightroom to Photoshop in professional photography.
See more:
- How to remove pixels in GIMP
- How to automate GIMP using scripts
- Which tool is right for you: GIMP or Photoshop?
Was this article helpful?
Your feedback helps us improve.
Related Articles
 8 best GIMP plugins and how to install them11 minutes read
 How to arrange brushes in GIMP with tags5 minutes read
 How to design professional leaflets with GIMP29 minutes read
 New features of GIMP version 2.1010 minutes read
 How to use the Clone tool in GIMP2 minutes read
 Fix Tool Options error that doesn't work or disappears in GIMP 2.107 minutes read
Reader Comments 0
Sign in with email or Google to join the discussion.