Steps to root BlueStacks emulator on PC
The famous Android emulator BlueStacks is rootable and helps you 'play around' with some useful features when rooting. Let's learn how to root BlueStacks emulator on PC through the following tutorial.
The famous Android emulator BlueStacks is rootable and helps you "play" with some useful features when rooting. Let's learn how to root BlueStacks emulator on PC through the following tutorial.
You download the BlueStacks Tweaker tool at here.
Step 1 : You close BlueStacks software and open BlueStacksTweaker .

Step 2 : You switch to Root card (1) => Unlock (2) .

After you see the words Root.Unlock:Android:True appear, the rooting process is successful. Click on the Play icon to open BlueStacks.

Step 3 : After BlueStacks boots completely, click Install SuperSu on BlueStacks Tweaker to install the "divine" SuperSu application for the rooted device.

A small message at the bottom with the content Install SuperSu:Android:True appears as success. You click on Update Su Library to update the Su library and BlueStack will automatically close.
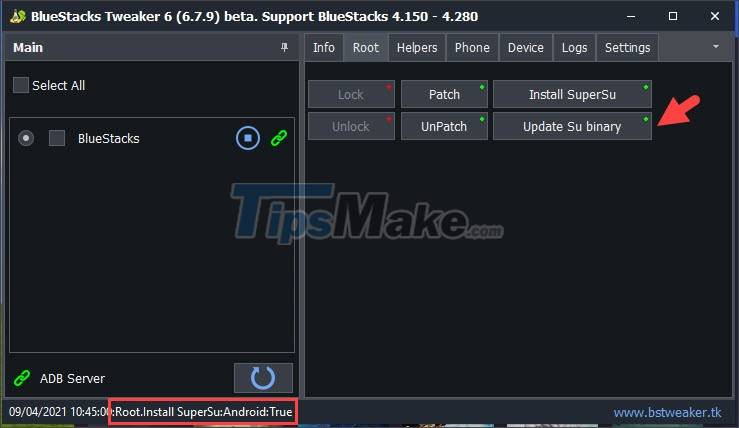
Step 4 : Notice that Update SuperSu:Android:True appears to be successful. Next, click on the Play icon to reopen BlueStacks.

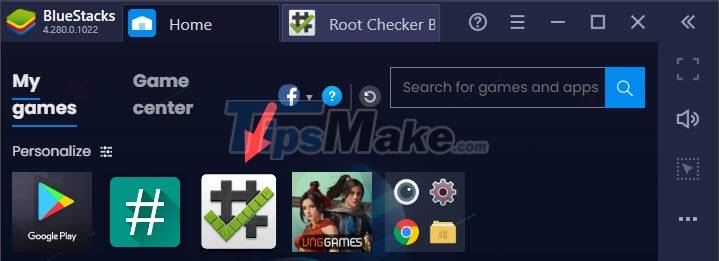
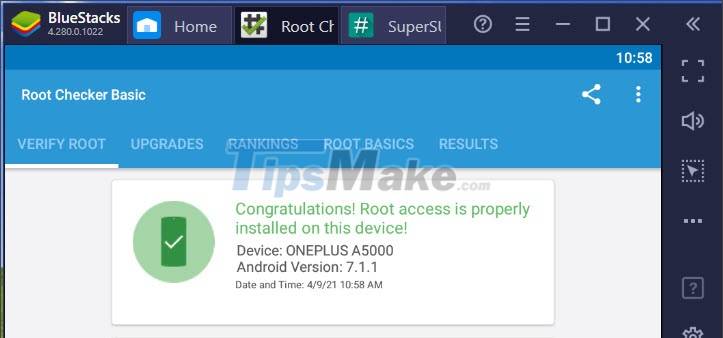
Step 5 : You download the root checker application to make sure BlueStacks has successfully rooted. You can use the Root Checker tool as shown below. Link to download the app here.
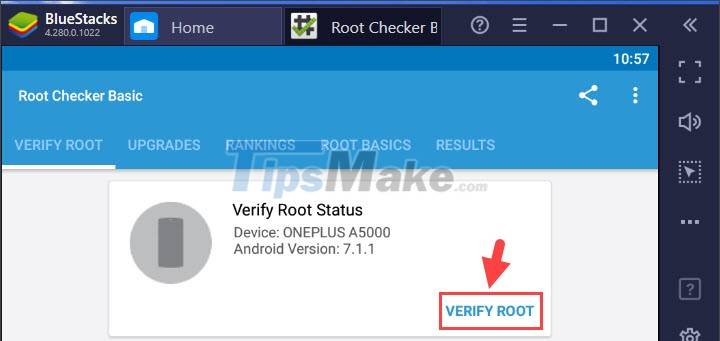
Step 6 : You open the application and click on Verify Root .
Next, click on Grant to grant Super user permission to the application.
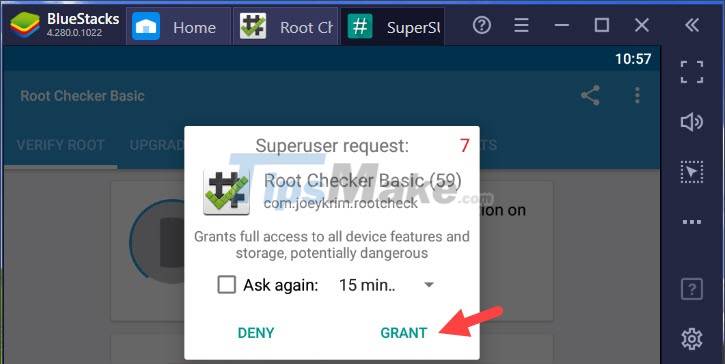
Notice Congratulations! shows up as success.
With the instructions in the article, you can easily root BlueStacks emulator on PC easily. Good luck!
- Bluestacks - Quality Android emulator software on PC
- Link download Bluestacks 4.260.0.1032: Android emulator software on PC
- BlueStacks are heavy?
- Official Android emulator application available on Mac OS X
- How to uninstall BlueStacks, completely remove the Android emulator from your computer or laptop.
- Instructions for changing Bluestacks screen resolution on Windows
- Fix Bluestacks Initializing load errors permanently on the main screen
- BlueStacks just launched BlueStacks version X
- Top PC emulators, best PC emulators for computers.
- How to fix BlueStacks Blue Screen Error on Windows 10
- Link download Bluestacks 4.260.0.1032: Android emulator software on PC
- The best Android emulators for gaming
- How to install APK files on a PC
- 8 Ways to speed up BlueStacks to play Android games faster on PC
- How to play Garena Free Fire on PC with BlueStacks
- How to Take a Screenshot on Bluestacks
- Run Android 4.0.3 directly on Windows
- Official Android emulator application available on Mac OS X


-
 How to uninstall BlueStacks, completely remove the Android emulator from your computer or laptop.
-
Guide to playing Ragnarok Origin on PC using BlueStacks for beginners
-
Download Bluestack - Android emulator application on computer
-
Copy data from BlueStacks to computer or laptop
-
How to fix Bluestacks not running, keeps loading forever
-
How to download and use BlueStacks X to play Android games on your computer
 How to uninstall BlueStacks, completely remove the Android emulator from your computer or laptop.
 Guide to playing Ragnarok Origin on PC using BlueStacks for beginners
 Download Bluestack - Android emulator application on computer
 Copy data from BlueStacks to computer or laptop
 How to fix Bluestacks not running, keeps loading forever
 How to download and use BlueStacks X to play Android games on your computer
-
Application
-
Web Email
-
Website - Blog
-
Web browser
-
Support Download - Upload
-
Software conversion
-
Social Network
-
Simulator software
-
Online payment
-
Office information
-
Music Software
-
Map and Positioning
-
Installation - Uninstall
-
Graphic design
-
Free - Discount
-
Email reader
-
Edit video
-
Edit photo
-
Compress and Decompress
-
Chat, Text, Call
-
Archive - Share
-
-
System
-
Mac OS X
-
Hardware
-
Game
-
Tech info
-
Technology
-
Science
-
Life
-
Electric
-
Program
-
Mobile