Table of Contents
The sections below explain play Android games on Windows with bluestacks in a clear and practical way. Review the key details, examples, and considerations before applying the information.
Start by download and install the BlueStacks Emulator software on your computer.
How Play Android Games on Windows with Bluestacks Works
Step 1 : Open BlueStacks, at the introduction screen, click Android
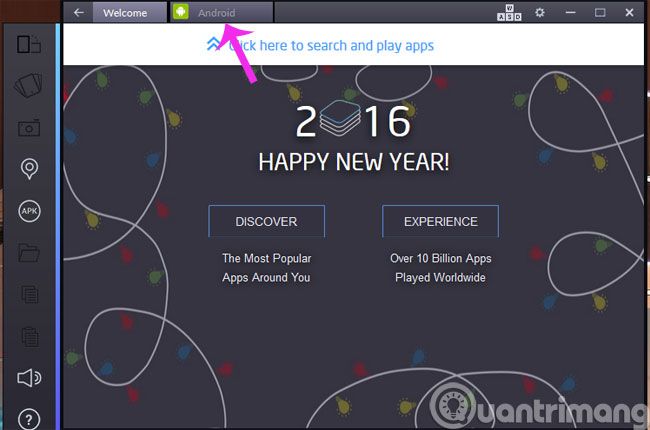
Step 2 : Choose the game you like (example is Mortal Kombat X )

Step 3 : When the One time Setup Screen appears, click Continue To continue

Step 4 : You will be asked to sign in to your Google account for the first time ( You can use an existing account or create a new one ).

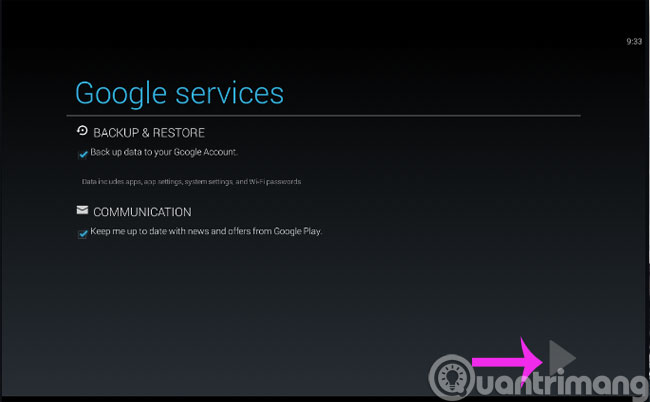
Step 5 : When the Google Service Screen appears, click the triangle in the lower right corner to move to the next step
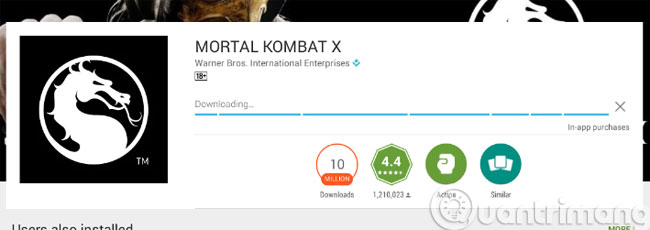
Step 6 : Click Install To install the game on your computer

Step 7 : The installation process will take a few minutes
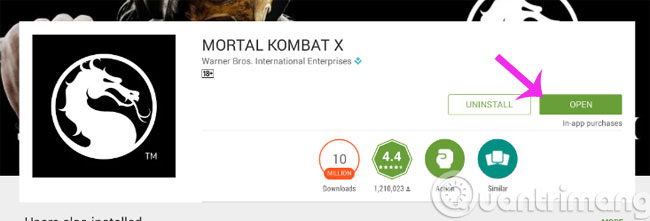
Step 8 : When the installation process finishes, press Open To open the game to play
- Emulate Android on Windows with Droid4x
- How to disable app notifications on Android?
- Instructions on how to view the Mac address of Android
Hope the article is useful to you!
FAQ
What is the main benefit of play Android games on Windows with bluestacks?
The main benefit is a clearer understanding of the topic and a practical way to apply the information covered in this guide.
What should I check before using play Android games on Windows with bluestacks?
Confirm compatibility, review the required settings, protect important data, and use the latest supported version whenever possible.
What should I do if the result is different?
Repeat the steps carefully, verify permissions and version differences, and consult the product's official support documentation for changes not shown in the article.
Related Articles
 How to Play Android Games on Windows with BlueStacks3 minutes read
 8 Ways to Speed up Bluestacks to Play Android Games Faster5 minutes read
 How to Download and Use BlueStacks X to Play Android Games5 minutes read
 How to Fix Bluestacks Blue Screen Error When Playing Games5 minutes read
 Play Mobile Games on the Web with Bluestacks X5 minutes read
 Bluestacks - Quality Android Emulator Software on PC: Key Facts12 minutes read
Reader Comments 0
Sign in with email or Google to join the discussion.