Table of Contents
The sections below explain instructions for video editing right on iPhone and iPad in a clear and practical way. Review the key details, examples, and considerations before applying the information.
IPhone and iPad have features to support video editing without having to install any additional applications. This feature is especially useful when needed to edit and download or share videos on social networks. However, not all videos are supported by this feature. Here are the basic steps that show you how to edit clips and videos right on your iPhone, iPad without having to cut out your computer.
- 7 best video editing apps for iPhone
- Instructions for rotating tilted videos on iPhone or iPad with iMovie
- How to shoot and edit slow motion videos on iPhone
Instructions for cutting videos on iPhone / iPad
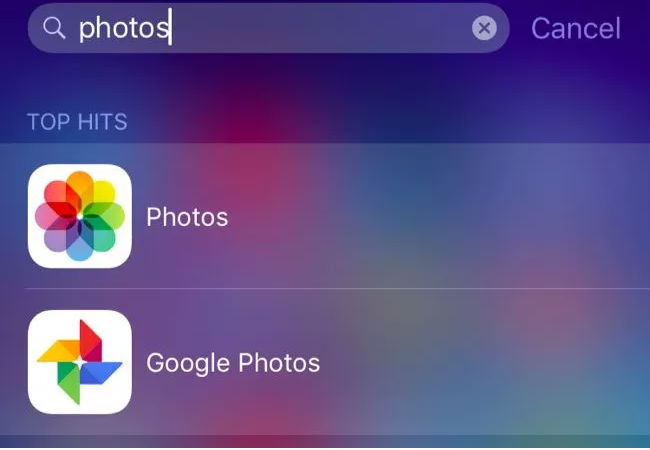
Step 1: The first step is to go to the photo application.
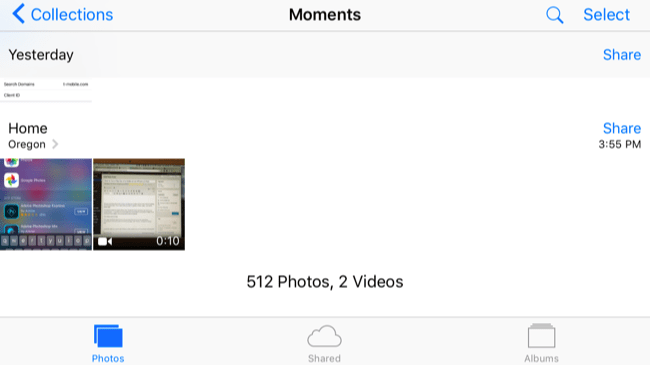
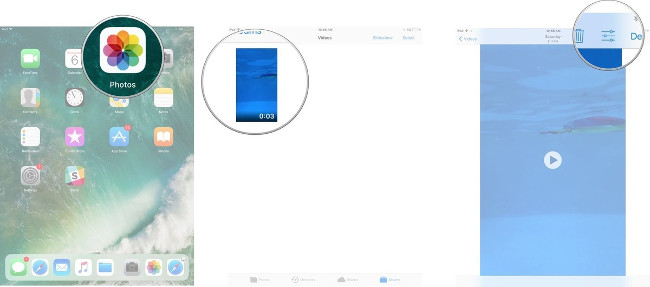
Step 2: Select the video item and gently touch which video you want to edit.
- How to copy music to iPhone, iPad from computer?
Step 3: Select the edit button at the top right of the screen, it's like three horizontal bars with a dot in each bar.
Step 4: Click and hold on the left or right of the video timeline to access the editing tool.
Step 5: Drag the image like the left or right arrow to cut.
Step 6: Press and hold the image as an arrow to expand the timeline for more precise editing.
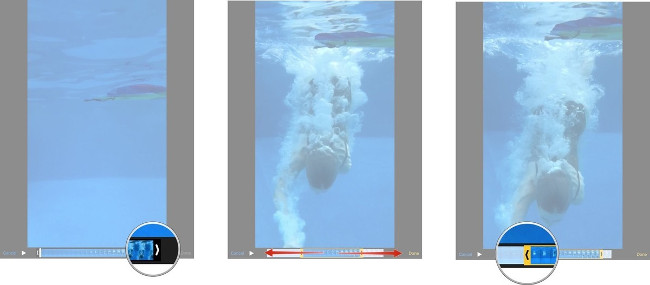
Step 7: After you have finished editing, select ' Done ' to finish.
Step 8: You can select 'Trim Original' To cut your original video or select 'Save as New Clip' To create a new video clip and keep the original video clip. be cut.
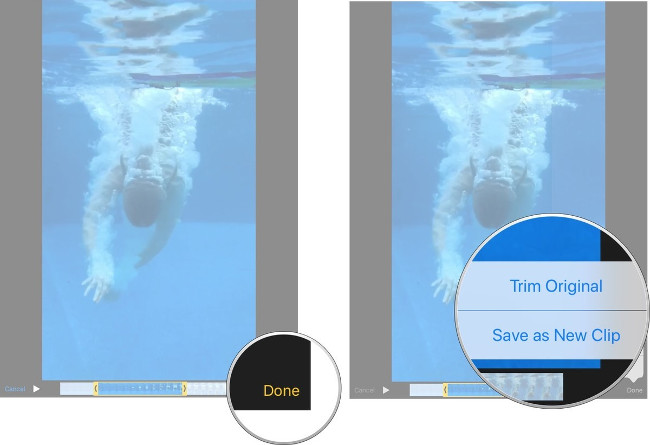
The new video will be saved and displayed on the screen. You can share this video on social networks with your friends by clicking on the 'Share' Button at the bottom of the screen and selecting the social network you want to share that video (Facebook, YouTube.) or save it on your computer..
Video tutorial for cutting videos on iPhone / iPad
I wish you all success!
FAQ
What is the main benefit of instructions for video editing right on iPhone and iPad?
The main benefit is a clearer understanding of the topic and a practical way to apply the information covered in this guide.
What should I check before using instructions for video editing right on iPhone and iPad?
Confirm compatibility, review the required settings, protect important data, and use the latest supported version whenever possible.
What should I do if the result is different?
Repeat the steps carefully, verify permissions and version differences, and consult the product's official support documentation for changes not shown in the article.
Related Articles
 The Best Video Editing Applications for iPhone14 minutes read
 Guide to Making Professional Movies with Imovie on iPhone and iPad8 minutes read
 Things to Know About Apple's New Clips App4 minutes read
 How to Record iPhone and iPad Screen Videos on the Computer7 minutes read
 Audio: How to Edit Music in Imovie on Iphone or Ipad6 minutes read
 How to Use iPhone Video Editing Clips8 minutes read
Reader Comments 0
Sign in with email or Google to join the discussion.