Table of Contents
This step-by-step guide explains how to cut iPhone videos using VivaVideo. It covers the required setup, the main actions, and the checks that help prevent common problems.
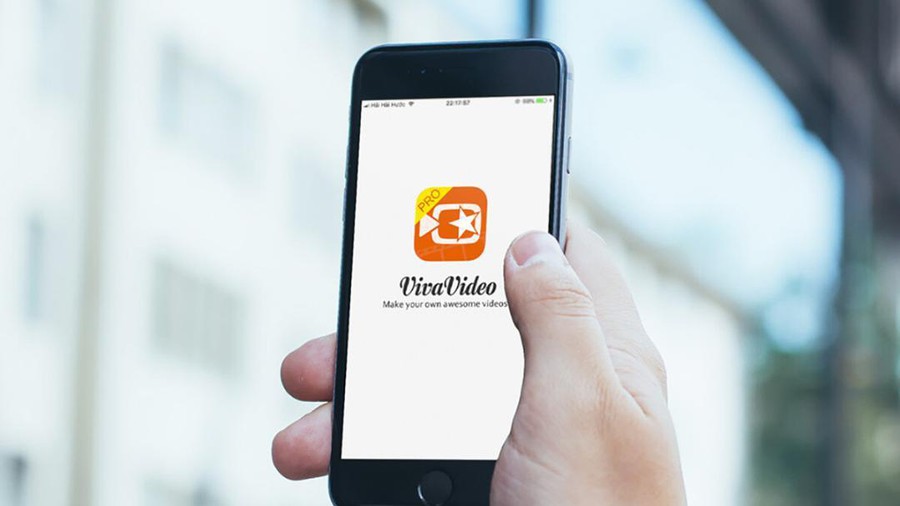
VivaVideo is a video editing App for mobile devices, which can Cut videos and merge multiple videos into 1 . You can cut and edit each video then merge them into an iPhone video with the VivaVideo app.
On the iPhone / iPad there is video cutting feature however, you can only choose to cut the video at a simple level. VivaVideo in addition to editing and cutting video features can also combine multiple videos into 1, add editing tools such as inserting effects, using themes, inserting sound into videos, . After finishing editing the video, In addition to being able to save to video albums on the device, you can choose social networks Facebook, Instagram, email to share videos. The following article of Network Administrator will guide you how to cut video by using VivaVideo on iPhone.
Step 1:
You download the iPhone / iPad VivaVideo app according to the link below.
- Download the VivaVideo app
Step 2:
Launch the app and in the first interface, VivaVideo will ask you to allow Notifications from the app , select OK. Next select The Start button To start.
Step 3:
Switch to the main interface of the app. Select the Edit Item to proceed with video editing. After that, VivaVideo will ask you for permission To access the photo album , press O K. Next to allow Access to the audio And video Albums , select OK .
Step 4:
The app will recognize the video available on the device, select the video you want to edit. At the Edit Interface In the Timeline video timeline Below, you will see at the beginning and end there are 2 vertical bars that adjust the time.
Move 2 vertical bars at the top and bottom to select the video you want to cut. After selecting, select The scissors icon To crop the video, then press Confirm To confirm the video cut.
Step 5:
Back to the Video interface on VivaVideo, we will see the video cut below. If you want to save the video, select Next. If you want to Merge video , we continue to select the video you want to cut and also follow the above operation. You will see the number of newly cut videos. Select Next To continue.
Step 6:
Switch to the interface to play the newly cut video on VivaVideo. If you are not satisfied with the current editing, select The arrow icon To return to the old interface and redo the above editing actions.
If you feel like clicking The Share item In the top right corner of the interface.
Step 7:
To save the video to the device, we select the Export to Gallery Button. Since you are using the free version, you will only save video with Normal quality (Normal) of 480P only. You wait for the video export process to complete.
Step 8:
You will then receive a notification that the video has been saved to the device successfully. Here you can select social networking icons to share. If you want to expand the sharing option, select The arrow icon In the left corner of the interface to return. Select More To add other sharing services you want.
With the VivaVideo app, we can easily edit and trim videos on iPhone / iPad. Besides, VivaVideo also has many other rich video editing features. You can also join the cut videos together into a video, then share them on social network accounts.
FAQ
What should I check before following these steps?
Confirm device and software compatibility, save important data, and make sure you have the required permissions, files, and account access.
Why might the process not work?
Common causes include outdated software, missing permissions, incompatible hardware, an unstable connection, or completing a step in the wrong order.
Can I undo the changes if necessary?
That depends on the tool or setting. Use built-in restore options when available, keep a backup, and record the original configuration first.
Related Articles
 How to Edit a Video Using the VivaVideo App on Your Phone7 minutes read
 How to Make English Videos Using Vivavideo3 minutes read
 Fix Vivavideo That Crashes, Closes Suddenly or Becomes6 minutes read
 The Famous Vivavideo Editing App You Need to Remove Right4 minutes read
 Apple Posted 5 Instructional Videos Using Useful Features on the iPhone but Few People Know4 minutes read
 How to Upload, Download Videos to YouTube on iPhone?5 minutes read
Reader Comments 0
Sign in with email or Google to join the discussion.