Instructions for creating 'noise' images on the phone
If you've ever heard of the interference effect or encountered this effect on promotional photos, posters for movies but don't know how, now Network Administrator will guide you in an extremely simple way. Simple to create unique noise images and even ghosts..
If you've ever heard of the interference effect or encountered this effect on promotional photos, posters for movies but don't know how, now Network Administrator will guide you in an extremely simple way. Simple to create unique noise images and even "ghosts".
In order to have a photo with interference effect, we will often need professional photo editing software like Photoshop. But the operations in Photoshop are quite confusing and not everyone can handle it, so we will guide you to make much simpler right on your smartphone with Onetap Glitch application (for Android devices) and GLTCH (for iOS devices). Are you ready? Please join us now!
- How to create sky effect for photos with B612
- How to make clouds effect for still images
- Instructions for creating extremely beautiful images with Meitu
How to create images with interference effects
Onetap Glitch and GLTCH allow you to create interference effects with just a few hand clicks on the phone screen. With these two applications, you can create many different interference effects and optionally adjust the effects at will. The following guide will use the Android device to bring the noise interference effect to the image, because the way to do it on Android and iPhone is quite similar and you can apply it to your device.
Step 1:
The first thing you need to do is to download the image jamming application to your phone according to the link below. Onetap Glitch and GLTCH are compatible with most devices, please select the version that is suitable for the device you are using.
- Download GLTCH for iOS
- Download Onetap Glitch for Android
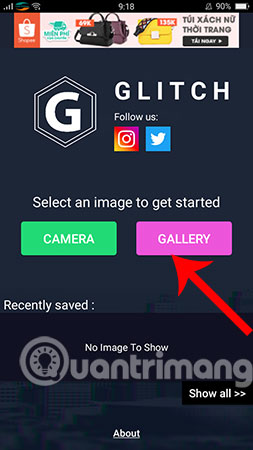
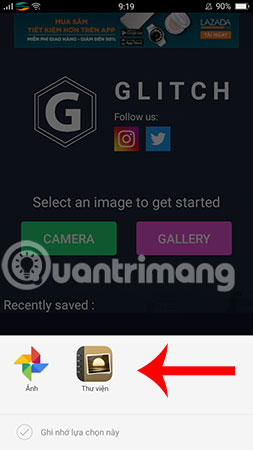
Step 2:
Install the application successfully, press Gallery and select a picture "so deep" available on the smartphone to start processing, or you can also press the Camera button to take a new photo. In this example, we will use the image in the Phone Library .
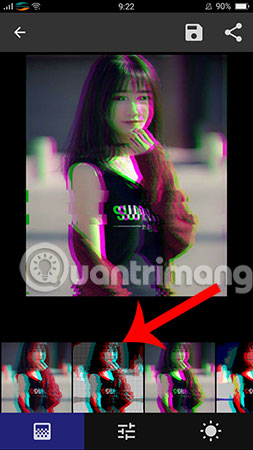
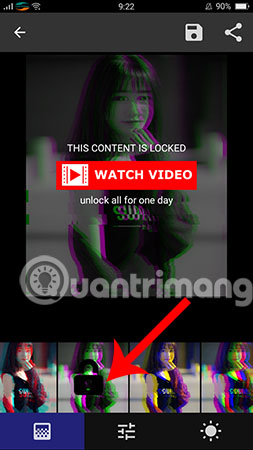
Step 3:
Once the image is available, the content of the image will be displayed on the application interface and the 'interference' effect is immediately generated on the image for you to preview. Now explore the list of effects that the application provides below to apply to your images. For effects with padlock icons, you have to watch the short promotional video before you can use it.
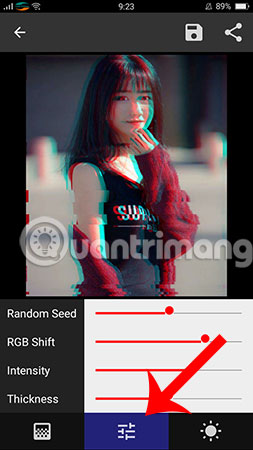
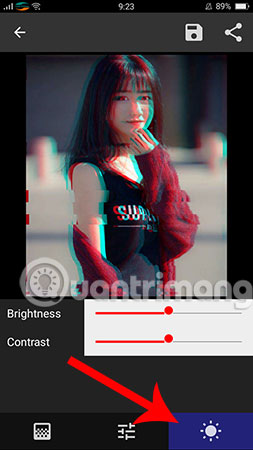
Step 4:
If you want to adjust the level of effect creation on the image, you select the middle icon in the menu below. Then, move the sliders, drag back and forth to change the effect levels so that you feel the best. To make the image look more 'ghost', click on the sun icon , just adjust the slider to change the brightness (Brightness) or contrast (Contrast) for the image.
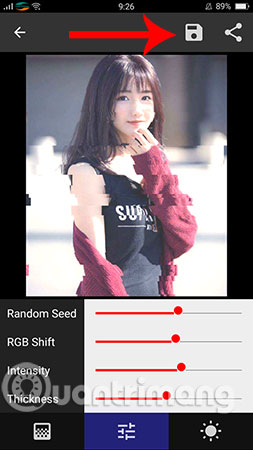
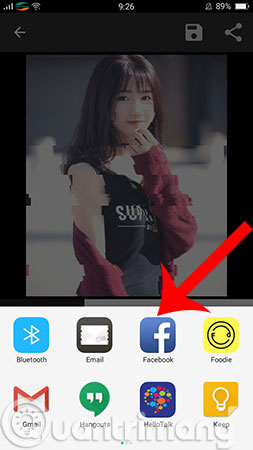
Step 5:
Finally, if you are satisfied with the image after creating the above interference effect, then click on the floppy disk icon in the upper right corner to save the image to the device. Besides, you can also quickly share the processed image on Facebook or via email, message, .
And you should review your achievements after a few minutes of tinkering, though not as excellent as when working in Photoshop but also enough to "live virtual" right? Depending on the level of creativity, you can change more so that the picture becomes artistic.
Recently, the guide to creating noise on the phone is extremely simple, still hesitate and do not use this photo creator application to create millions of photos. In addition, if you want to create more unique - substances - strange image types such as creating vignetting photo effects, you can refer and use Picsart tool.
Good luck!
See more:
Stunning photo editing on smartphones with Snapseed- How to turn photos into drawings on WutaCam
- How to shoot sparkling videos with Kirakira + iPhone application