Tutorial for creating 3D photo effects in Photoshop (Part 3)
Did you know that in Photoshop there are 3D photo editing effects that make your photos more vivid. The following article The network administrator will show you how to create 3D effects in Photoshop.
Table of Contents
In the article How to create 3D photo effects in Photoshop (Part 1 and Part 2), Network Administrator has introduced you to 20 basic steps in the process of creating 3D photo effects. In the following section, Network Administrator will guide you to the last 10 steps to create 3D photo effects in Photoshop.
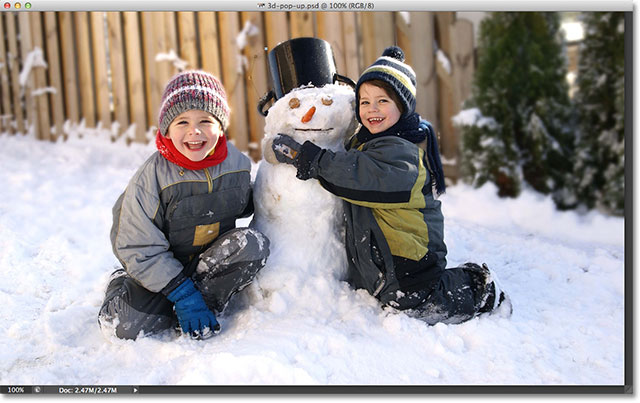
Photos before creating 3D effects:
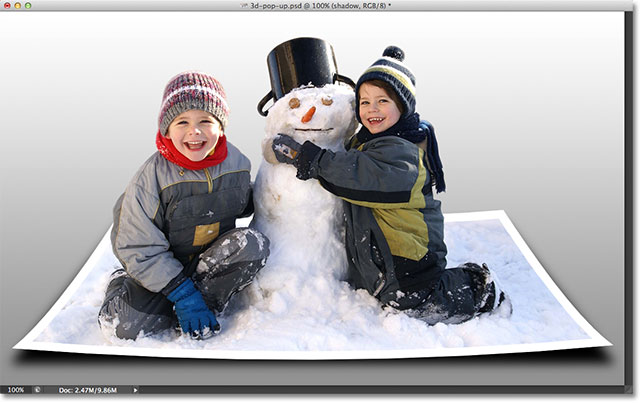
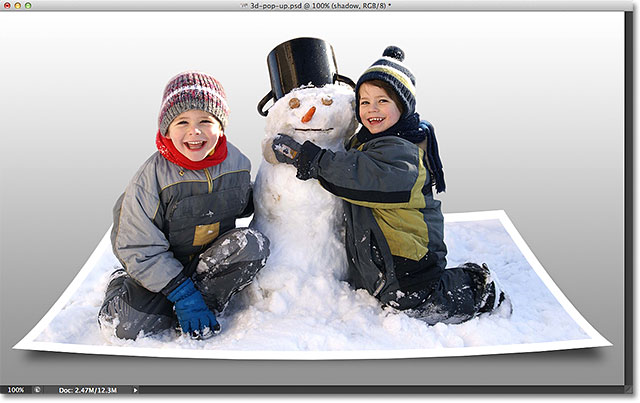
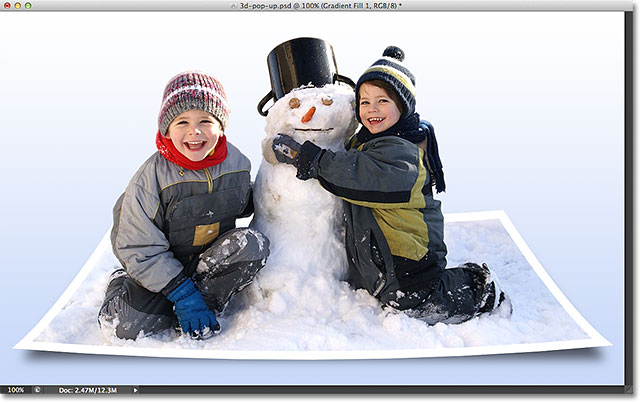
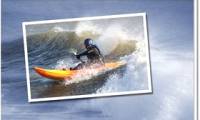
After creating 3D effect:

See: Instructions for creating 3D photo effects in Photoshop (Part 1) here
Step 21:
Click and hold the Ctrl key (for Windows) or Command (for Mac) on the keyboard again to create a new Layer under the Flat Layer , name it Shadow.

Double-click on the new Layer name to rename it to 'Shadow' , then press Enter (for Windows) or Return (for Mac) to accept the name change.

Step 22: Fill the selection with the color for the Shadow layer, black
Select the Edit Menu at the top of the screen, then select the Fill command .
The Fill dialog box appears. Change the Use option at the top to Black (black), reset the Mode option at the bottom of the dialog to Normal and the Opacity option to 100%.
After setting up, click OK to exit the dialog box. The layer shadow after the fill color will look like the image below.
See: Tutorial for creating 3D photo effects in Photoshop (Part 2) here.
Step 23: Select Layer Mask in Flat Layer
Click on and select Layer Mask in Flat Layer .
If you don't know how to create animations in Photoshop CS6, refer to the steps here.
Step 24:
On the screen you can see in the middle of the Flat Layer and its Layer Mask has a small link icon in the middle. Your task is to click on the link icon to unlink.
Step 25: Select the Wrap command
On the Layer Mask you just unlinked, go to Menu Edit at the top of the screen, select Transform , then select Wrap.
Step 26:
Hold and drag the mouse as shown below.
Once done, press Enter (for Windows) or Return (for Mac) to add effects.
Step 27: Select Shadow layer
Click on the "Shadow" Layer on the Layer Panel to select it.

Step 28: Apply the Gaussian Blur Filter effect
Go to the Menu Filter at the top of the screen, select Blur , then select Gaussian Blur .
When the Gaussian Blur dialog box appears. Click your mouse on the Radius slider and drag to the right to increase the blur.
Once done, click OK to exit the dialog window. After applying Gaussian Blur effect , your photo will look like the illustration below.
Step 29: Reduce the Shadow Layer's Opactity
Go to the Opacity option at the top right of the Layer Panel and reduce the Shadow Layer Opacity from 100% to 50-60%.
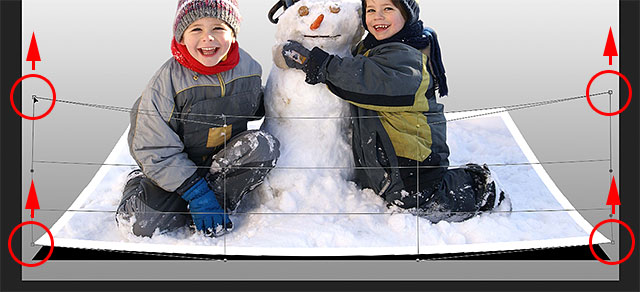
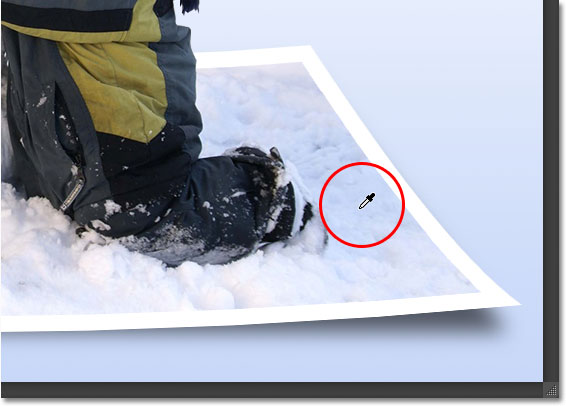
Step 30:
Go to Edit Menu (edit menu) and select Free Transform.
Hold and drag the latch point on both sides and below as shown in the circled area with the red circle below.
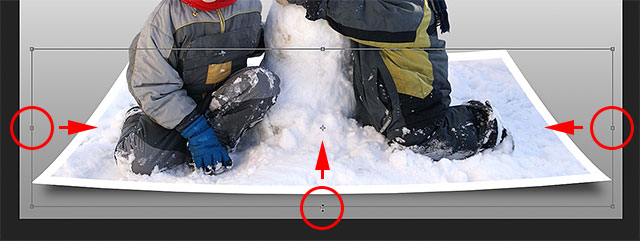
Press Enter (for Windows) or Return (for Mac) to complete the editing. The image after you finish will look like this:
See more Video tutorials:
Attention:
If you don't like the selected color as the background color, you can choose another color.
First double-click on the image of the Gradient Fill Layer image on the Layer Panel.
The Gradient Fill dialog box appears. Click on the gradient bar to edit the color.
After opening the Gradient Editor dialog, you can select any color you want to change the color.
On Photoshop will re-open the Color Picker, but instead of selecting the color from the Color Picker, you can move the mouse pointer directly to the image, at which point the mouse pointer will temporarily be changed to an Eyedropper icon (understandably public). coloring tools). Click on the color you want to select the color.
After you have selected the color you like, click OK to close the Color Picker window , then click OK to exit the Gradient Editor window and exit the Gradient Fill dialog box.
The original image:

Photos after adding effects and editing Background colors:
Good luck!
Was this article helpful?
Your feedback helps us improve.
Related Articles
 Tutorial for creating 3D photo effects in Photoshop (Part 2)5 minutes read
 Tutorial for creating 3D photo effects in Photoshop (Part 1)5 minutes read
 How to use Photoshop CS5 - Part 26: Create a lightning effect9 minutes read
 How to create stunning 3D pop-out effects in Photoshop8 minutes read
 How to use Photoshop CS5 - Part 20: Create images of fists through the screen10 minutes read
 How to use Photoshop CS5 - Part 18: Create nested photo effects6 minutes read
Reader Comments 0
Sign in with email or Google to join the discussion.