Tutorial for creating 3D photo effects in Photoshop (Part 2)
Did you know that in Photoshop there are 3D photo editing effects that make your photos more vivid. The following article The network administrator will show you how to create 3D effects in Photoshop..
In the article How to create 3D photo effects in Photoshop (Part 1), Network Administrator introduced you to the first 10 steps in creating 3D image effects. In the next section below, Network Administrator will guide you to the next 10 steps to create 3D photo effects in Photoshop.
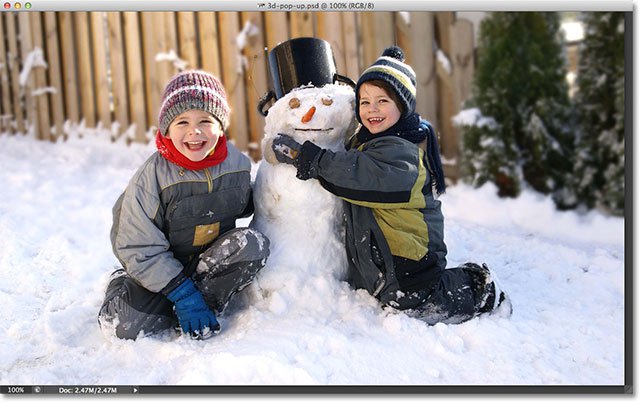
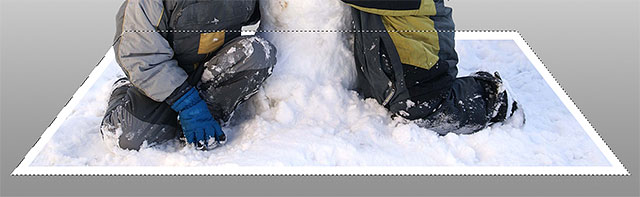
Photos before creating 3D effects:
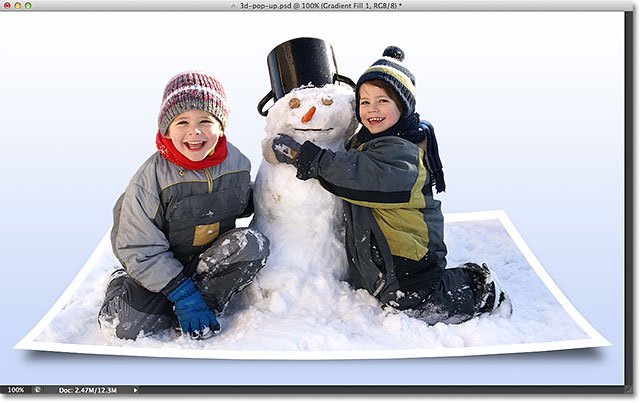
After creating 3D effect:
Link to see part 1 of the tutorial
Step 11:
After selecting Transform Selection , right- click (for Windows) or press Ctrl (for Mac) and select the Perspective next .

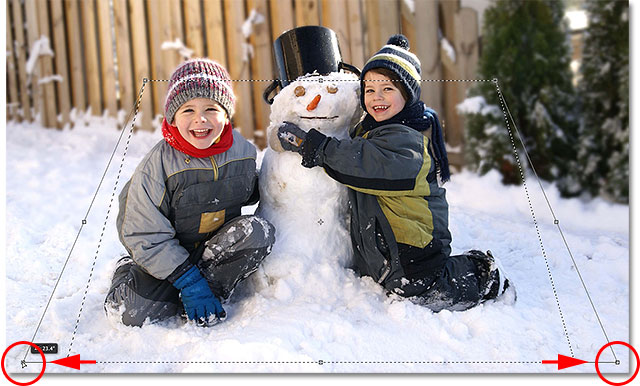
Step 12:
Click your mouse at the buttons at the top left corner and drag as shown below.

Next click your mouse at the buttons at the bottom left corner and drag as shown below.
See also: How to use Photoshop CS5 - Part 1: Toolbox
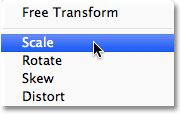
Step 13: Convert Scale Mode
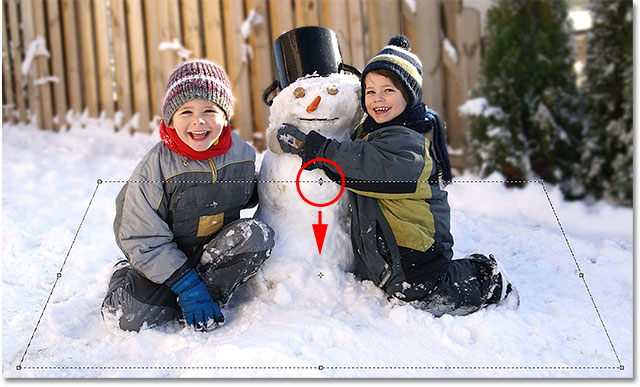
Your next task is to convert the Transform Selection command from the Perspective Mode to Scale Mode . Continue to right-click (for Windows) or Ctrl (for Mac) and select Scale in Menu.
After switching to Scale Mode, press and hold the latch point as in the circled area with a red circle as shown below and drag down.
Finally, select the bottom point to be zoned with a red circle as shown below and drag it up.
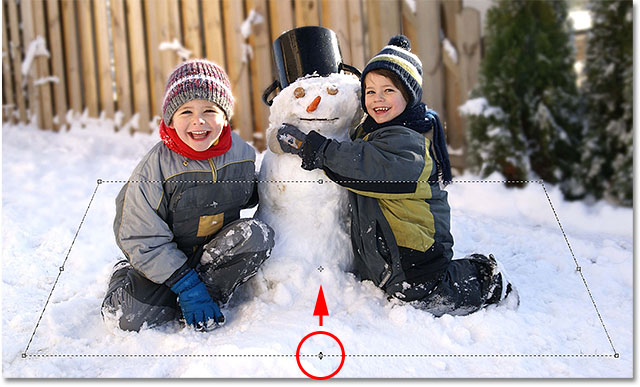
If you want a better and more perfect photo, you can edit it further. After you've finished editing, press Enter (for Windows) or Return (for Mac) to complete.

For more information: Instructions on how to create tattoos on people in Adobe Photoshop
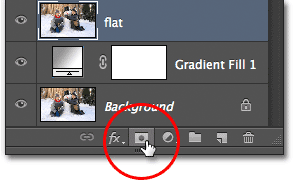
Step 14: Create Layer Mask
Also with the "Flat" L ayer you choose, click the Layer Mask icon on the Layer Panel to create a mask.
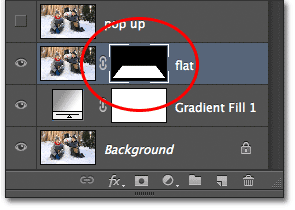
You will get an image like this:
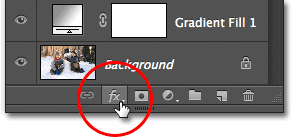
Step 15:
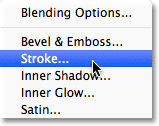
Use Stroke to add a border to the image. Very simply, you just need to click on the Layer Style icon (FX icon) at the bottom of the Layer Panel .
In the Layer Style list, select Stroke.
When the Layer Style dialog box appears, click on Color Swatch.
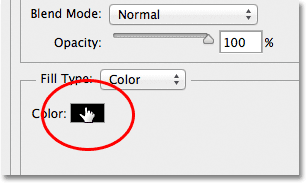
Then select white color and click OK to exit the Color Picker window .
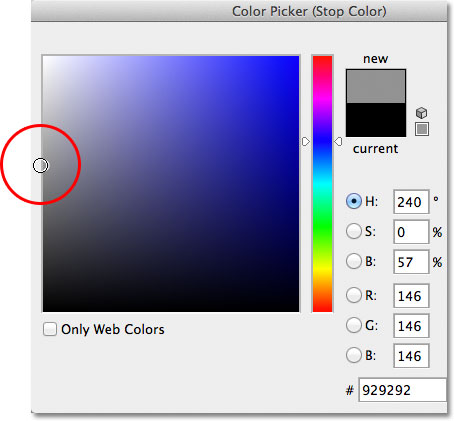
Return to the Layer Style dialog box to change the Positon (position) of Stroke from Outside to Inside.

Finally click on the Size slider and drag to the right to increase the border size around the image.

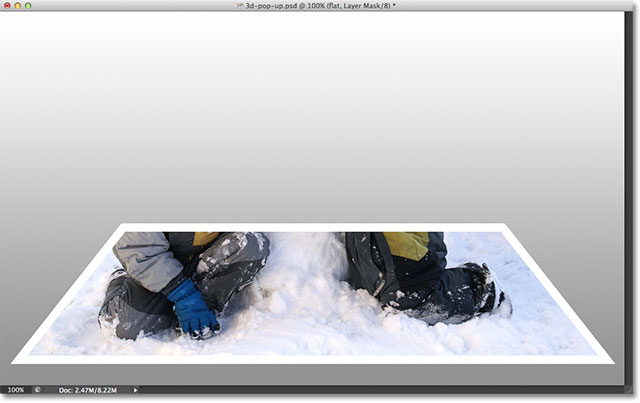
Once done, click OK to close the Layer Style dialog box. Your photo after the border is added will look like the illustration below.
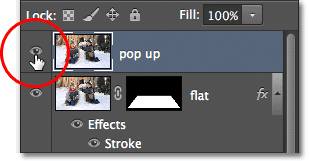
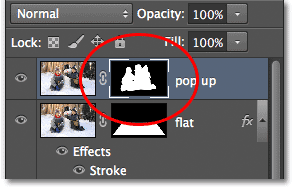
Step 16: Select and open the "Pop-up" Layer
Similar to the "Flat" Layer , on the Layer Panel, click on the "Pop-up" Layer to select it, then click on the eye icon to allow it to appear on the window.
Step 17: Create a selection for the object
Use one of the following tools: Lasso Tool, Quick Selection Tool, Pen Tool. .to create a selection for the object you need to take is human .

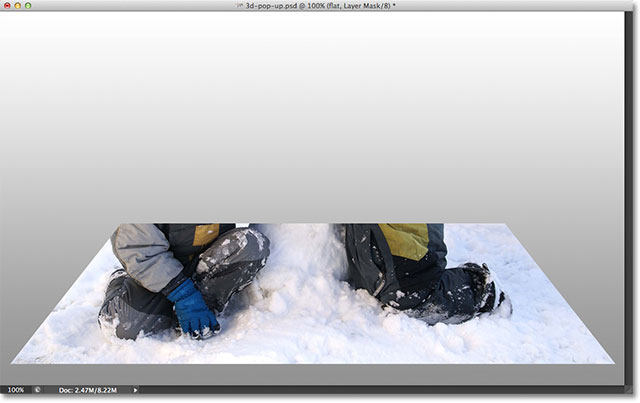
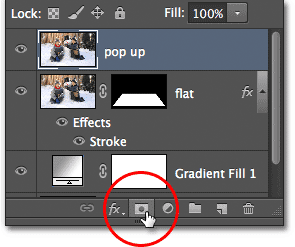
Step 18: Create a Layer Mask
Click on the Layer Mask icon located below the Layer Panel.
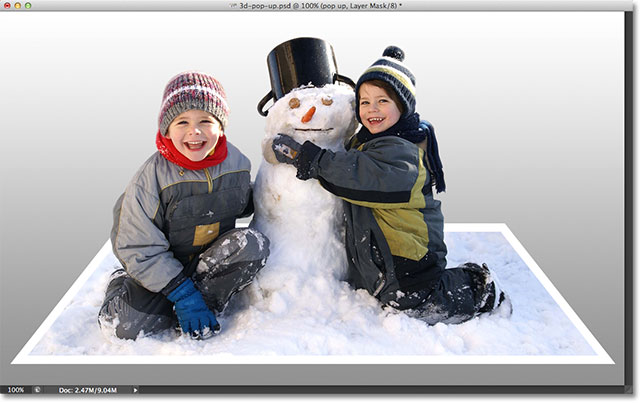
Photoshop will switch to Layer Mask and display your "Popup" Layer like the following image.
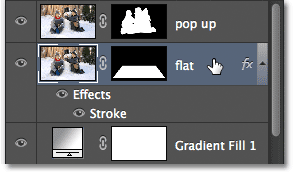
Step 19: Select "Flat" layer
Click on the "Flat" Layer on the Layer Panel to select.
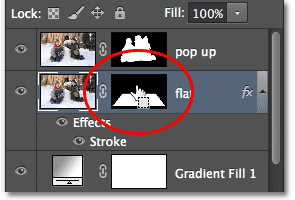
Step 20:
Press and hold the Ctrl key (for Windows) or Command (for Mac) on the keyboard, click your mouse on the Layer Mask in the Flat Layer.
You will be shown the following image:
See more Video tutorials:
Please see the end of the Photoshop tutorial - steps to create a 3D popup image.
Good luck!