Instructions for cleaning the whole iPhone
Iphone is a companion, everywhere you go, it can get dusty and accumulate over the years, just wiping the screen with the sleeve is not enough, your iPhone is really dirty and needs cleaning . However, you need to be careful when cleaning the iPhone, you can't arbitrarily use anything to clean it, as this may damage your phone. This article will guide you step by step to clean an iPhone.
Step 1: Remove the phone cover
If you use the phone for your phone, remove it before starting cleaning. You can clean this cladding separately because it is more resistant to iPhone damage and it is quite cheap to replace in case of failure.
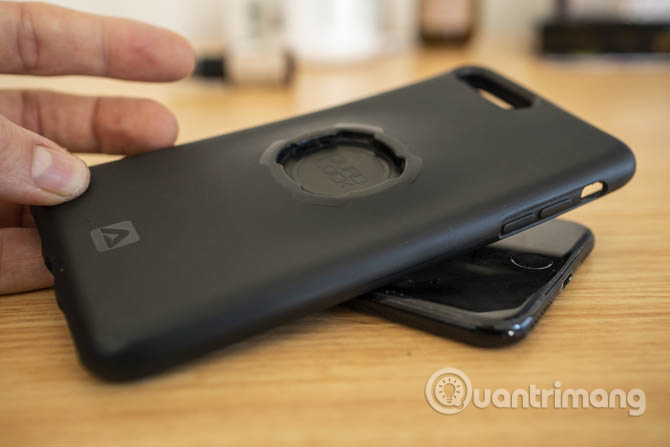
You can follow the manufacturer's cleaning instructions if available. If not, use warm soapy water to remove dirt from the phone panel. Please pay attention to cleaning the place like charging port, mute button, volume control, camera lens.
Step 2: Clean the iPhone screen
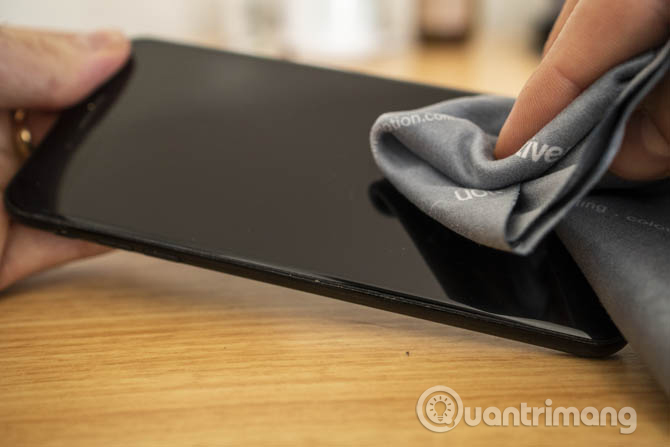
The screen is an important part of the device, so you need to be more careful when cleaning. Apple uses an oleophobic coating for the iPhone screen, to avoid grease. This coating is also used for the back of iPhone 8, 8 Plus and iPhone X.
To protect this coating, you should only use water to clean the iPhone screen, do not use abrasive cleaners, glass cleaners, surface sprays, alcohol or any chemicals that can be done. Damage this coating.
Use a soft, lint-free cloth and moisten with water. You can buy these fabrics cheaply online, in stores selling cameras or glasses. This fabric is similar to the fabric you use to clean glass, camera lenses and other scratchy surfaces.
While cleaning, try to go in the same direction to push the grease and dirt out of the screen, instead of simply moving around. The longer you use the device, the more fingerprints and dust will stick on it. You can use a glass to protect this coating if it is old.
- Instructions for cleaning touch screens for phones and tablets
Step 3: Clean the iPhone charging port
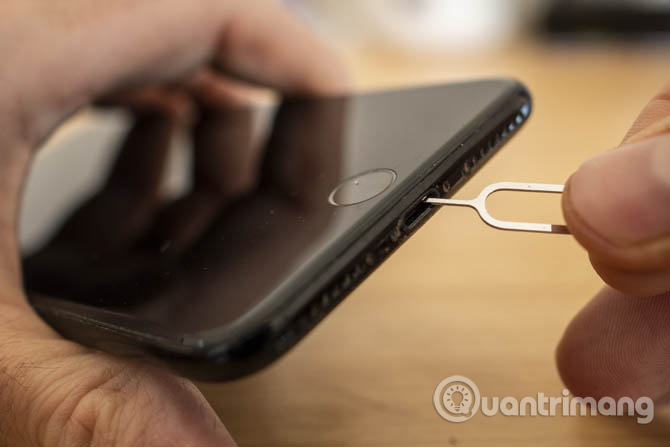
If your iPhone cannot charge as before, it may be due to the charging port. Fabric fibers, hair, feathers, pieces of paper and other debris may get stuck and prevent the inner legs from contacting the charger.
Apple recommends that you do not use compressed air to clean iPhone parts and the charging port is no exception. One of the best tools for cleaning charging ports is to use the SIM stick that comes with the iPhone. If you don't have a SIM stick, you can use a similar thin object instead. Put the rod in the hole and remove the dust and objects in the charging port.
- 3 ways to clean the Lightning charging port help iPhone charge faster
Step 4: Clean the Lightning cable contact point
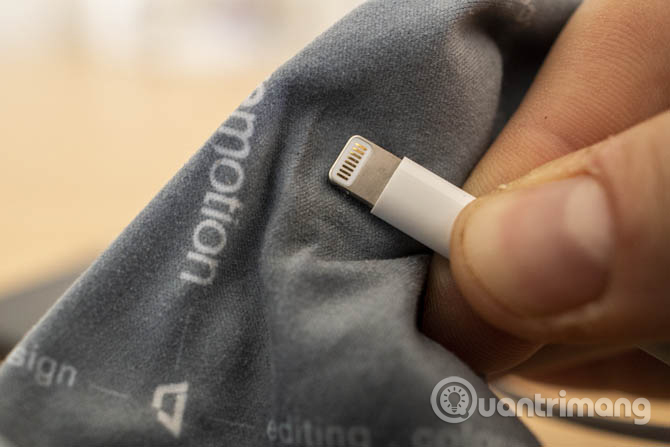
Another reason that your iPhone cannot charge properly is the Lightning cable status. It can accumulate dirt on the cable connector and prevent charging properly.
Unplug the Lightning cable before cleaning it. Clean the contacts with a damp cloth until they are bright. You should also check if the cable shows signs of damage or wear.
Step 5: Clean the iPhone speaker / microphone port
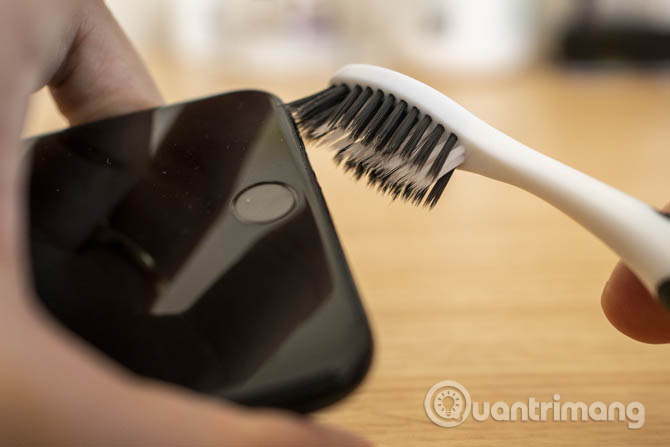
The speaker ports and microphone are located at the bottom of the iPhone, on either side of the charging port. This is one of the most difficult areas to clean and one of the first parts of the iPhone that is most susceptible to dirt.
As mentioned above, you should not use compressed air because the high pressure can damage the iPhone or affect the water resistance of IP67. Therefore, use a super soft and smooth toothbrush, lightly rub the area to remove dirt but remember to use enough, not too strong force.
Some users recommend using toothpicks when the brush is too big, not enough to slip into the nooks but be careful not to push too hard as it may damage the speaker port. Cleaning the speaker port, microphone jacks can improve sound quality as well as make calls.
Step 6: Clean the mute button

Each iPhone has a mute switch button along the left side of the device. In some cases, this area has a lot of dust accumulation which makes it harder to convert this button. If you have never used the audio mute button (for example, your iPhone is always in vibrate mode) it may be full of dirt.
To clean this part, grab the toothpick and shave off any dirt on it. You should flip the switch several times to be able to clean both sides.
If there is still dirt, you can use a cotton swab, absorb some of the isopropyl solvent, but be careful to use this solvent, avoid getting stuck on the screen or other sensitive parts of the iPhone while actually because the coating can be removed.
Step 7: Parts you may miss
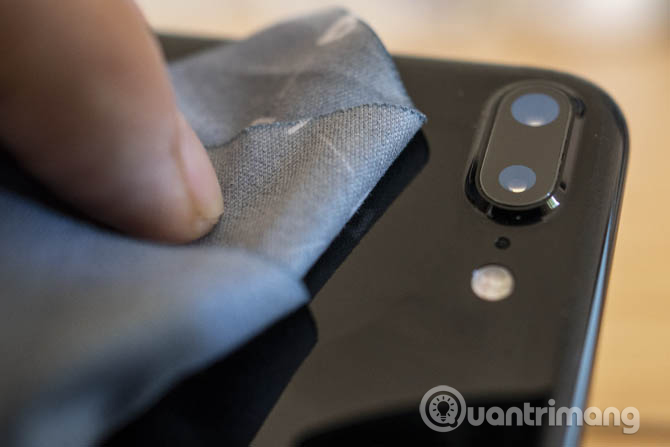
Some areas will need to be cleaned more often than other areas, so you should wear a soft, unadulterated cloth in the bag until it is necessary to use it. You should pay attention to the following:
Home Touch ID button : For devices with this button, regularly clean them as your screen. Even a thin layer of fat can prevent you from opening the device with fingerprints.
Sensor area of iPhone X : The cutting part on the top of the screen iPhone X is full of sensors and they will work poorly if there is a layer of grease on it. If Face ID fails, you should clean this area first.
Camera lens cap : Both front and rear cameras are prone to fat accumulation. You should regularly clean with a soft, lint-free cloth.
Note the iPhone's water resistance
If you own iPhone 7, 7 Plus, 8, 8 Plus or iPhone X, your phone is certified to be water resistant in accordance with the IP67 rating. This means it can 'survive' when submerged under water at depths of less than five feet in 30 minutes.
Apple has a rubber ring that protects the interior from moisture and dust. Over time, this rubber ring can be worn out, especially if your iPhone is physically damaged (like a cracked or dimmed screen in the chassis).
You should not let your waterproof iPhone get salt water, pool water or anything other than tap water. If you accidentally drop your iPhone in the sea or pool, pick it up and rinse it with tap water immediately.
Although they are waterproof, you should not clean the iPhone by washing it under the tap. Hot water is also a bad idea because it can damage iPhone when sudden temperature changes. Also frequently exposed to water also wears oleophobic coatings away.
After cleaning the iPhone, you should also clean the software to free up storage space, refer to the article Clean up the junk file to free up space and cache iPhone, iPad offline.
See more:
- Important notes when cleaning smartphones
- 8 things to do when cleaning the computer
- Instructions for cleaning the computer mouse properly