Table of Contents
This guide explains how to use Peer2School to Create Classrooms Online, with clear steps, practical tips, and important checks before you begin.
Guide to create online classrooms on Peer2School
Step 1:
We access the link below to go to Peer2School homepage, then press Enter a new classroom to enter the classroom
https://peer.school/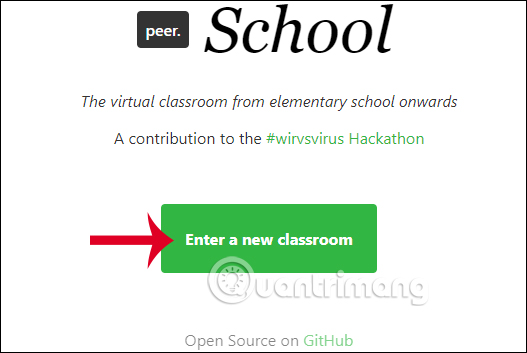
Step 2:
Accessing the interface you will need to consent to the site using the camera and microphone to exchange and communicate with students. Then the teachers click on Set your name to name themselves in the classroom.

Step 3:
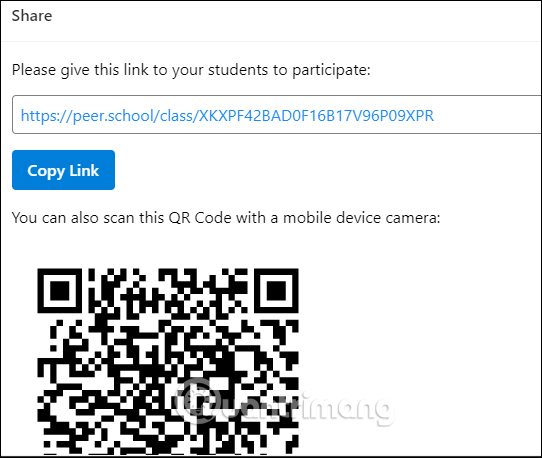
Next, look at the left side, click Share with students to display the classroom link and share it with students, or you can use the QR code to scan the classroom code.
Now show the classroom link for teachers to share this link.
Step 4:
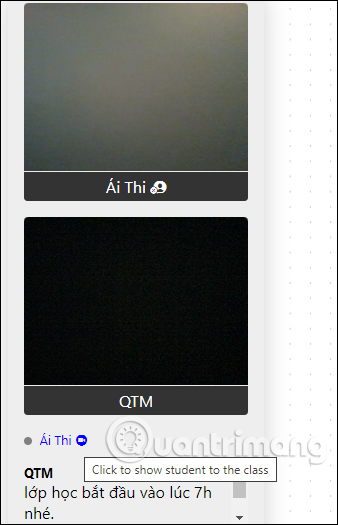
The teachers wait for students to fully participate and display the list on the left. Students who open the interface on Peer2School will have a green circle icon displayed. Below is the chat frame to exchange. Click on the student's name to see their camera.
Step 5:
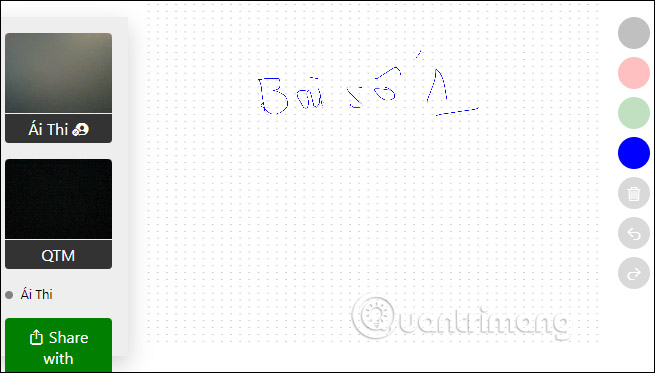
On the side is a whiteboard where we can write questions for students with different painting options, and trash icon or go back to action. Students answer by speaking into a microphone or writing a message.
FAQ
What should I know about Peer2School to Create Classrooms Online?
Focus on the key features, requirements, limitations, and practical use cases explained in this guide.
How do I get the best results with Peer2School to Create Classrooms Online?
Follow the recommended steps, use current software or information, confirm compatibility, and review settings before major changes.
Are there any risks or limitations?
Potential limitations depend on compatibility, data quality, cost, privacy, support, and how the product or method is used.
Related Articles
 Zoom Meetings: How to Learn Online, Create Classrooms on Zoom3 minutes read
 How to Learn Online on Aic Education Application3 minutes read
 What to Look for in a Quality Online Learning Platform7 minutes read
 8 Halloween Decoration Suggestions for Impressive Classrooms: Best Options6 minutes read
 How to Create Barcode Online, Create Barcode Online3 minutes read
 Zoom: a Good Choice for Creating Free Online Classrooms with More3 minutes read
Reader Comments 0
Sign in with email or Google to join the discussion.